

Navigating the world of baking can be challenging, especially when making specific dietary choices like going gluten-free. A perfect case in point is hardtack, a traditional biscuit type renowned for its simplicity and longevity. This essay provides a comprehensive guide to making gluten-free hardtack, unraveling the complexities of gluten-free flours, baking processes, and preservation methods.
Crafting gluten-free hardtack involves substituting traditional wheat flour with gluten-free alternatives such as rice or almond flour. Combine with water, bake, and store as per standard hardtack procedures, offering a gluten-free variation of this historically durable provision.
We will delve into the various types of gluten-free flours available in the market, learning how they behave while baking and their suitability in creating the perfect hardtack biscuit. Furthermore, we’ll also take a step-by-step journey through the baking process, ensuring you understand every detail, from mixing the right ingredients to achieving the right bake. Finally, preserving your gluten-free hardtack takes center stage, ensuring you maintain its freshness and longevity.

Finding Suitable Gluten-Free Flour
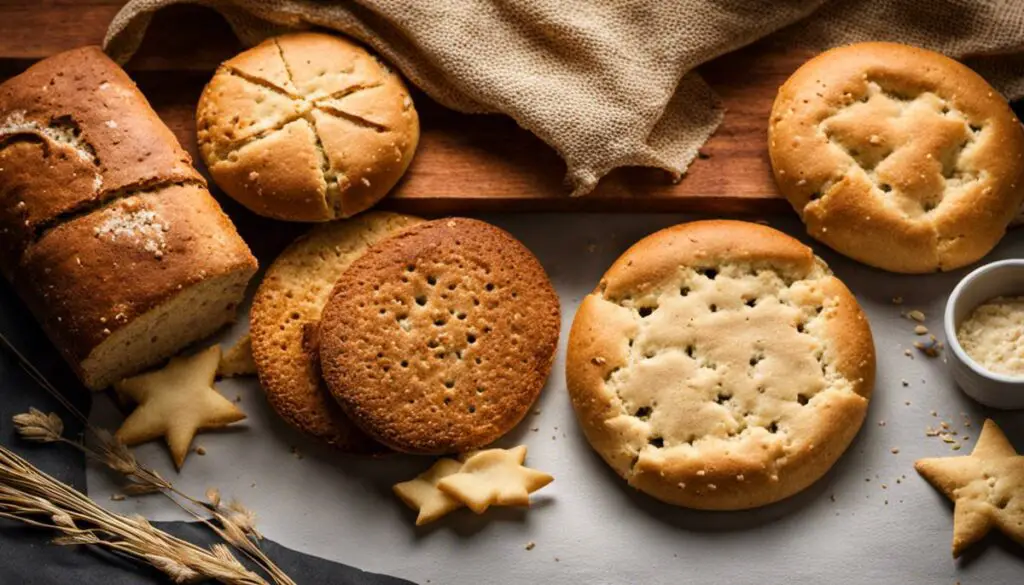
Delving into the boundless culinary world will inevitably lead to discovering a versatile and resilient provision – hardtack. This food item, known best for its rich history and jaw-testing toughness, is the perfect fit for survivalists. A delightful treat in its simplicity and virtually indestructible nature, hardtack comprises the simplest ingredients: water, salt, and, primarily, flour! Exhausting our undying love for kitchen exploits, let’s delve into the discussion of finding the best gluten-free flours for a scrumptious, all-embracing hardtack.
Buckwheat Flour, while not made from a variety of wheat, despite what its name may suggest, is a stellar alternative. Buckwheat, a plant related to rhubarb, offers a robustly nutty flavor, doing wonders to punch up the taste of your hardtack. This flour admirably retains the crunch hardtack it is known for while making your culinary experiments gluten-free.
Almond Flour stands next in the game! This player offers a slightly sweet and nutty tone that can add a pleasant layer of complexity to your hardtack’s flavor profile. This flour is derived from blanched almonds, ground to a smooth texture, and is an absolute gem that imparts an unparalleled crispness to your hardtack. Indeed, it contributes to higher-protein, low-carb, and naturally gluten-free hardtack.
Peek into the versatility of Coconut Flour, a fine and fiber-rich, gluten-free substitute made from earthy coconuts. This flour’s sweetness and slight coconut flavor give your hardtack an interesting tropical twist. However, this flour tends to be highly absorbent, so adjustments in other hardtack ingredients, particularly liquids, may be required.
Sorghum Flour, a staple in many gluten-free pantries, prides itself as a wheat flour substitute that maintains a superb texture and a conservative flavor profile. This flour is perfect for those who prefer their hardtack to maintain a traditional taste without inviting unwanted, adventurous flavors.
Lastly, let’s not overlook the charm of Brown Rice Flour. This flour has a neutral color and flavor and can be combined with other gluten-free flour for a balanced texture and flavor. It carries a mild nuttiness that doesn’t overpower the overall flavor of the hardtack.
Each one of these gluten-free flours brings a distinct charm to your hardtack making. Experiment with these varieties, or even mix them until you find your perfect blend! Remember, the best part about cooking isn’t just the delicious food – it’s the joy of discovery and the shared human experience that food uniquely offers. So, grab your mixing bowls, and let’s bake up a hardtack extravaganza in the spirit of culinary exploration.


Understanding The Baking Process
Making Gluten-Free Hardtack: The Hows And Whys Of The Process
Beginning the process of creating gluten-free hardtack, your first consideration should be gathering your ingredients to ensure everything is gluten-free, from flours to additional flavorings. This is a crucial step, not just for dietary restrictions, but to ensure the hardtack maintains its long shelf-life, one of its primary advantages.
Now, shifting focus from ingredients to technique, remember that the dough’s texture for hardtack is quite different from other baked goods. Due to the lack of gluten, which acts as a binder, the dough is often crumbly. Many pursue a consistency similar to pie dough when creating gluten-free hardtack. The crumbly nature of the dough can be handled better with the addition of xanthan gum or psyllium husk powder. Including these ingredients is often crucial in binding, allowing the dough to hold together and maintain its shape during baking.
Another notable process in the creation of gluten-free hardtack is rolling the dough. Roll it out quite thin, around a quarter of an inch or less, to ensure it hardens properly during baking. Thicker hardtack risks not drying out thoroughly, reducing its shelf-life, and leading to possible spoilage.
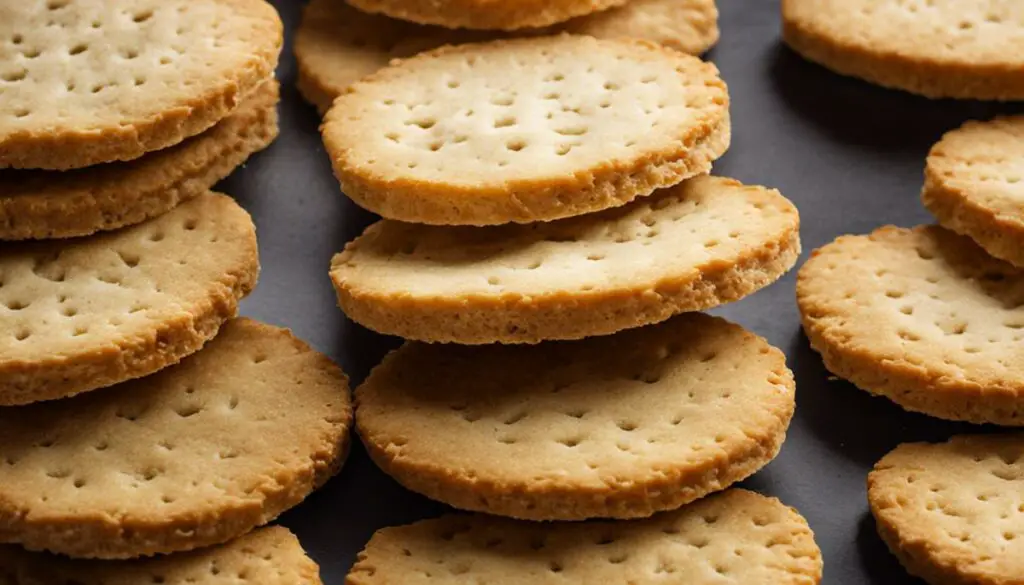
Once your hardtack dough is thin and properly shaped, poke holes with a fork before popping it into the oven. This step, sometimes overlooked, is instrumental in perfecting your gluten-free hardtack. Pricking the dough improves heat distribution, aiding the hardening process and preventing air pockets from forming, ensuring a flat, compact, and shelf-stable final product.
Next up is baking. Gluten-free flours tend to brown quicker than their gluten equivalents, so keep a close eye on your hardtack during baking. Remember, the baking process for hardtack isn’t just about cooking the dough but drying it out. Lower temperatures for longer periods usually yield the best results. Some hardtack recipes even recommend turning off the oven and leaving the hardtack in to cool and dry, guaranteeing a fully dehydrated, long-lasting product.
After successfully completing the baking and drying out phases, store your gluten-free hardtack in an airtight container. This step is essential to ensure the longevity of your hardtack. The secret behind its long shelf-life is its absolute lack of moisture, which means preventing any potential moisture absorption during storage is crucial.
When using your hardtack, remember that it is designed to be quite hard – hence the name. Simple consumption isn’t the main way to enjoy hardtack, as it’s often softened with liquids like broth, milk, or coffee. While this step might seem odd to the uninitiated, it is a nugget of culinary knowledge that has been carried through centuries!
Creating gluten-free hardtack requires a particular understanding of your ingredients and techniques. From the choice of flours to the baking process, each step requires a thoughtful consideration that marries culinary acuity with a survivalist mentality. It is an exploration of food history and dietary necessity, and the product of these efforts is a resilient, versatile staple that has stood the test of time. While crafting gluten-free hardtack might be a deviation from the culinary norm, it is a testament to the joy and wonder that can come from stepping outside the conventional boundaries of cooking.
For more detailed information on hardtack, check out our post All About Hardtack (Survival Bread): What It Is, How To Make, And Origins.
Preserving Gluten-Free Hardtack
Hardtack, the original culinary adventurer’s friend, is a long-lasting edible packed with flavor and memories. We’ve explored how to fashion your gluten-free variants using various flours. Now, let us move forward and delve into how to ensure its freshness and longevity, a crucial component of this fascinating foodstuff’s appeal.
To begin, the proper cooling of hardtack is paramount. Resist the temptation to immediately stash your hardtack in a container once it comes out of the oven. Even the slightest heat can cause condensation in your storage container, which spells trouble for your gluten-free hardtack’s longevity. Allow your hardtack to cool completely at room temperature on a cooling rack, ensuring they are entirely heat-free.
Next, consider the container you’ll use for storage. While any airtight container will do, glass and ceramic containers trump plastic in keeping hardtack fresh. These materials, unlike plastic, do not absorb flavors or odors over time. Glass jars, like classic Mason jars, make excellent storage containers. Plus, when displayed on your kitchen shelf, they give your gluten-free hardtack a stylish and rustic edge.
Surprisingly, how you stack your hardtack in the container matters too. Stack your hardtack in a way that air is allowed to move freely. This reduces humidity while maintaining the integrity of each biscuit. To further ensure freshness, you can slip in a food-grade desiccant packet. These packets are used for moisture absorption in packaged food items and are easy to find in grocery stores or online.
Fret not if you live in a humid environment, a dehydrator can be your best friend. Set your dehydrator to its lowest setting and let your hardtack sit in it for a few hours. This additional step effectively sucks out any residual moisture from the hardtack, a necessary step for those trying to maintain its freshness in a more humid climate.
With these simple yet effective steps, you can ensure that your gluten-free hardtack remains as fresh and toothsome as the day you baked them. Armed with the fascinating history of hardtack, the knowledge of gluten-free flours, the mastery of mixing and baking, and now the method to maintain its freshness, you’re all set on your adventure toward culinary exploration and consumption. Savor every bite; share every moment. After all, isn’t that the very essence of food in the first place?

So, whether you are a celiac following a strict gluten-free diet or an adventurous home baker looking to experiment with new recipes, the world of gluten-free hardtack is now at your fingertips. As you explore, remember that choosing the right gluten-free flour is pivotal to your biscuit’s texture and taste. Be patient with the baking process; drying out the recipe is just as important as the initial mix of ingredients. Lastly, knowing how to preserve your hardtack correctly could distinguish between a delectable crunch and a damp disappointment. With this knowledge, you can embark on your gluten-free hardtack baking journey. Happy baking!
I hope this post brought value to your day. Please consider sharing it with a friend or on your favorite social media if it did. Thanks For Reading The Dying Art Of Living!