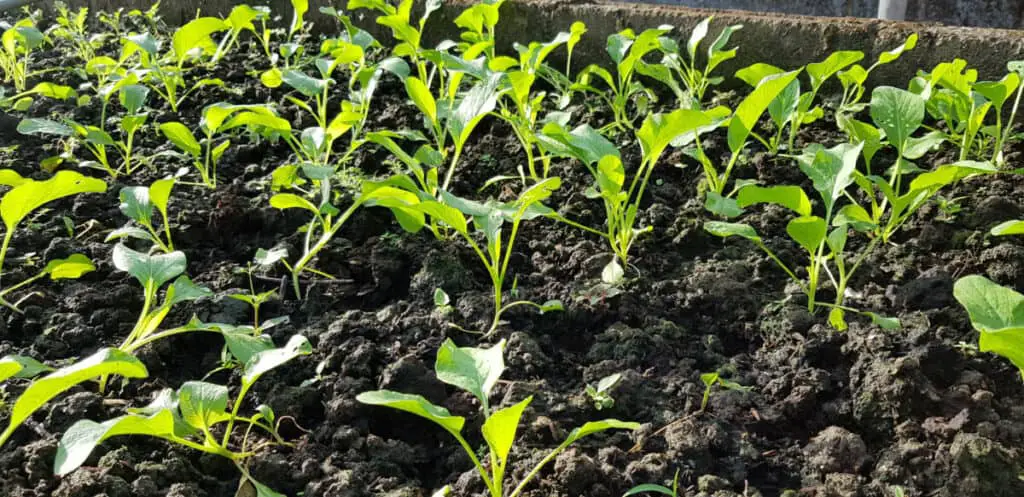

Embarking on the journey of planting and nurturing a vegetable garden is a rewarding and often educational experience. A fundamental understanding of different soil types is essential since each type— be it clay, silt, sand, peat, chalk, or loam, significantly impacts the vitality and yield of your vegetable crops.
Preparing soil for a vegetable garden involves testing soil quality, amending with organic matter, and cultivating to ensure proper aeration. This method optimizes nutrient levels, drainage, and overall soil health, fostering an ideal environment for successful vegetable cultivation.
In addition to recognizing the primary soil types, the ability to test your garden soil’s pH, fertility, and nutrient levels is a critical skill to determine its strength for growing vegetables. Soil preparation techniques further enrich the ground by utilizing organic matter, composting, double digging, and crop rotation. This careful planning and preparation provide the best environment for your plants to thrive.

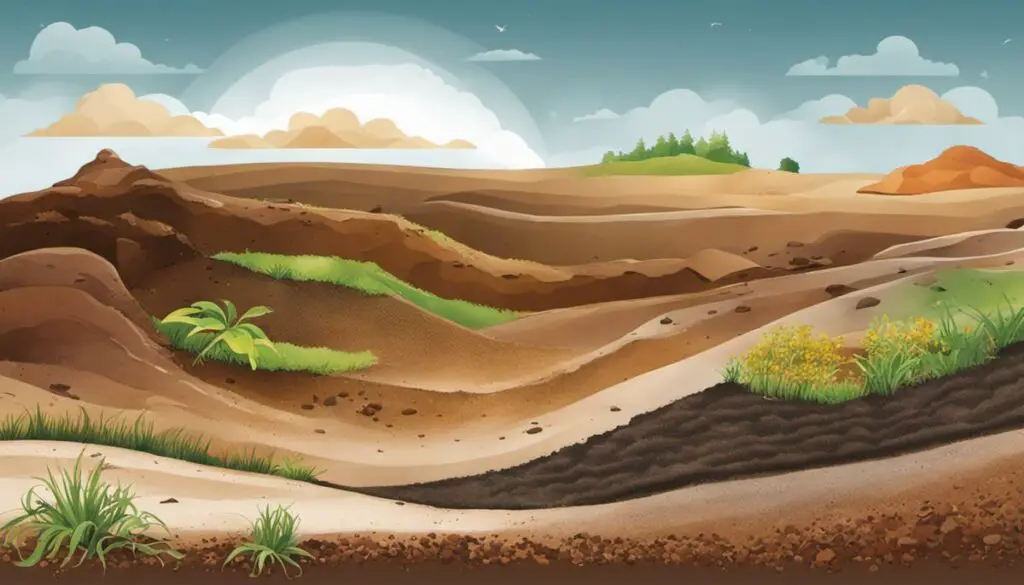
Understanding Soil Types
Delving into the fabulous world of tending a garden, the growth potential (pun intended) is truly limitless. Especially for those gripped by a passion for growing their vegetables, it’s a journey of patience, nurturing, and knowledge. A major part of this knowledge is built around understanding the types of soil and how they impact the growth of your veggies. So get those trowels ready, it’s time to “dig” in and learn about the wonderful world of soil.
Okay, so now you are probably wondering, what are the different soil types? Our earthy ground can be categorized into four major types: sandy soil, silty soil, clay soil, and loamy soil.
Sandy Soil
As the name suggests, sandy soil is typically gritty and drains fast. Great for growing those root vegetables like carrots and radishes, but if you’re hoping for lush, leafy tops, you might need to add some organic matter to keep moist conditions just right.
Silty Soil
Next, silty soil! Don’t let the name fool you – it’s surprisingly great for our green leafy friends. This soil type has a smooth texture and retains water exceptionally well, which plants love. However, it can sometimes be tough for roots to penetrate, so you might want to lighten it up with sand or organic compost.
Clay Soil
Turn the soil scoop over to clay soil, and you’ll find a tightly packed type, drying hard in the summer and water-logged in winter. Too hostile an environment for most vegetables, you might think? Not if you want to sprout some leafy greens or peas; they appreciate clay’s slow, nutrient-releasing nature.
Loamy Soil
The last and arguably the most popular amongst gardeners is the loamy soil. This perfect blend of sand, silt, and clay brings out the best of all worlds. It retains moisture yet drains well – a fancy condominium for any vegetable you want to grow.
So, you ask, how does the soil type affect vegetable growth? Well, each vegetable requires a specific set of conditions to thrive, which greatly depends on the soil in which they are grown.
While ensuring good drainage, Sandy soil is not proficient in holding onto nutrients. So, you might need to supplement it with compost regularly. On the other hand, clay soil can hold onto nutrients well, but its heavy and compact nature doesn’t allow roots to breathe easily—silty soil. However, nutrient-rich can become compacted easily and hinder proper growth.
As such, most gardeners swoon over loamy soil. It provides great drainage, optimal moisture retention, and abundant nutrients for plant growth. It is also easily workable and allows for root penetration and air circulation – a true garden bed of luxury.
So, dear green thumbs, understanding soil types is key to deciding which vegetables to grow and how to condition the soil optimally for the best yield. A hearty helping of knowledge paired with a dash of experience can convert even an arid patch into a fertile greenscape. Here’s to the joy of seeing your favorite vegetables thriving through the seasons, nourished by the earth under your knowing hands.
Happy gardening!

Soil Testing
Continuing to explore our dirt-rooted passion, it is undeniable that striking a balance within the complex soil ecosystem is paramount for a bountiful garden. So, let us dive into the science of soil testing to fine-tune our green patches.
Testing soil for a garden involves obtaining a sample, usually from various depths, and assessing key factors like pH, nutrient levels, and texture. This analysis guides gardeners in making informed decisions about soil amendments, ensuring optimal conditions for plant growth.
An essential step is analyzing the soil’s pH and nutrient levels. It plays a cardinal role in dictating the types of nutrients available and, consequently, the ability of roots to absorb them. The magic lies in figuring out how to test the soil accurately and reliably at home. Let’s unfold this garden secret, shall we?
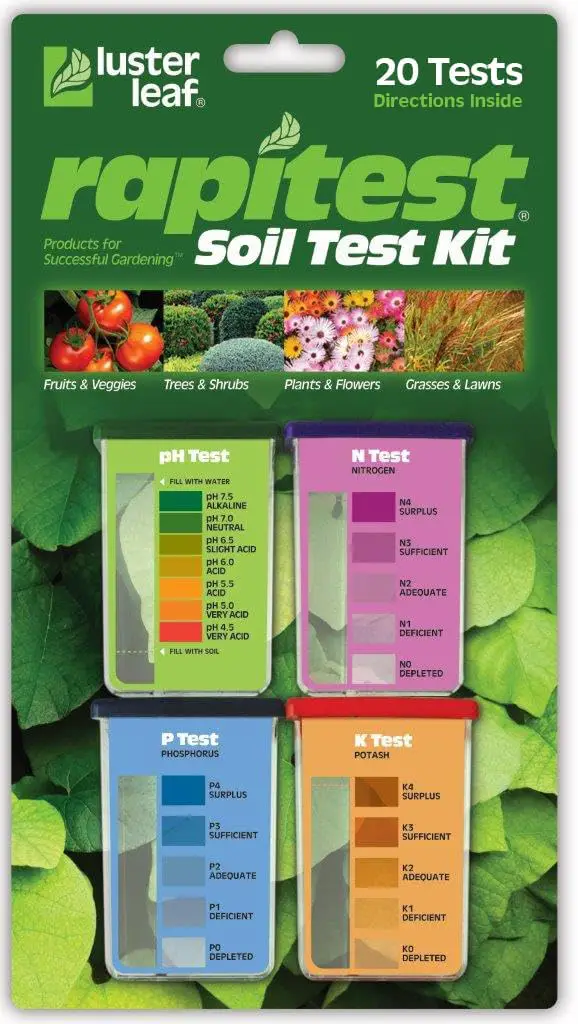
First and foremost, invest in a good quality soil testing kit featuring an assortment of vials and color comparison charts available at garden stores or online. Always remember – reliable results depend on reliable testing equipment. Alternatively, consider a digital soil pH meter for convenience and accuracy.
This is the Luster Leaf 1602 Soil Kit from Amazon. It is a good kit, which includes a Ph Test, N Test, P Test, and K Test.
To fetch a representative soil sample, conduct the testing at multiple locations about 6-8 inches beneath the soil surface, far from its relationship with the elements. Randomly sample from various spots in your garden spherically and combine them for an integrated sample, ensuring a fair representation of the entire area.
Once gathered, it’s prep time! Avoid wet samples; crisp, air-dried earth gives the most accurate readings. Carefully remove plant debris or stones and crush the soil until it’s fine and powdery. A good sample should be clean and crumble easily in your hand.
Next, follow the instructions in your soil testing kit or digital pH meter. Generally, you must fill the test container with soil, followed by the provided reactive solution. Vigorously shake this mixture before allowing it to settle for 24 hours. Post-settling, compare the resulting color with the reference chart provided in the kit.
Respectively, using the digital pH meter involves inserting the equipment into your prepared soil, giving a digitized pH reading within seconds.
What is optimal for your garden largely depends on what type of plants you’re growing. However, the sweet spot for most plants usually lies between pH 6.0 – 7.0, slightly acidic to neutral.
Moving onto nutrients, remember the mantra – NPK: Nitrogen (N), Phosphorous (P), and Potassium (K). These primary nutrients play a pivotal role in plant growth. Luckily, most soil testing kits also include NPK tests, the process of which is similar to the pH test. Comparing the color against a reference chart will nudge you in the right direction for what adjustments need to be made.
With this newfound knowledge, you can craft a thriving environment for your flora. Whether lime’s needed to reduce acidity or compost to boost nutrients, your garden will thank you! Content that you’re now a knowledgeable gardener conversant in the language of soil science revels in this journey from learning to growing. Keep digging, keep planting, and keep evolving. Only then can one truly comprehend the saying, “To plant a garden is to believe in tomorrow.” Isn’t that earth-shattering?
Soil Preparation Techniques
Now, let’s navigate the vast and marvelous garden that comes after understanding our soils and their attributes: soil preparation techniques for our beloved vegetable plantations. Remember, this phase of gardening is as crucial as understanding your soil type; it’s where the magic begins!
Foremost, we delve into clearing and tilling. Begin by removing weeds, rocks, and unwanted plants from your garden plot. This process can be done with handy tools like hoes and rakes, but don’t forget those tried and true gardening gloves for more precise removals.
Tilling
Tilling is your next haven. This involves turning over the top layer of soil. A tiller may be used for larger gardens, or a simple gardening fork can do the trick for smaller areas. Tilling is essential as it loosens the soil, making it easier for vegetables to take root.
Avoid tilling wet soil. Tilling wet soil is not advisable as it compels soil, negatively impacting its structure. This reduces aeration, hinders root growth, and can result in clumpy, compacted soil, making it less conducive to healthy plant development.
Watering
Now, let’s chat about watering. Before planting, ensure you soak your soil thoroughly. Moistening the soil helps transplant baby vegetables easily and aids in germinating seeds. A simplistic but effective rule of thumb to check if you have watered enough is that the soil should form a ball when squeezed but crumble when poked.
Amening
Another key practice is to amend the soil with Organic Matter. This technique boosts soil fertility, improves soil structure, and enhances its ability to hold onto water and nutrients. Organic materials such as compost, rotted manure, or leaf mold are perfect. Spread a 2-3 inch layer onto the surface and work it into the soil with a fork or tiller.
Fertilizing
Being a diligent hobbyist, you’re familiar with the NPK. Now it’s time to add Fertilizer! Nitrogen (N), phosphorus (P), and potassium (K) are vital for plant growth. Commercial fertilizers with a balanced N-P-K ratio can be added to the top few inches of soil. Always follow the instructions on the label for the best results.
Mulching
Also, mulching can’t be over-emphasized enough. A layer of mulch helps retain soil moisture, regulate soil temperature, suppress weed growth, and add organic matter as it decomposes. Preferably done after planting, spread 1-3 inches of organic mulch – hay, straw, wood chips, or grass clippings, around your plants, leaving some space around the stems to prevent rot.
Finally, the sweet fruit of our labor is planting! Vegetables perform best when they’re planted at the right time. For accurate timing, refer to the recommendations for your specific climate region or the back of your seed packet. Dig a hole, place the seed or transplant, cover with soil, firm lightly, and water well.
Get those hands (or should we say thumbs) green and enjoy the therapeutic art that is gardening. Happy Planting, everyone!
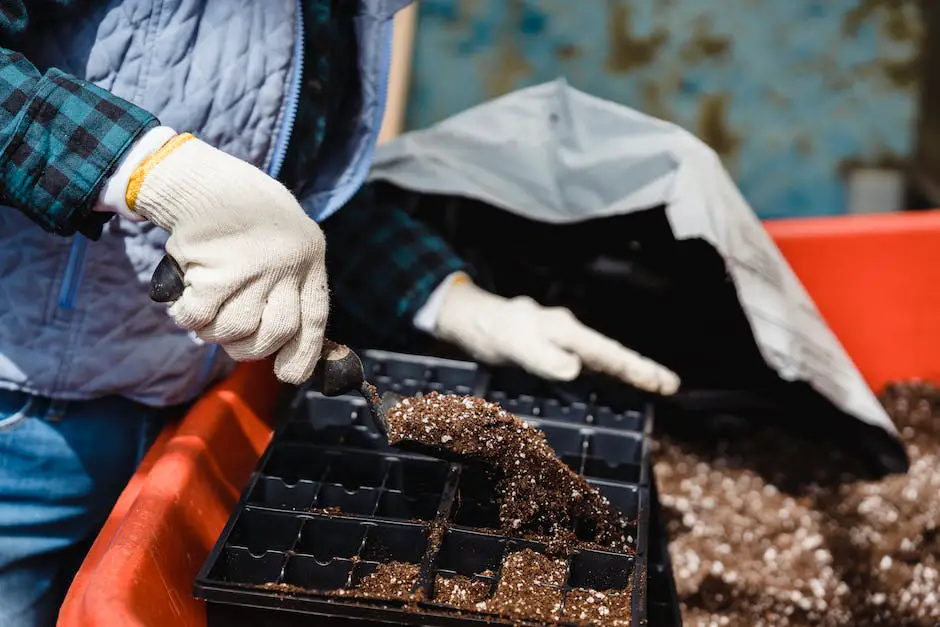
Building a thriving vegetable garden is a hands-on learning experience like no other. From identifying primary soil types to testing soil conditions and implementing various preparation techniques, it’s a journey that requires patience and knowledge but yields fruitful returns. Whether turning clay into a nutrient-rich medium, balancing the pH of your garden soil, or embracing age-old practices such as composting and crop rotation, every step brings you closer to your goal. By religiously following these steps, anyone can create a healthy, productive vegetable patch. With time and practice, you’re cultivating vegetables, a sustainable, self-sufficient lifestyle, and a greater appreciation for nature’s bounty.
Check out some of our other posts How To Forage For Food During A Survival Situation and Rabbit Manure: All About Rabbit Poop As A Fertilizer And The Many Benefits.
I hope this post brought value to your day. Please consider sharing it with a friend or on your favorite social media if it did. Thanks For Reading The Dying Art Of Living!

