

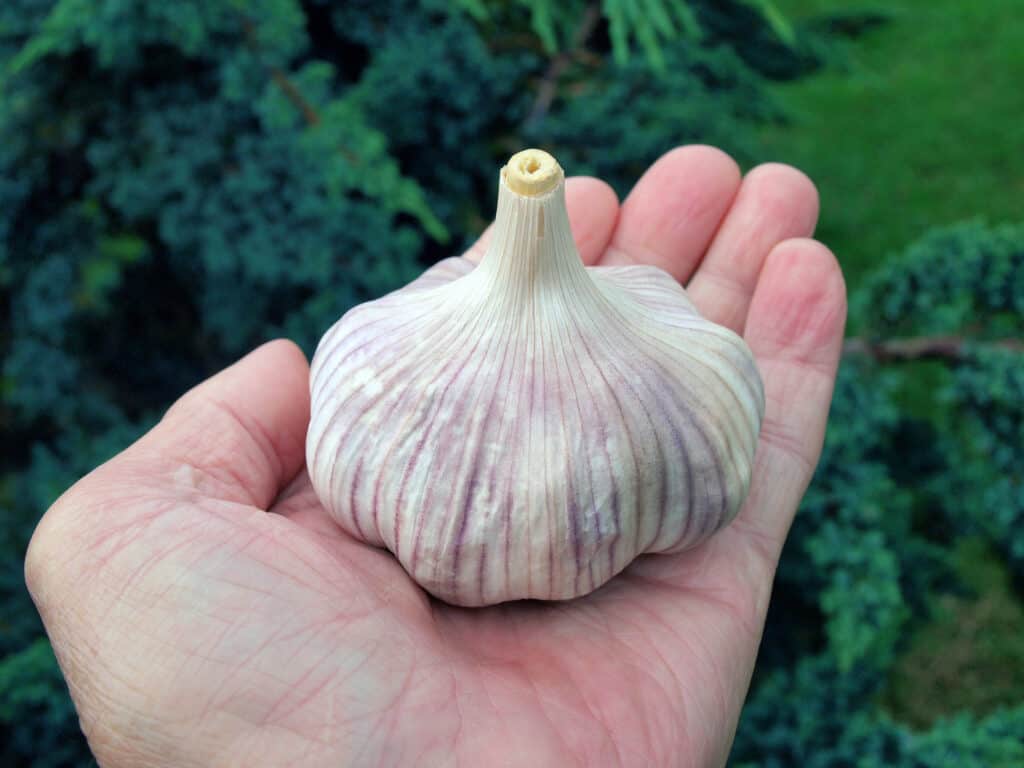
Garlic is a staple in many of my favorite recipes, so needless to say, I use a lot of garlic. This means I always keep a lot of garlic in my house. One of the easiest ways to ensure I have plenty of garlic on hand is to grow my garlic. This article will provide you with the information you need to succeed in growing garlic.
Steps To Planting Garlic
- Select Your Location
- Choosing Your Garlic Varieties
- Prepare Your Site
1. Select Your Location
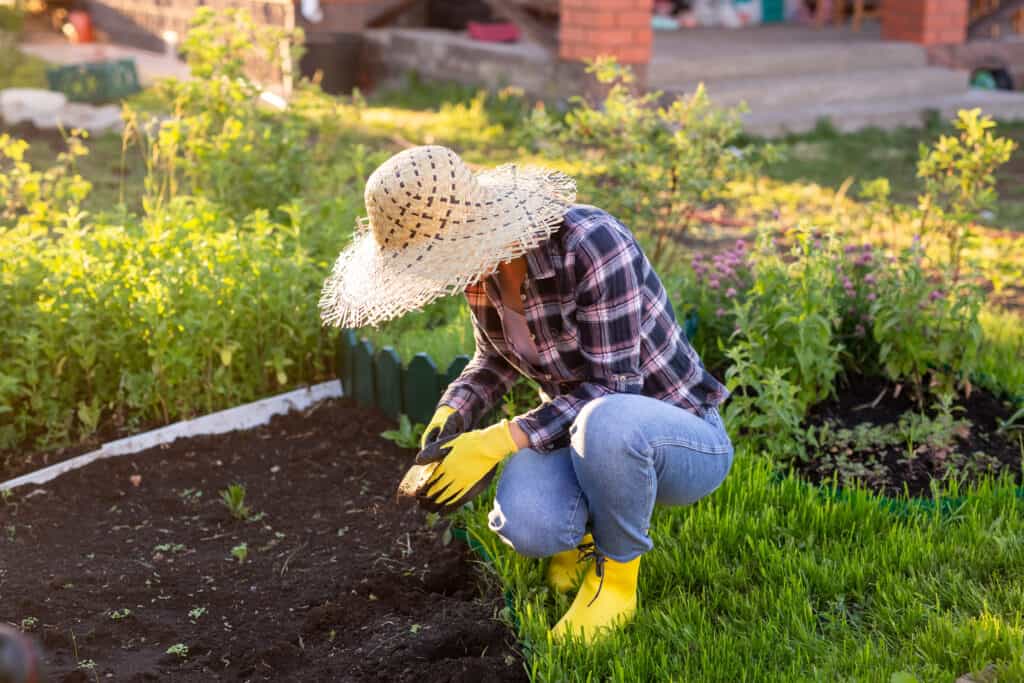
One of the most important things to ensure success in growing garlic is choosing the right spot to plant it. Garlic needs full sun and well-drain soil to produce the best harvest.
Garlic can be grown directly in the ground, in raised beds, and even in containers at least 6 inches deep. Be sure your container has good drainage.
2. Choosing Your Garlic Varieties
Choosing the proper variety of varieties is another way to increase your success. If you are planting from bulbs you buy at the grocery store, you probably won’t have much selection, but if you buy from a garden center or online, your options will increase.
There are two main categories of garlic: soft-neck and hard-neck.
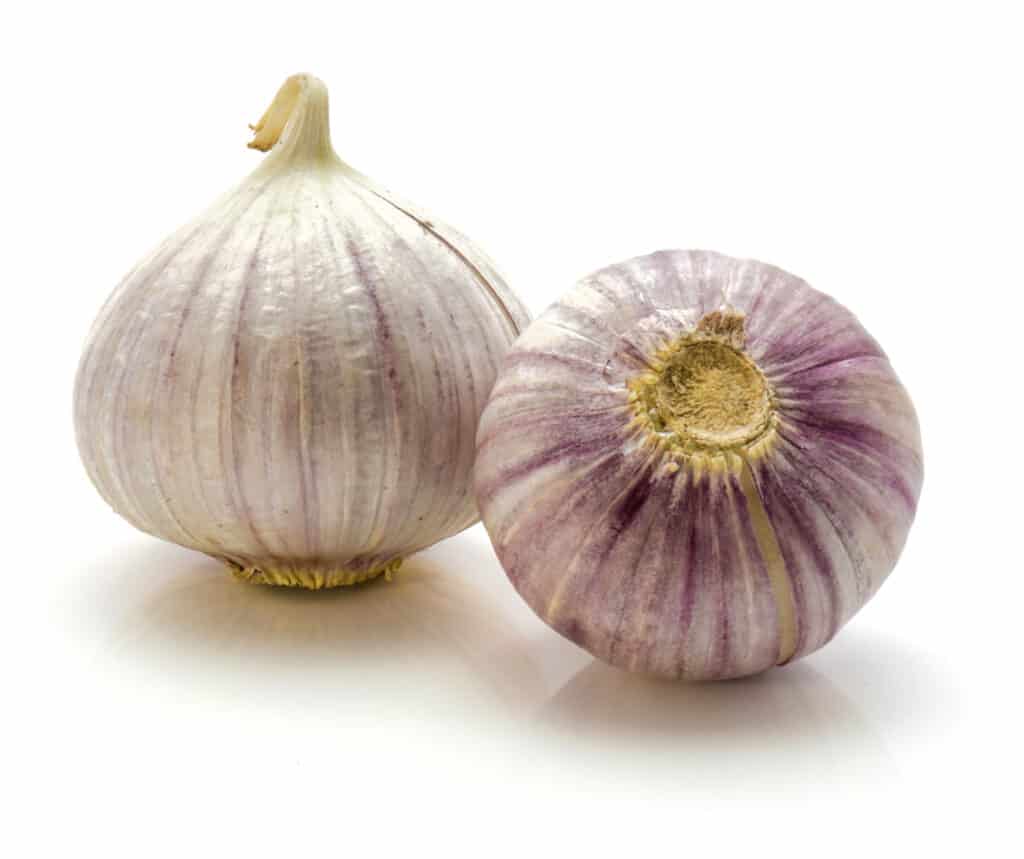
Most of the garlic sold in grocery stores is soft-neck. It is easier to grow and is recommended for warmer climates, but it also grows well in colder climates. Soft-neck varieties also store better than the hard-neck variety.
Hardnecks need a little more attention because they produce a central flowering stalk that must be cut mid-season to ensure all the nutrients go into creating the bulb and not flowering.
3. Prepare Your Site
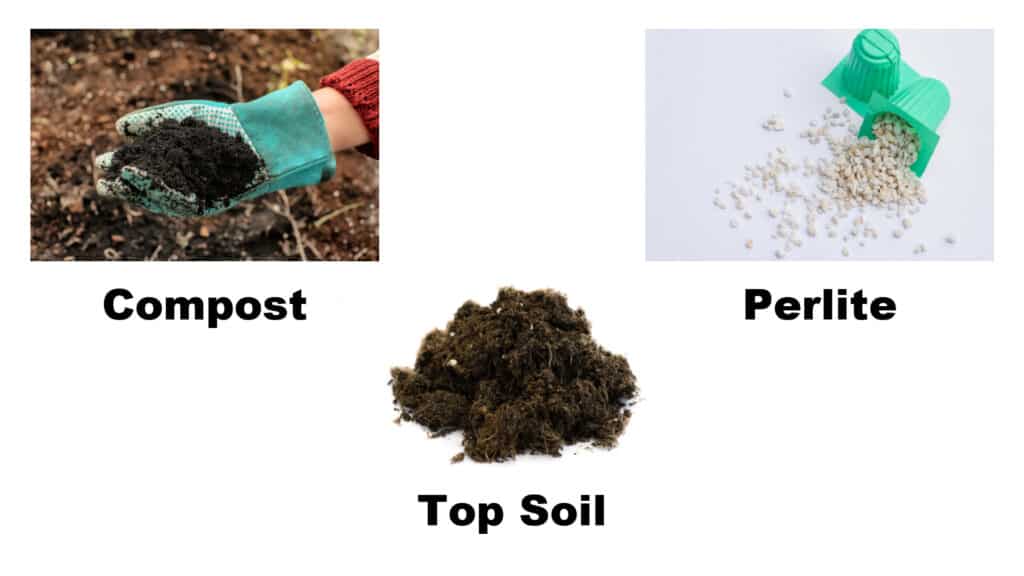
Preparing your soil correctly at planting time will usually avoid the need to fertilize later. A mixture of (1 part) compost, (1 part) topsoil, and (1/2 part) perlite is an excellent basic mix, or you can buy a raised bed potting mix in bags from your local garden center.
Here Is An Interesting Tidbit
Another “garlic” variety you may find is Elephant garlic. While not a true garlic, it is a member of the onion family and has a mild garlicky flavor.
Elephant garlic produces bulbs closer in size to an onion. Some gardeners will leave these bulbs in the ground for another year to help increase their size.
Growing Garlic
- When to Plant
- How to Plant
- Watering, Fertilizing, and Mulching
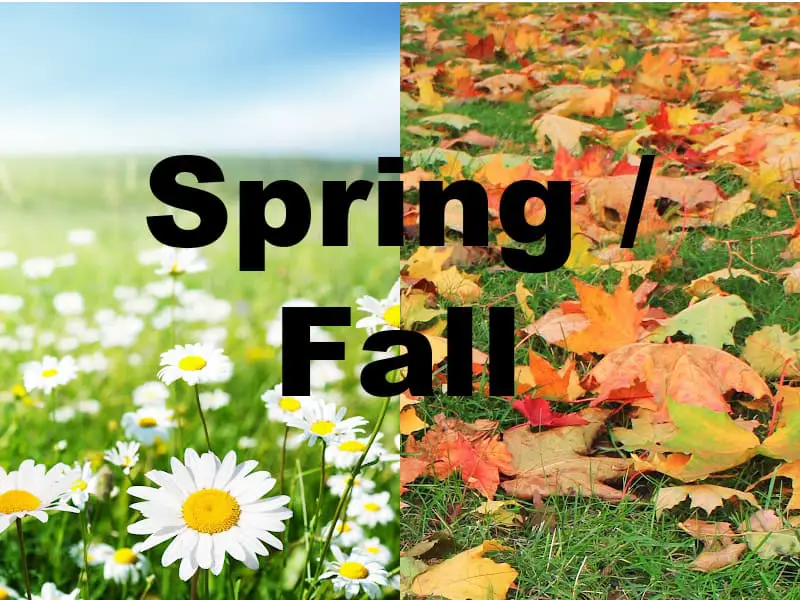
1. When To Plant
When deciding when to plant garlic, there are only two choices: spring or fall, but fall is the preferred time for several reasons.
Cloves planted in the fall tend to produce larger, fuller bulbs the following spring because the roots develop during the winter, giving them a head start.
Optimal planting times are late September through November in most zones, but in areas with hard frosts, plant 6-8 weeks before the first frost to enable the roots to become established before the ground freezes.
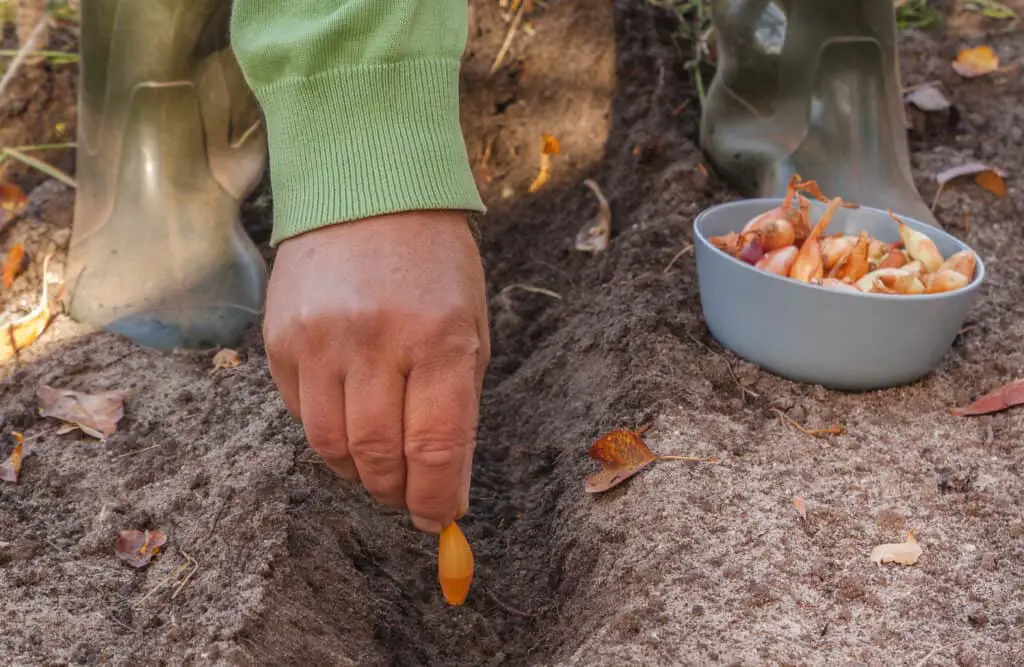
4. How to Plant
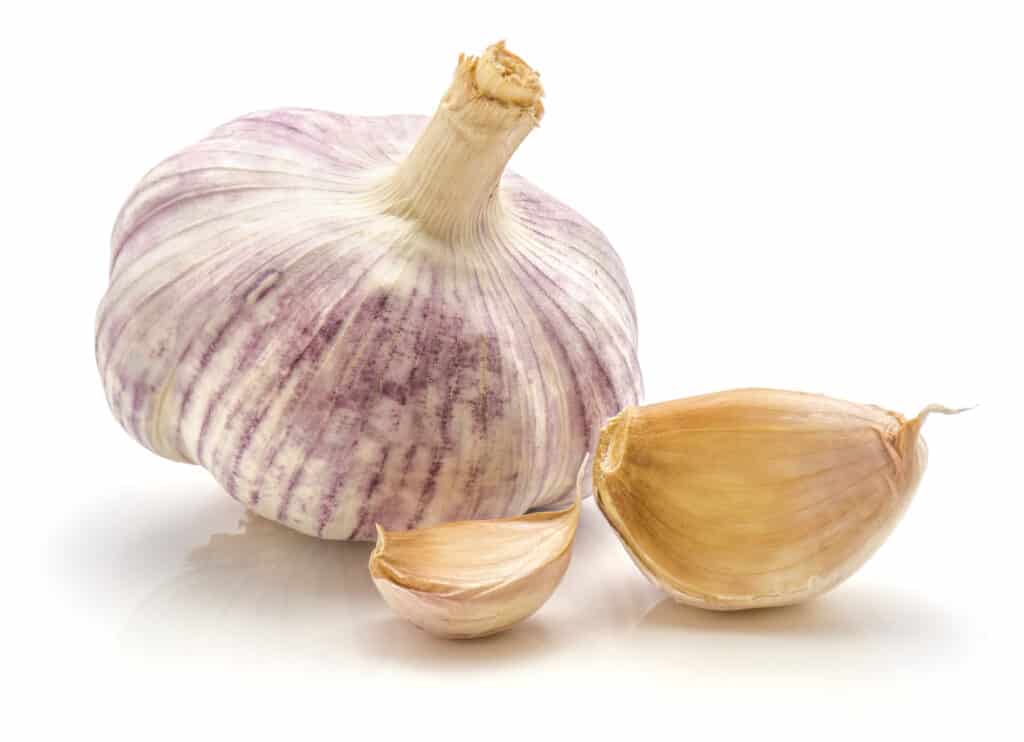
When you are ready to plant your garlic, be sure to choose fresh, firm bulbs, and when separating cloves for planting, avoid small cloves as they usually don’t grow as well, and also the largest as these are known as doubles and will spit into two smaller cloves after planting.
Pro Tip: You can usually feel a small crease in the clove where it’s beginning to split.
- Garlic should be planted 2-3 inches deep and 6 inches apart.
- Add 1/2 tsp of bone meal (2-14-0) after you’ve dug the hole for your clove.
- Mix the bone meal with the soil at the bottom of the hole, then plant the clove. Be sure to plant the pointy end up.
- After planting, water your garden well and add mulch.
If your climate allows, you can plant lettuces, kale, or any shallow-rooted vegetable instead of mulch to save space in the garden; if your area doesn’t get much rain or snow, you’ll need to water every week or so for the roots to continue growing.
As the weather warms up, you will see the tiny leaves emerge. When they are about 6 inches tall, you can remove the mulch and side dress with a 1/2 tsp of bone meal by sprinkling it lightly around each plant, being careful not to get it too close, and mixing it into the top 1/2 inch of soil to give it an extra boost as it begins to grow.
When To Harvest Garlic
Pick garlic when the lower leaves turn yellow or brown—usually, June through August. If you planted your garlic in the fall, it should be ready to harvest in 6-8 months.
If you pick too late, the garlic won’t store as well because fewer protective “skins” will be around each bulb. It’s too early, and the bulbs will be too small.
How long does garlic take to grow?
Garlic takes about 6-8 months to grow into mature heads.
Storing Garlic
Drying Garlic
Once you’ve harvested your garlic, it must be dried and stored. There are a couple of ways to do that. The first is to tie 8 – 10 bulbs together with twine by their leaves. You then hand them upside down from any rod or beam; just be sure you leave enough space between bunches for good airflow.
The second method involves using a drying rack, a wooden frame with wire across it, to lay the individual bulbs on top. There should be space underneath and between bulbs to allow airflow to encourage drying. (NEVER cut the leaves from the bulb until thoroughly dried.) Drying takes between 3 – 4 weeks.
Either method requires an excellent, dry, preferably dark space with plenty of airflow around the garlic to discourage mold.
When your garlic is dry, it is ready to use or store. Trim the leaves close to the bulb, be careful not to nick them, and keep them in a cool, dark place until ready to use. A garlic braid is one of the best ways to store large quantities of garlic.
Braiding Garlic
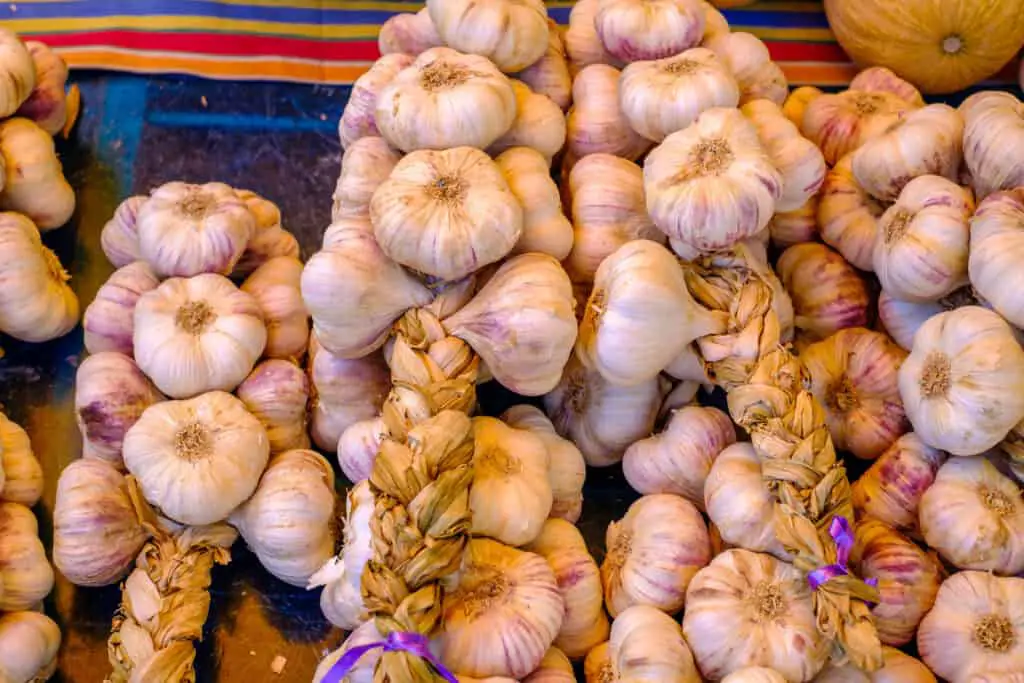
If you’d like a decorative way to store your garlic, you can braid the leaves and hang garlic in your kitchen.
Pro Tip: Slightly moisten the leaves, being careful not to get any moisture on the bulb to make them more pliable to braid.
How To Braid Garlic
- Brush The Garlic Off
- Line Two Bulbs Next To Each Other
- Add A Third Bulb On Top In The Center
- Tie The Bulbs Together With Twine
- Begin Braiding As You Would Hair Crossing The Left Over To Center And Then The Right Over To Center
- Add In A New Bulb To Each Side As You Start A New Strand. Alternating Each Side And Middle
- Continue Like This Until You Have All The Bulbs You Want In The Braid
- Continue Braiding The Stems Until They Are Braided As Long As You Can Or You Want
- Tie The End Together With Twine
- Enjoy!
With some practice, you will be a pro at raising and braiding garlic.
Is garlic hard to grow?
Garlic is easy to grow, but like anything else, you need to know a few things first to get the best results for your time and effort. If you read through this article, you will have the knowledge to plant, grow, harvest, and even store your very own garlic.
Can you grow garlic from a clove?
Garlic can be grown from cloves. There are several caveats to this: if you get your clove from the grocery store, it may have been sprayed with things to inhibit its ability to grow. In my experience, it has been hit or miss as to whether a grocery store clove will sprout. Occasionally, I have also been surprised to find a clove from the grocery store sprouting in my pantry.
Another thing to keep in mind is if you try to use a small clove of garlic, you won’t get a very big bulb. If you want to grow larger bulbs of garlic, use plant larger cloves.
Check out some of our other articles How To Prep Soil For A Vegetable Garden: Soil Essentials and Bargain Ways To Start Gardening.
I hope this post brought value to your day. Please consider sharing it with a friend or on your favorite social media if it did. Thanks For Reading The Dying Art Of Living!