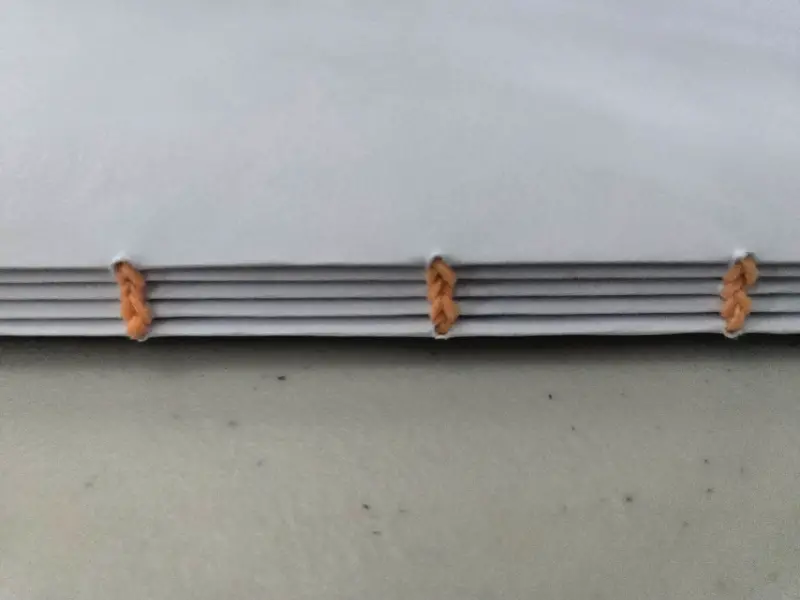

Chain Stitch Bookbinding – How To: Welcome to our comprehensive guide on chain stitch bookbinding! This article will walk you through the fascinating and functional chain stitch technique. You’ll discover what a chain stitch is, how and when to use it, and its advantages and drawbacks.
Pull the thread through the fabric or material to create a chain stitch. Insert the needle back near the entry point, leaving a loop. Pull the thread through and repeat, forming interconnected loops that resemble a chain. This stitch provides both strength and flexibility.
With step-by-step instructions and photos, you’ll learn how to create your own chain stitch bookbinding, whether you’re a beginner or looking to enhance your bookbinding skills. Let’s embark on this creative journey and master the art of chain stitch bookbinding!

What Is A Chain Stitch
A chain stitch is a sewing technique that binds signatures (groups of folded pages) along the spine. This stitch creates a series of interlinked loops resembling a chain, providing strength and flexibility to the binding. The chain stitch is often used in Coptic binding and other exposed spine bookbinding methods, allowing the book to lay flat when open and adding a decorative element to the spine.
Single Signature Binding
A single signature binding, also known as Pamphlet Stitch Binding, involves binding a single group of folded pages, or signature, together along the spine. This technique is straightforward and ideal for creating small booklets, zines, or journals.
The binding is achieved by sewing through pre-punched holes along the fold of the signature, typically using a chain stitch pattern. This method is prized for its simplicity, efficiency, and the elegant, flexible spine it produces, allowing the booklet to open flat. Single signature bindings are perfect for projects that require a clean, minimalist binding with minimal materials and tools.
Multiple Signature Binding

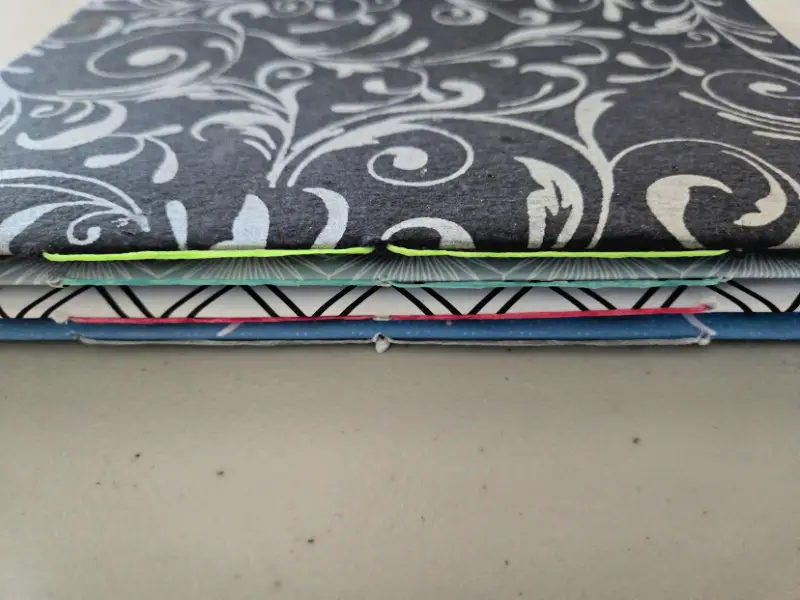
Multiple signature binding involves binding several groups of folded pages, or signatures, together to create a more substantial and durable book. The first signature is sewn using the Pamphlet Stitch Binding technique, and then the other signatures are linked along the spine through additional chain link stitching.
This method is commonly used in Coptic binding and other exposed spine techniques, allowing the book to lay flat when open. Multiple signature bindings are ideal for thicker books, journals, and sketchbooks, providing greater strength and flexibility. The interlinked chain stitches enhance the book’s structural integrity and add a decorative element to the exposed spine, showcasing the intricate craftsmanship involved.

History Of The Chain Stitch
The chain stitch has a rich history that spans centuries and cultures. Originating in ancient China, the chain stitch was first used for decorative embroidery and practical textile stitching. It spread through trade routes to the Middle East and Europe, becoming a functional and ornamental sewing staple. The chain stitch emerged as a durable and flexible method for binding manuscripts and early books in bookbinding. Its name comes from the interlocking loop pattern resembling a chain, providing strength and flexibility. Today, chain stitch binding is celebrated for its historical significance and aesthetic appeal, connecting modern crafters to a long tradition of hand-bound books.

When To Use A Chain Stitch
The chain link stitch is ideal for bookbinding projects requiring durability and flexibility. Use this stitch when creating books that need to lay flat when open, such as journals, sketchbooks, and art books, as the chain link stitch allows for a wide range of motion and ease of use. This method is also perfect for multi-signature bindings where additional strength is needed to keep the signatures securely together.
The chain link stitch is also a great choice for decorative purposes, as the visible stitching along the spine adds an aesthetic appeal. Whether working on a large, complex book or a smaller, intricate project, the chain link stitch provides the structural integrity and visual charm necessary for high-quality bookbinding.

Pros Vs. Cons Of Chain Stitch Binding
Pros Of The Chain Stitch:
- Durability: Provides a strong and secure binding, ideal for books that will be used frequently.
- Flexibility: Allows books to lay flat when open, making it easier to write or draw.
- Aesthetic Appeal: The visible chain link stitches add a decorative element to the spine, enhancing the book’s visual appeal.
- Adaptability: Suitable for single and multiple signature bindings, offering versatility in various bookbinding projects.
- Historical Significance: Connects to traditional bookbinding techniques, adding a sense of craftsmanship and heritage to your projects.
Cons Of The Chain Stitch:
- Complexity: More challenging to execute than simpler binding methods, requiring precision and practice.
- Time-Consuming: It takes longer than basic stitches like the pamphlet stitch.
- Material Use: Requires more thread and potentially more tools, which could be a drawback for those with limited resources.
- Skill Level: Best suited for those with some experience in bookbinding, making it less accessible for beginners.
- Exposure: The exposed spine, while decorative, may be less protective than covered bindings, potentially leaving the stitching and pages more vulnerable to wear and tear.

Steps To Create A Chain Stitch
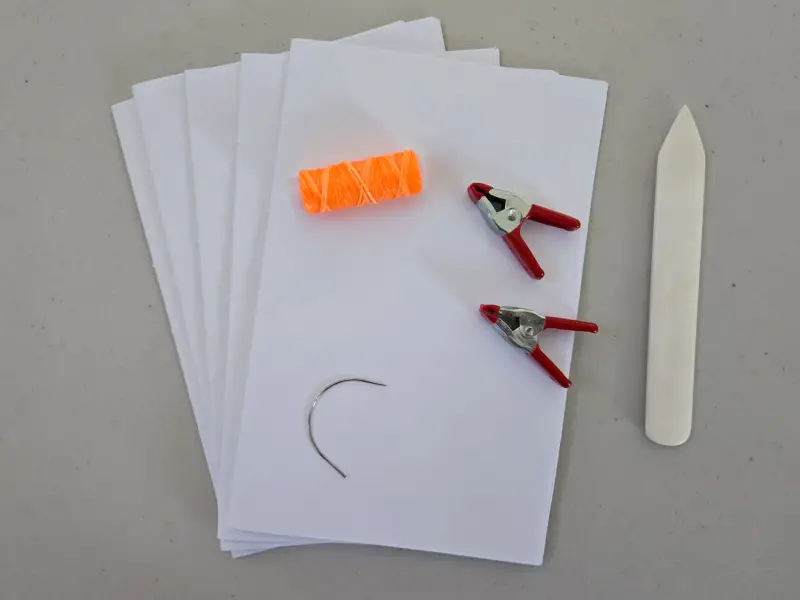
What You Need:
- *Book Signatures
- Curver Bookbinding Needle
- Linen Thread – Waxed
- Scissors
- Bone Folder (optional)
- Clips (optional)
- Small Weight (optional)
*The amount of signatures will depend on how many you want in your book. You will want to prepare your signatures; for this example, I am using 5 signatures pre-punched with 5 holes. Check out the section on how to create 5 Hole Pamphlet Stitch Binding. For this example, I will use six sheets of standard copy paper for each signature.
Thread Your Needle
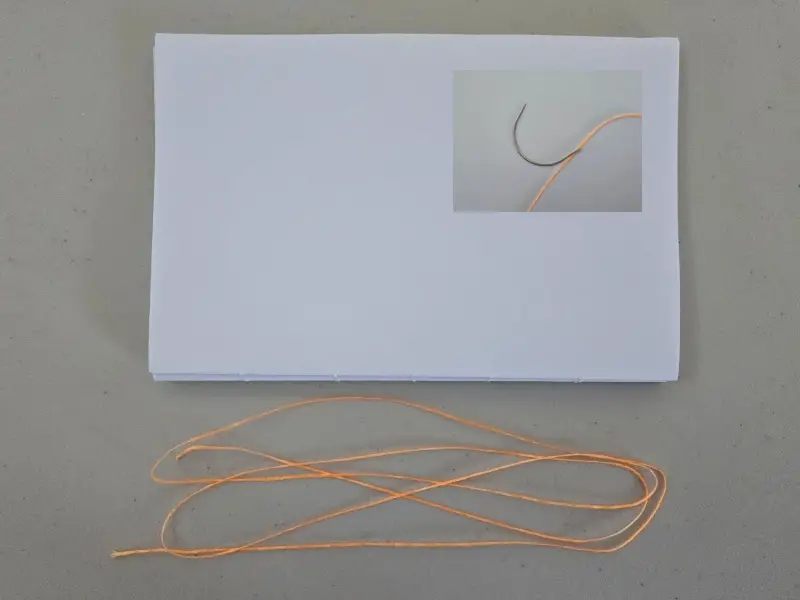
Measure out your thread. For this example, I will be using 6 times the height of my book for my thread length.
Cut the tread and thread it through the hole in the needle.
Thread First Hole
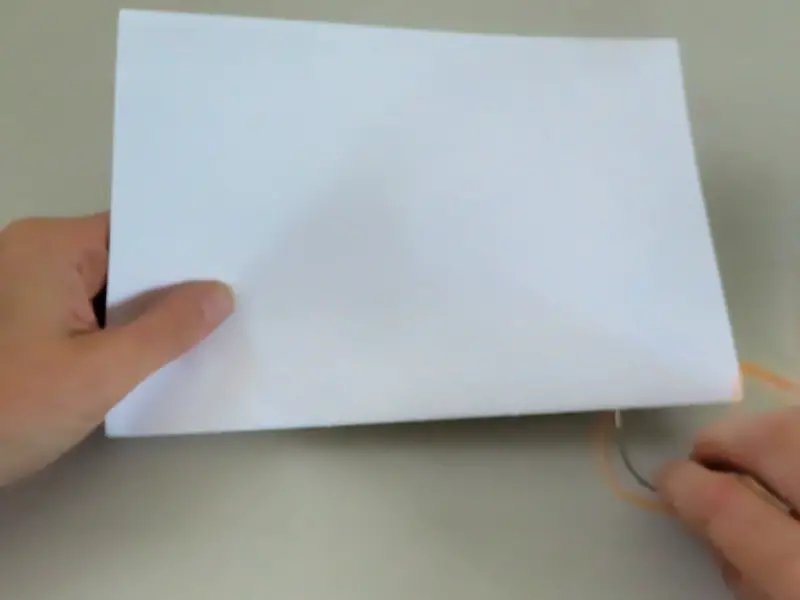
Starting at one end of the first signature, pull your needle and thread through the first hole, leaving a 2″ tail.
Create First Loop
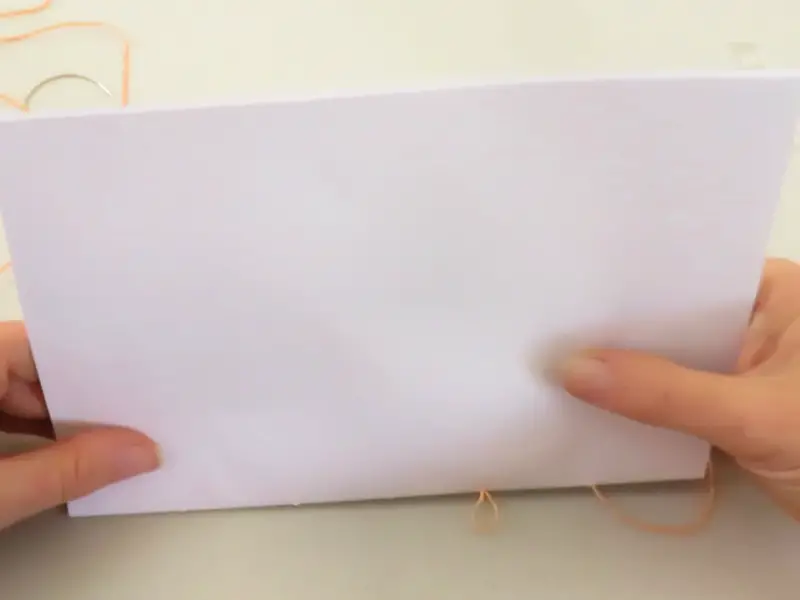
Thread your needle through the next hole and then back through the same hole, creating a loop.
Create Remaining Loops
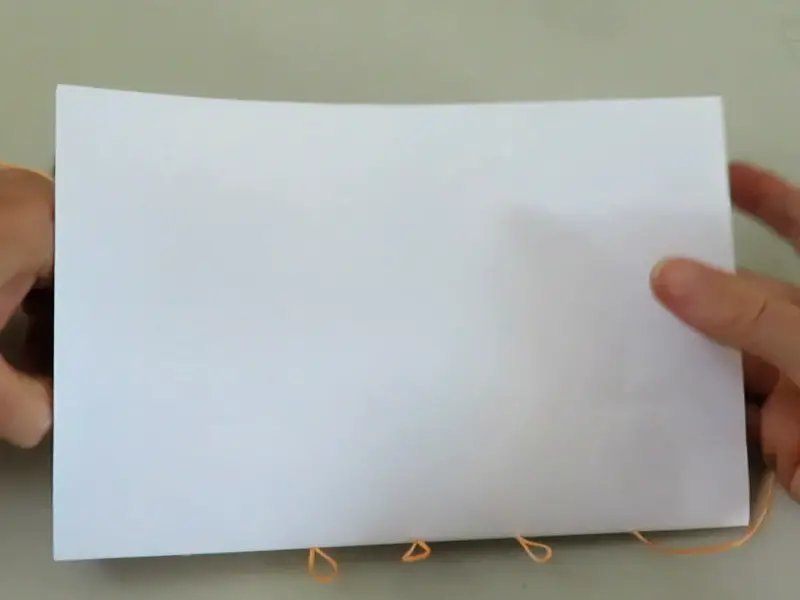
Repeat the previous step until all but the last hole has a loop.
Thread Last Hole
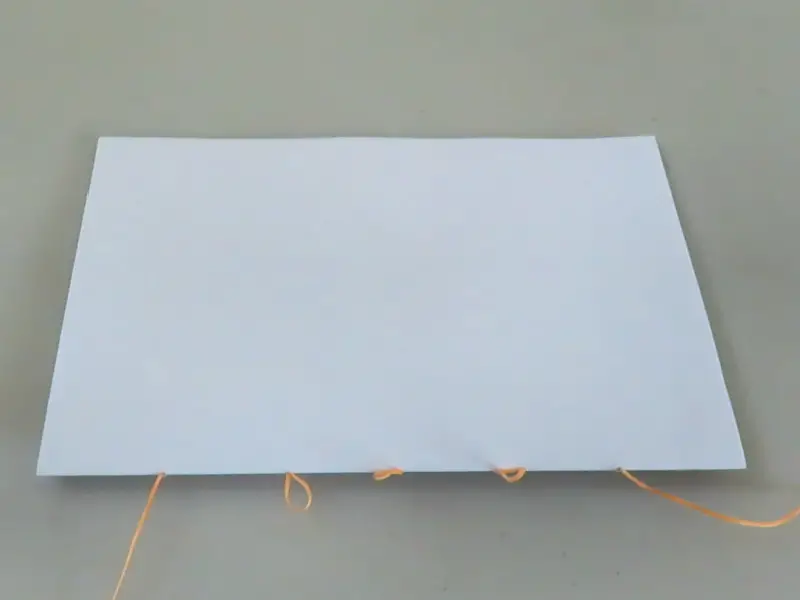
Pull your thread through the last hole on the first signature. Pulling the thread taught (not too tight but not too loose).
Add Second Signature
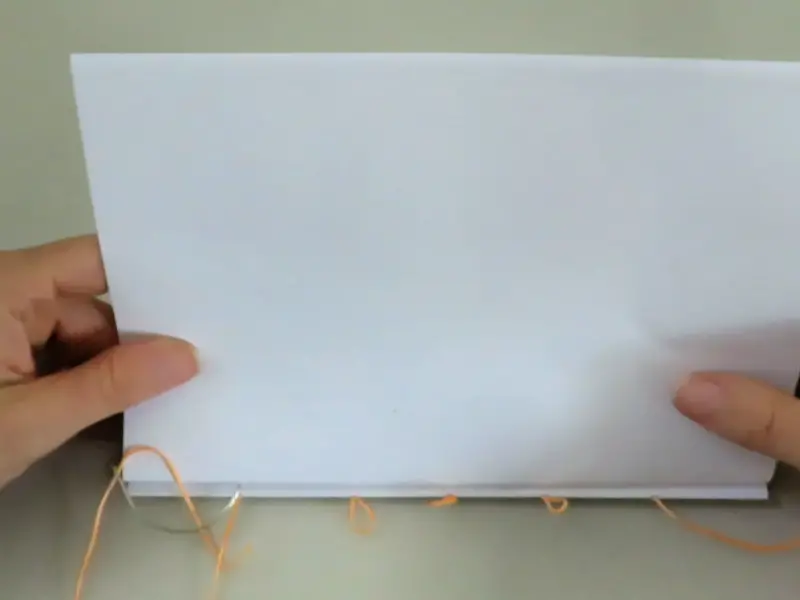
Add your second signature directly on top of your first signature. Thread your needle through the end hole of the second signature.
Threading The Loop
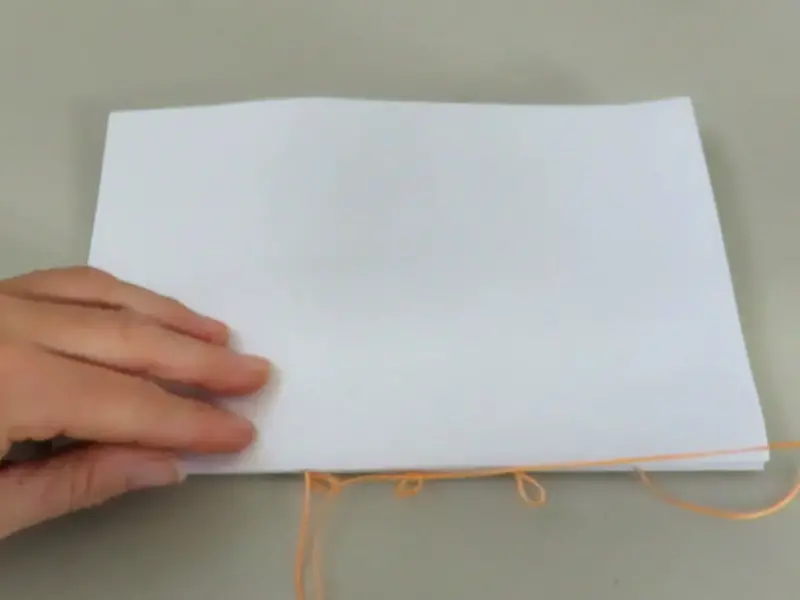
Thread your needle through the next hole in the second signature, and thread through the loop.
Tighten the loop by pulling the excess thread to the next loop. Thread your needle back through the same hole. Pulling the thread and the loop taught.
Repeat
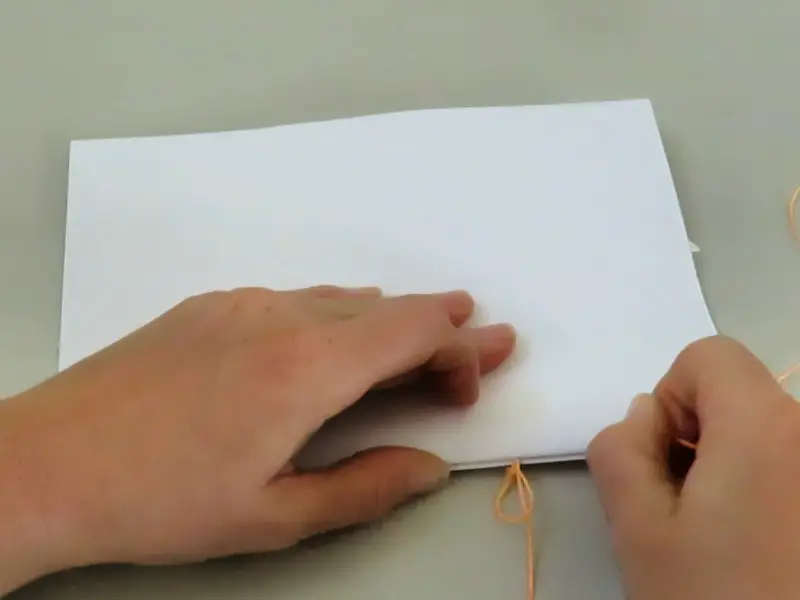
Repeat the previous step until all loops have been sewn in and tightened.
Thread Last Hole
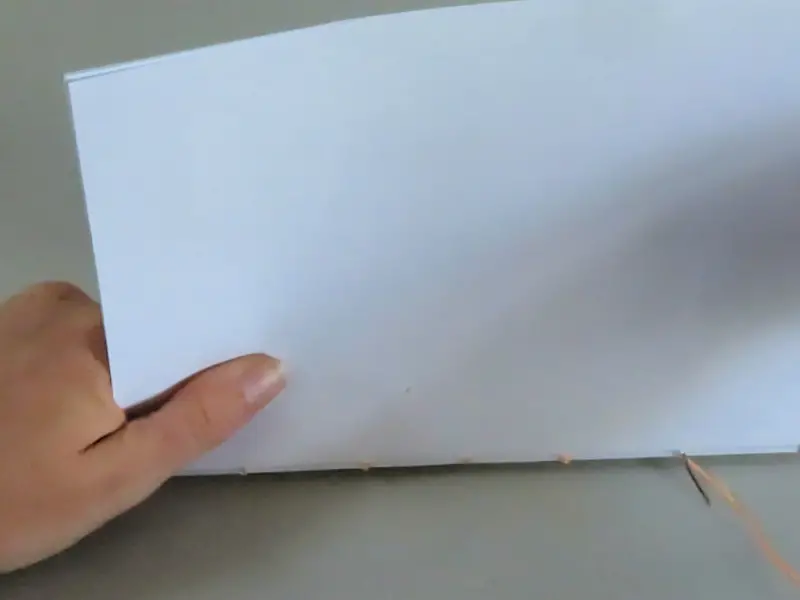
Thread the needle through the last hole in the second signature. You may need to adjust the loops and threads so that all threads are taught.
Tie A Knot
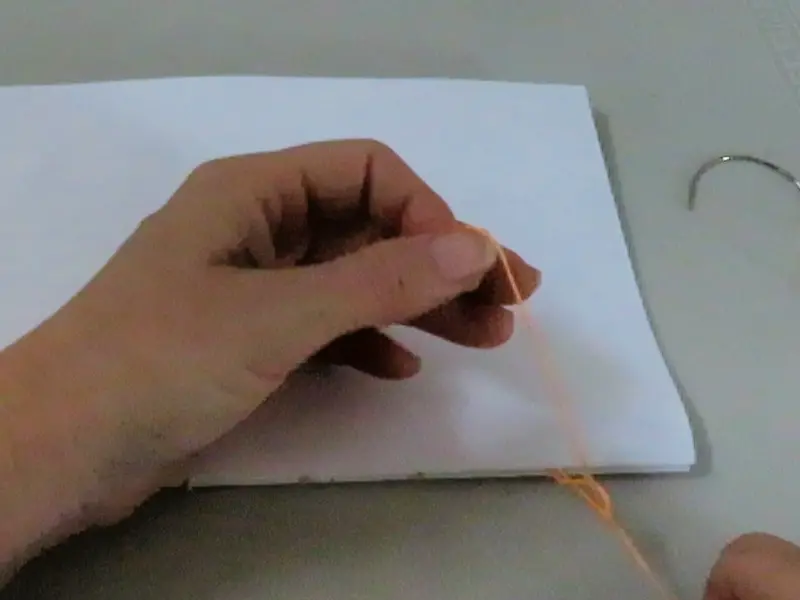
Bonefold the signatures and tie a square knot (or double knot) with the thread tail from the first hole on the first signature.
Add Third Signature
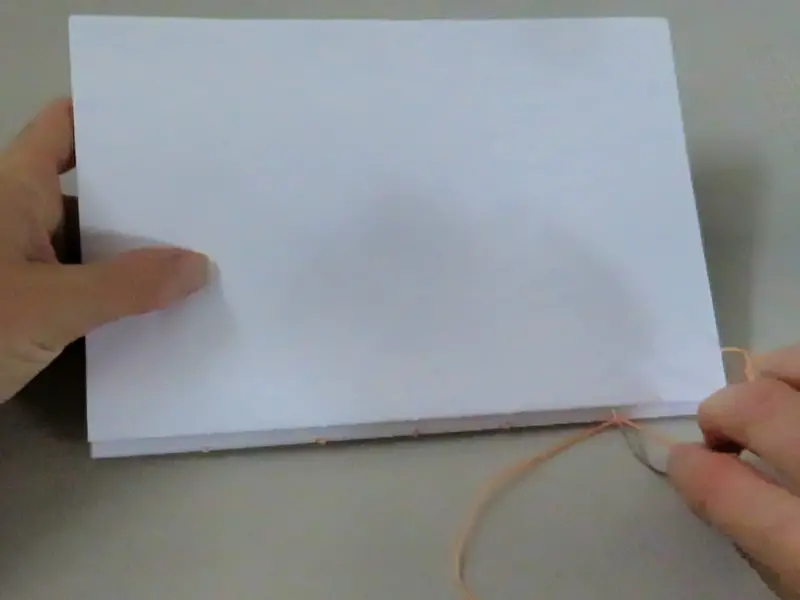
Add your third signature directly on top of your first and second signatures. Thread your needle through the third signature’s end hole (on the side you ended on from the previous step).
Add Chain Stitch
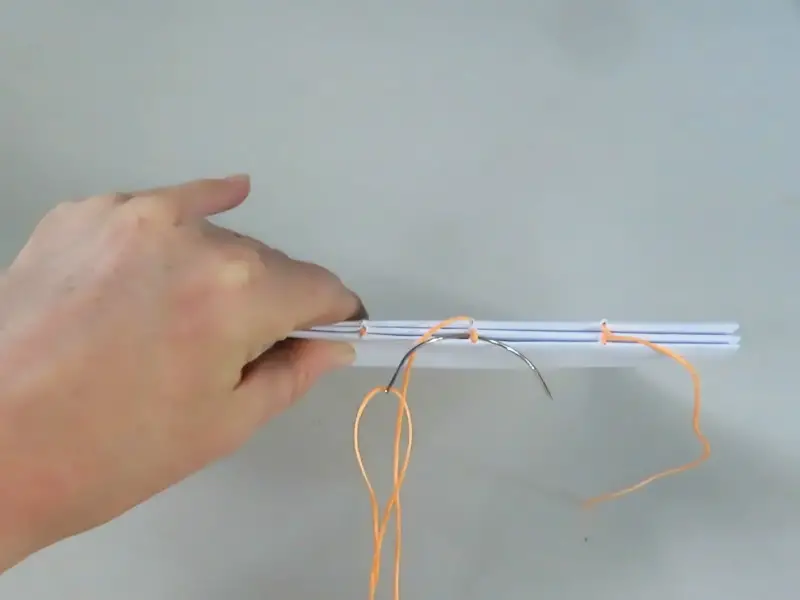
Thread your needle through the next hole in the third signature, pulling your thread taught in your sewing direction.
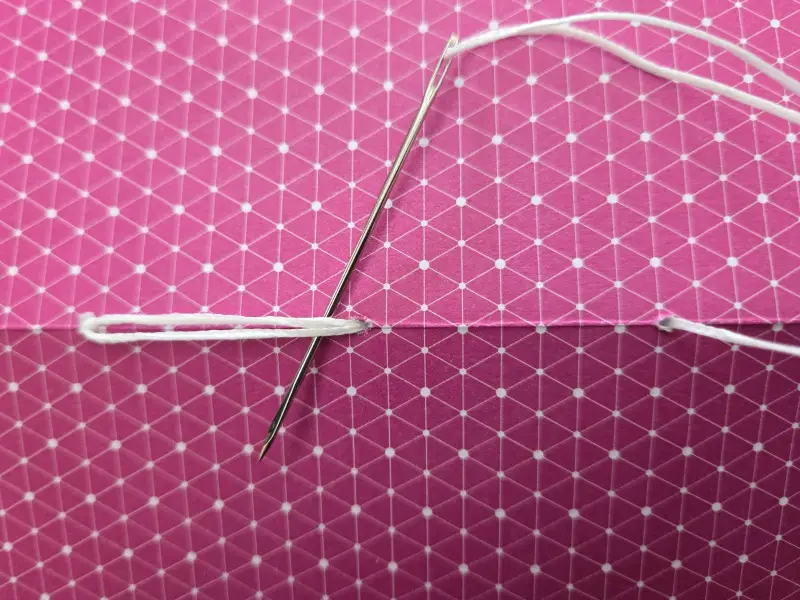
Thread your needle in the opposite direction you are sewing around the stitch between the first and second signatures, creating your chain stitch.
Returning your needle through the same hole in the third signature.
Repeat

Repeat this step with the remaining holes in the signature except the last hole.
Kettle Stitch

For the end stitch, we will use a kettle stitch and thread the needle behind the end stitch between the second and third signature. this time, your thread should go in the same direction you have been sewing.
Tie a square knot or double knot to secure the thread.


Tips For Creating A Chain Stitch
Creating a chain stitch for bookbinding requires some attention to detail and practice. Here are some tips to help you achieve a successful chain stitch binding:
- Choose the Right Materials: Use strong, durable thread, such as linen or waxed cotton, to ensure your stitches hold up over time. Select a needle that easily passes through your paper without causing damage.
- Prepare Your Signatures: Fold your signatures (groups of pages) neatly and use a bone folder to create sharp creases. Make sure all signatures are of equal size for a uniform binding.
- Punch Holes Precisely: Use an awl to punch evenly spaced holes along the spine of each signature. Ensure the holes are aligned across all signatures for consistent stitching.
- Consistent Tension: Maintain consistent tension while stitching to prevent loose or overly tight loops. This ensures the binding is secure but not too rigid.
- Practice the Chain Stitch: Before starting your book, practice the chain stitch on scrap materials to get comfortable with the technique. This will help you maintain even and neat stitches.
- Secure Knots: Tie secure knots at the beginning and end of your stitching to prevent unraveling. Use a square knot or a double knot for added security.
- Work Methodically: Stitch one signature at a time, firmly attaching each before moving to the next. This will help maintain alignment and consistency.
- Finish Cleanly: Trim any excess thread and tuck the ends neatly to give your book a professional finish. You can also add a dab of glue to the knots for extra security.
- Lay Flat Feature: The chain stitch allows books to lay flat when open, which is particularly useful for journals and sketchbooks.
- Decorative Touches: Experiment with colored thread or different stitching patterns to add a decorative element to your bookbinding project.
Following these tips, you can create a durable and aesthetically pleasing chain stitch binding for your books. Happy bookbinding!

In conclusion, chain stitch bookbinding is a versatile and visually appealing technique that provides durability and flexibility to your projects. Following the detailed instructions and understanding the pros and cons, you can create beautifully bound books that lay flat and showcase intricate craftsmanship.
Whether you’re binding a journal, sketchbook, or art book, mastering the chain stitch will elevate your bookbinding skills and allow you to produce high-quality, handmade books. Enjoy the process and the satisfaction of creating something uniquely your own. Happy bookbinding!
I hope this post brought value to your day. Please consider sharing it with a friend or on your favorite social media if it did. Thanks For Reading The Dying Art Of Living!

