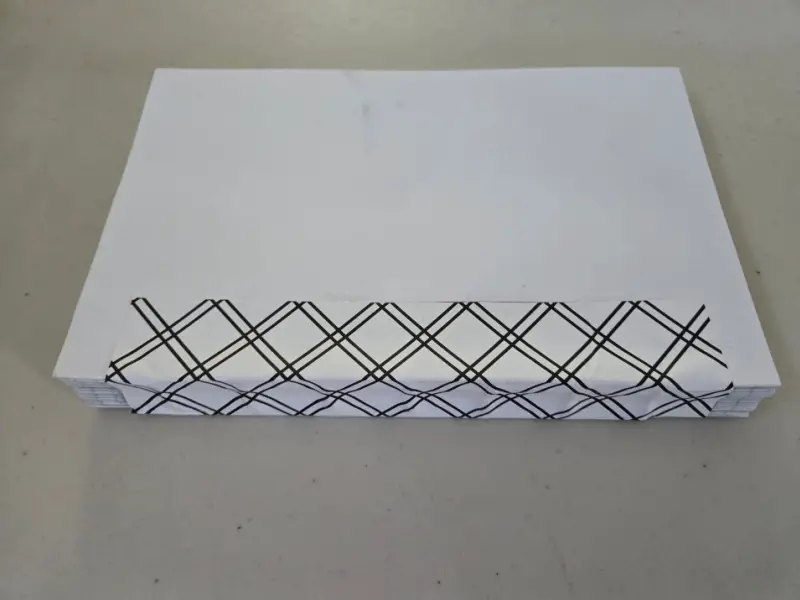

In this first installment of our series on case binding, titled Case Binding – Creating The Text Block – Part 1, we’ll guide you through the essential steps of crafting a text block, the heart of any case-bound book. This article will provide clear, step-by-step instructions to help you prepare and assemble the pages into a neatly organized text block, ready for the next stages of your bookbinding project.
To create a text block for a case binding book, gather and fold signatures, align them, and sew them together. Trim the edges, reinforce the spine with glue and fabric, and add endpapers. This forms the book’s core, ready for casing in the hardcover.
Whether new to case binding or looking to refine your skills, this guide will ensure you have a strong foundation for creating beautifully bound books. Let’s dive in and start creating your text block!
- Case Binding – Creating The Text Block – Part 1 (You are here)
- Case Binding – Creating The Case – Part 2
- Case Binding – Case The Text Block – Part 3

Steps To Create A Text Block For Case Binding
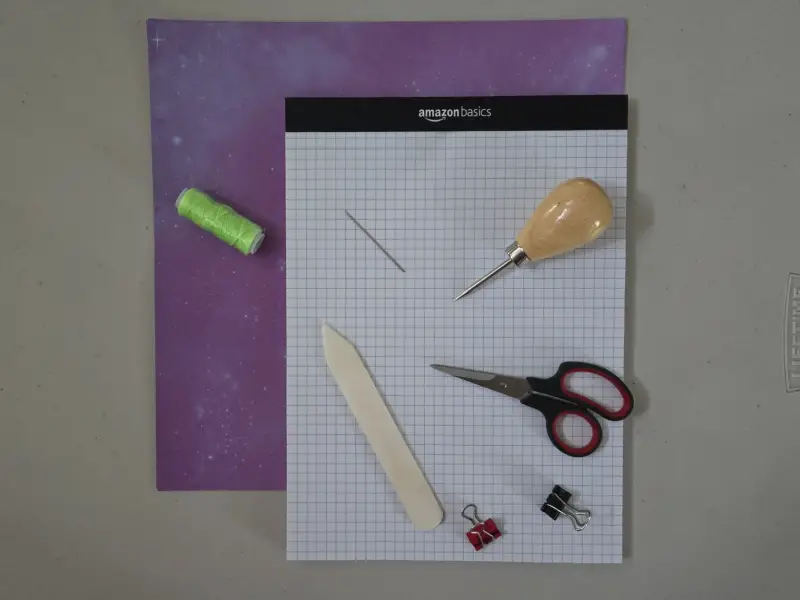
What You Need:
- Paper – for signatures
- Paper – end sheets (apx 90-100 lbs)
- Book Board (if not using a pad of paper)
- Waxed Thread or Thread and Wax
- Mull, Book Cloth, or Scrap Paper (apx 6″ x 3″)
- Book Press or Large Binder Clips
- Ribbon (optional)
- PVA Glue
- Glue Brush
- Bone Folder
- Bookbinding Needle
- Craft Knife
- Awl
- Scissors
- Ruler
- Pencil
For this example I will use 8-1/2 in x 11 in graph paper. I am going to use this Amazon Basics Graph Paper.

Prepare The Text Block
Remove From Pad
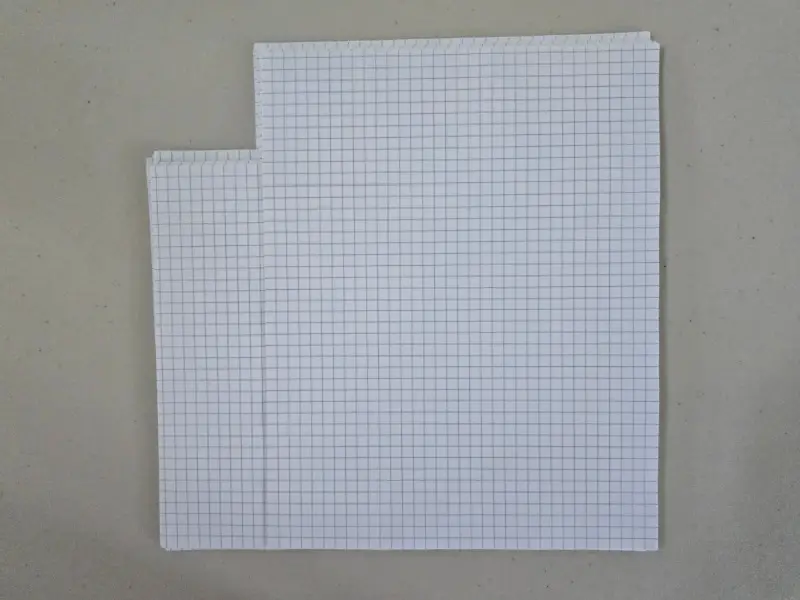
Since I am using graph paper from a pad, my first step will be to remove it from the pad, being careful not to rip the paper. If you are using loose leaf paper, skip this step.
Pro Tip: As you remove the paper from the pad, stack it in groups based on how many pages will be in each signature. Then, alternate the stack 90 degrees for the following stack. This way, you won’t have to recount the sheets as you put them into signatures.
Do Not discard the back of the pad. We will use this for our book board.
Fold The Paper
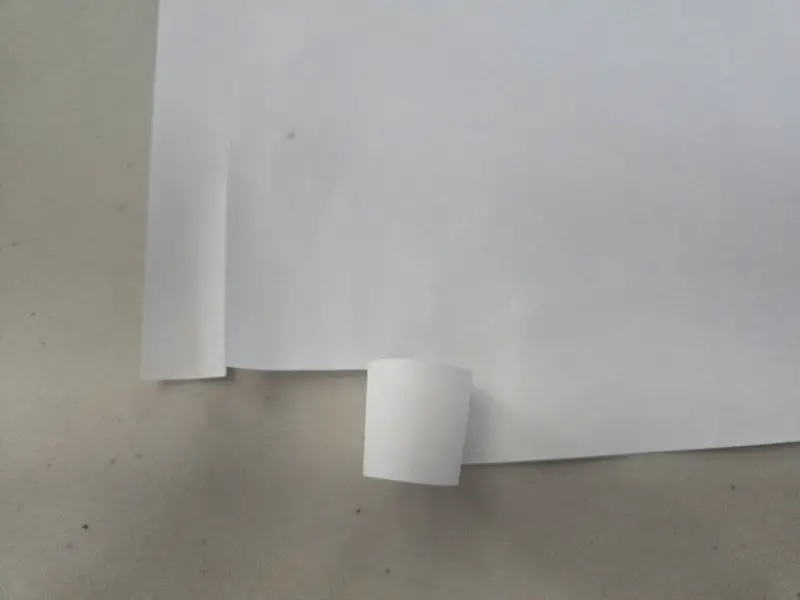
Determine the paper grain. For more information on determining the grain of the paper, check out All About Paper Weight For Bookbinding.
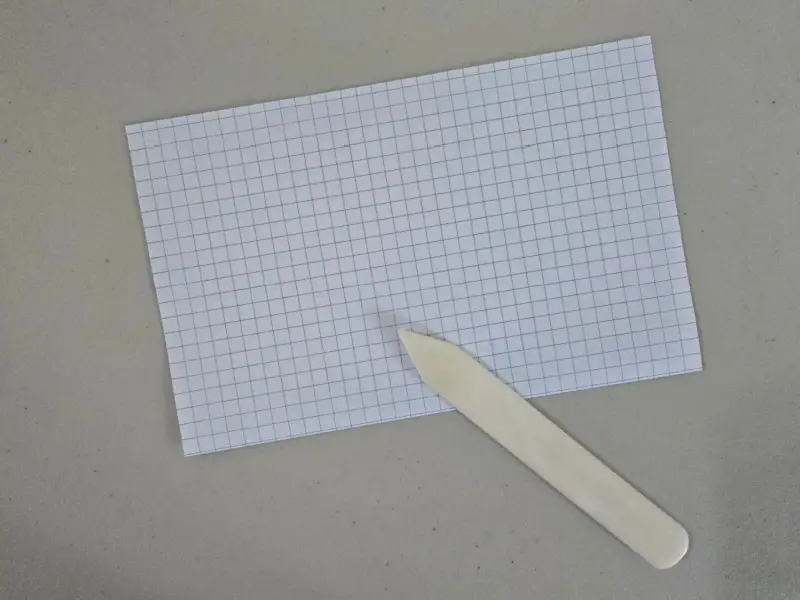
Fold the paper so the paper grain runs parallel to the book’s spine. *You can fold the paper individually or in the quantity of each signature.
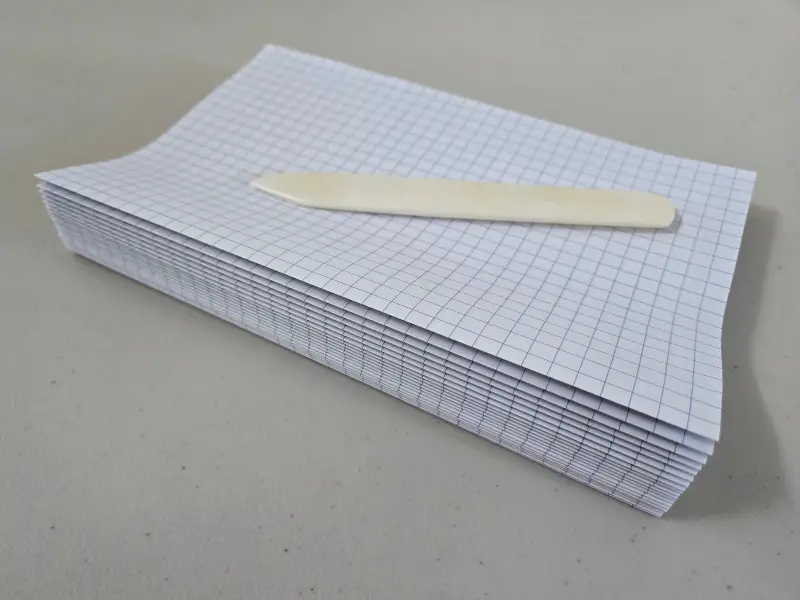
To create the signatures, stack the pages together (if you didn’t fold them already in signatures). For this example, I am using five sheets of paper per signature.
*I like to fold the sheets of paper individually because it makes for a neater fold but takes significantly more time.
Pierce The Signatures
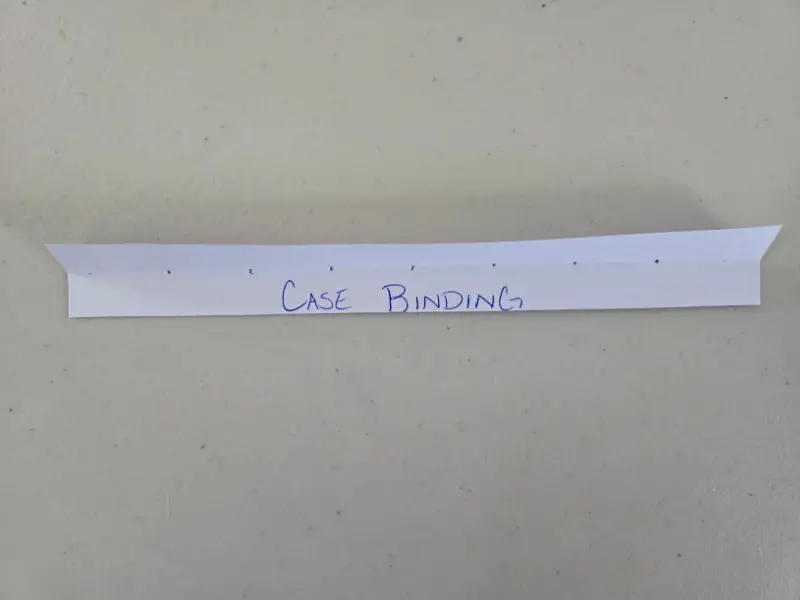
Using a scrap piece of paper, create a template to mark your holes easily. Find the center and mark it with your pencil. Then measure 1″ in each direction until you have less than 2″ to the edge.
Your end marks should be at least 1″ from each edge. Pierce each mark with your awl.
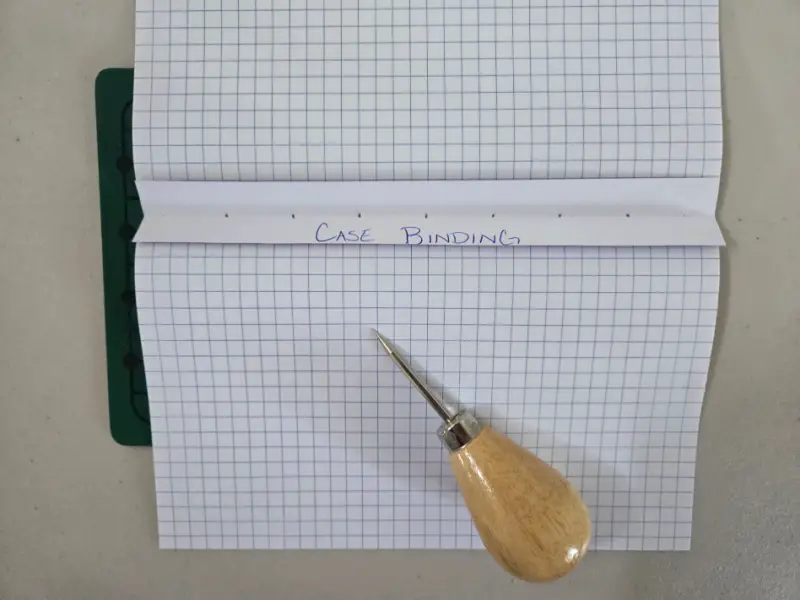
Open your first signature lying on your cutting mat.
Place your template inside your first signature and pierce through the signature at each hole.
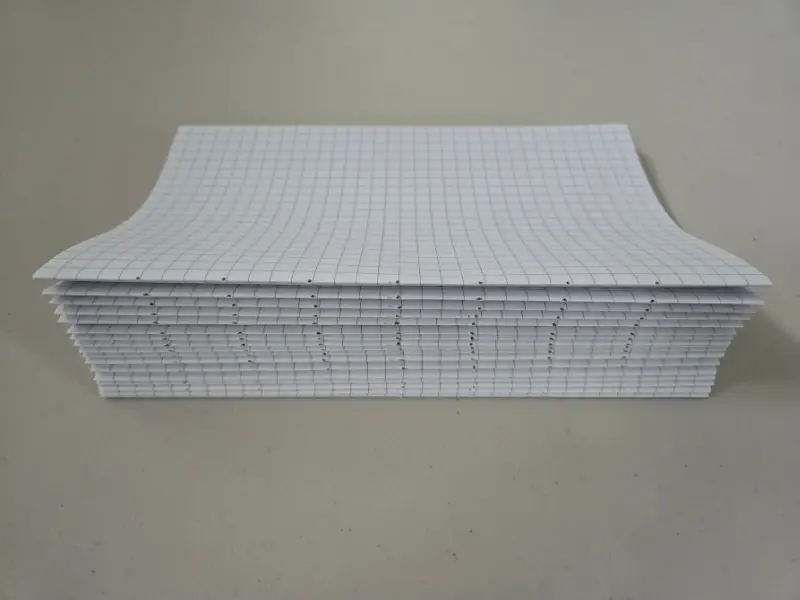
Repeat this process until all of your signatures have been pierced.

Sew The Text Block
The First Signature
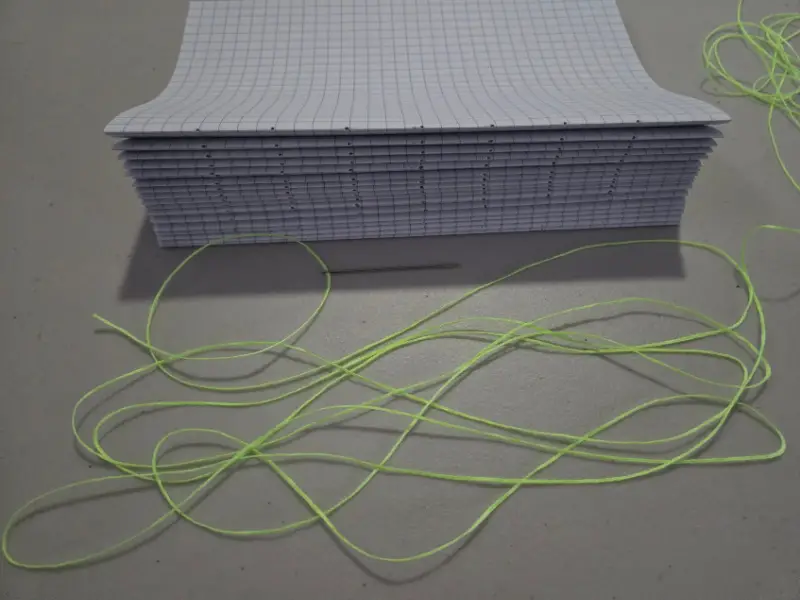
Cut some thread about 5 – 6 times the length of your signatures. If you are using unwaxed thread, wax your thread now. Thread your needle.
If you run out of thread, we can always add more.
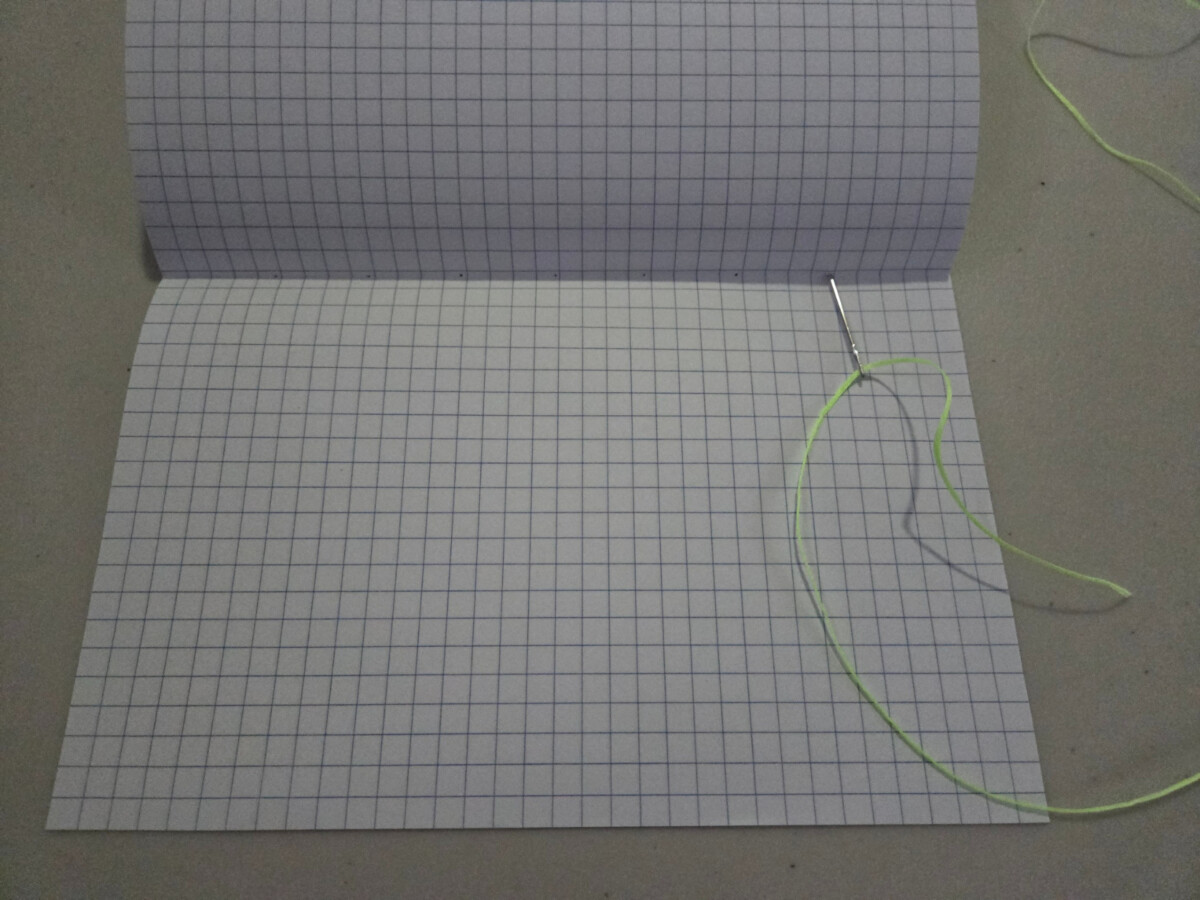
Start by threading your needle through the first hole in the first signature, pulling the thread through, leaving a 2″ tail.
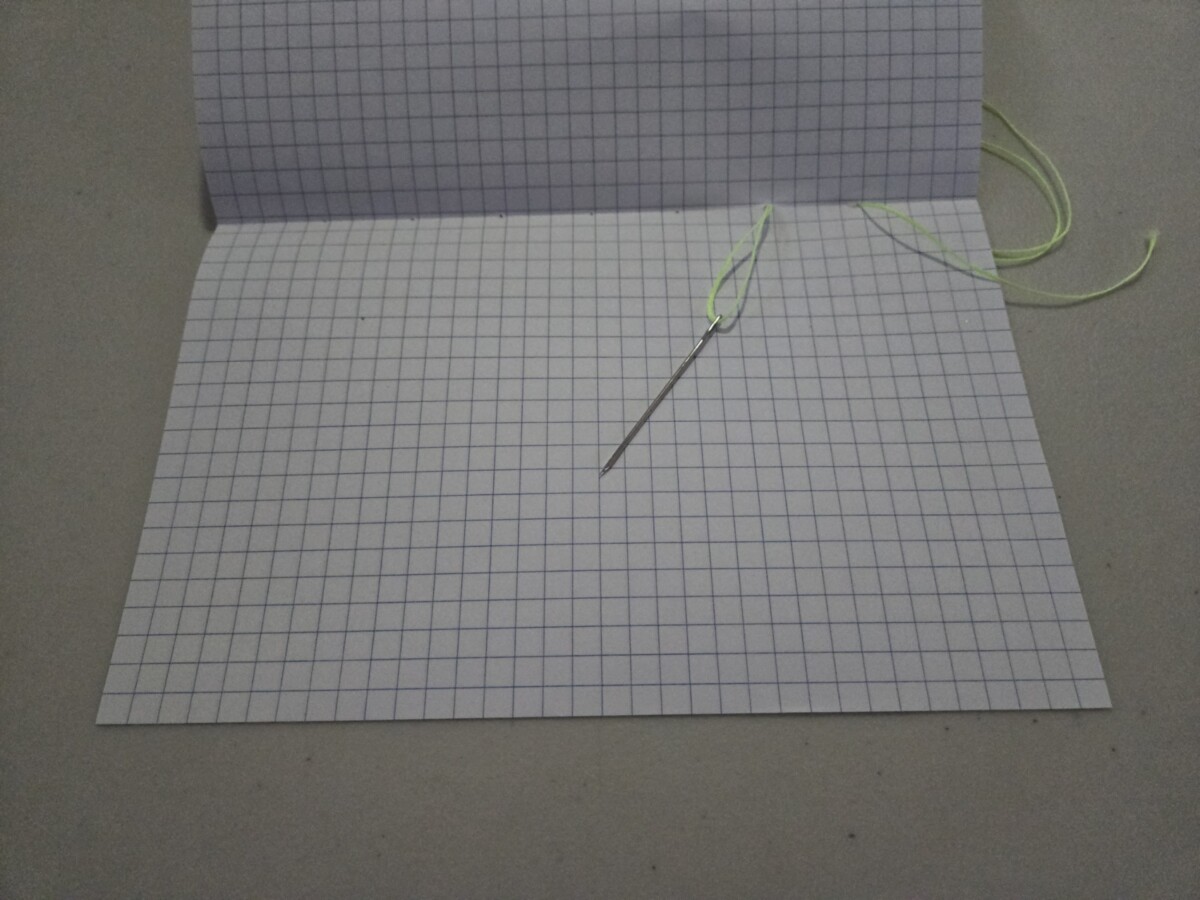
Next, thread the needle through the next hole in the first signature.
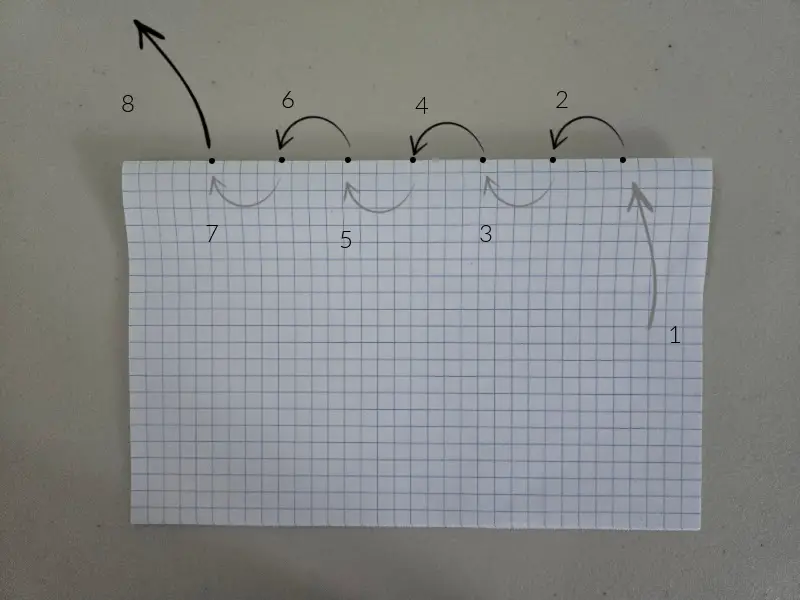
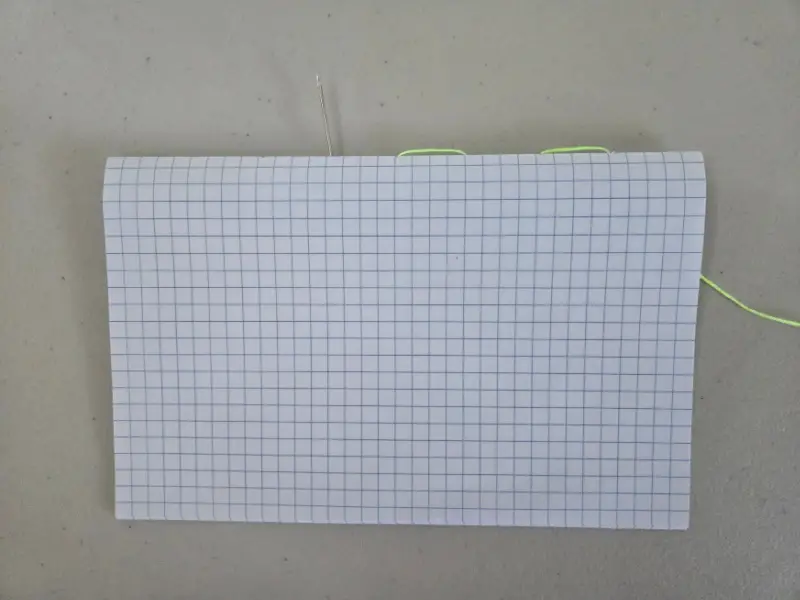
Continue weaving the thread through each hole until you reach the end of the signature.
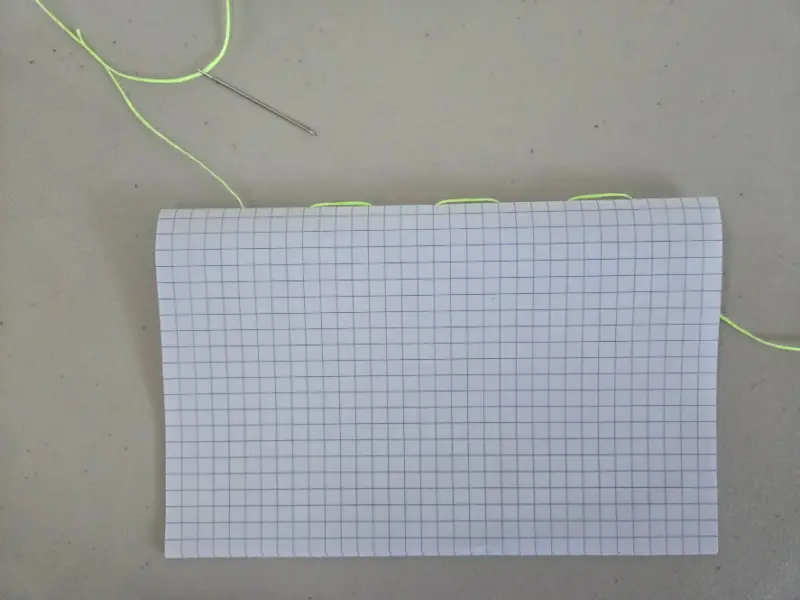
From the outside, you will notice that every other hole has a thread connecting the two. Now, we are going to zig-zag in the other direction.
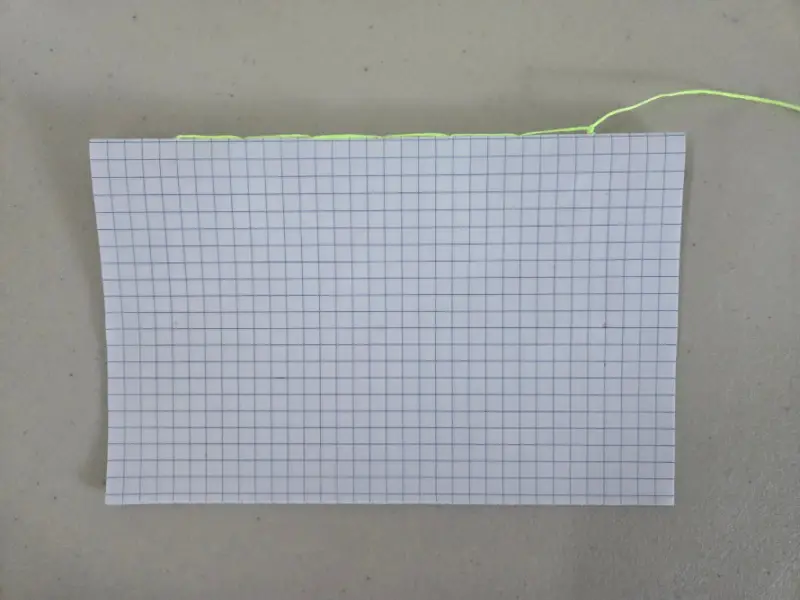
When you get to the end you started on, use the 2″ tail from the beginning to tie a knot just inside the first hole.
Thread your needle through the first hole and gently pull the knot to the outside of your signature.
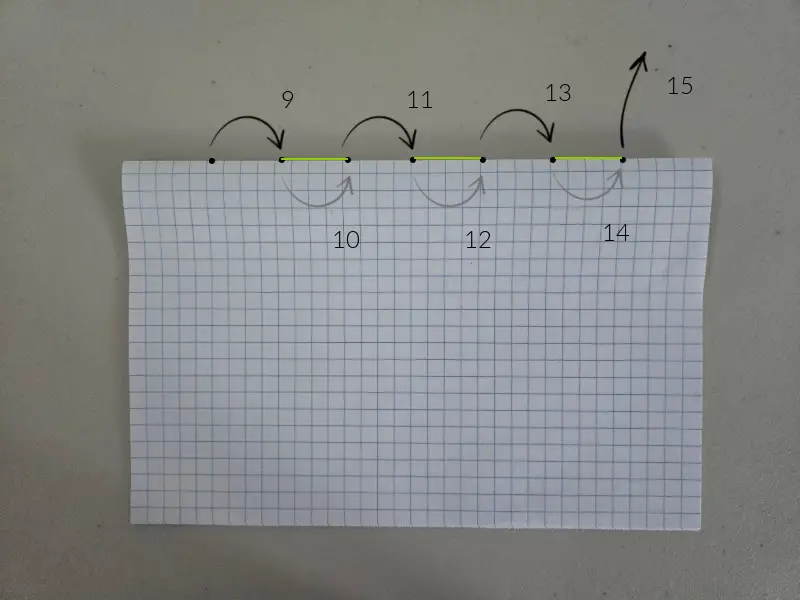
Adding Signatures
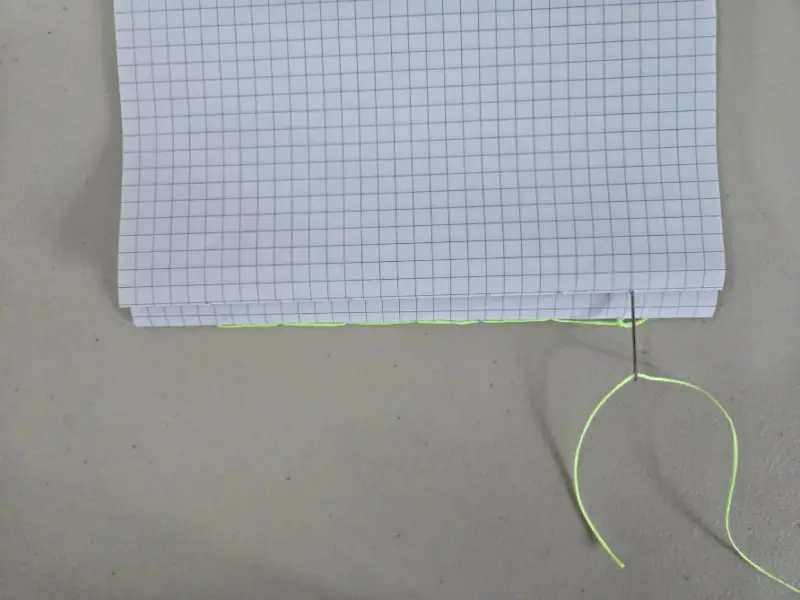
Lay the second signature on top of the first signature. Begin by sewing through the first hole on the second signature.
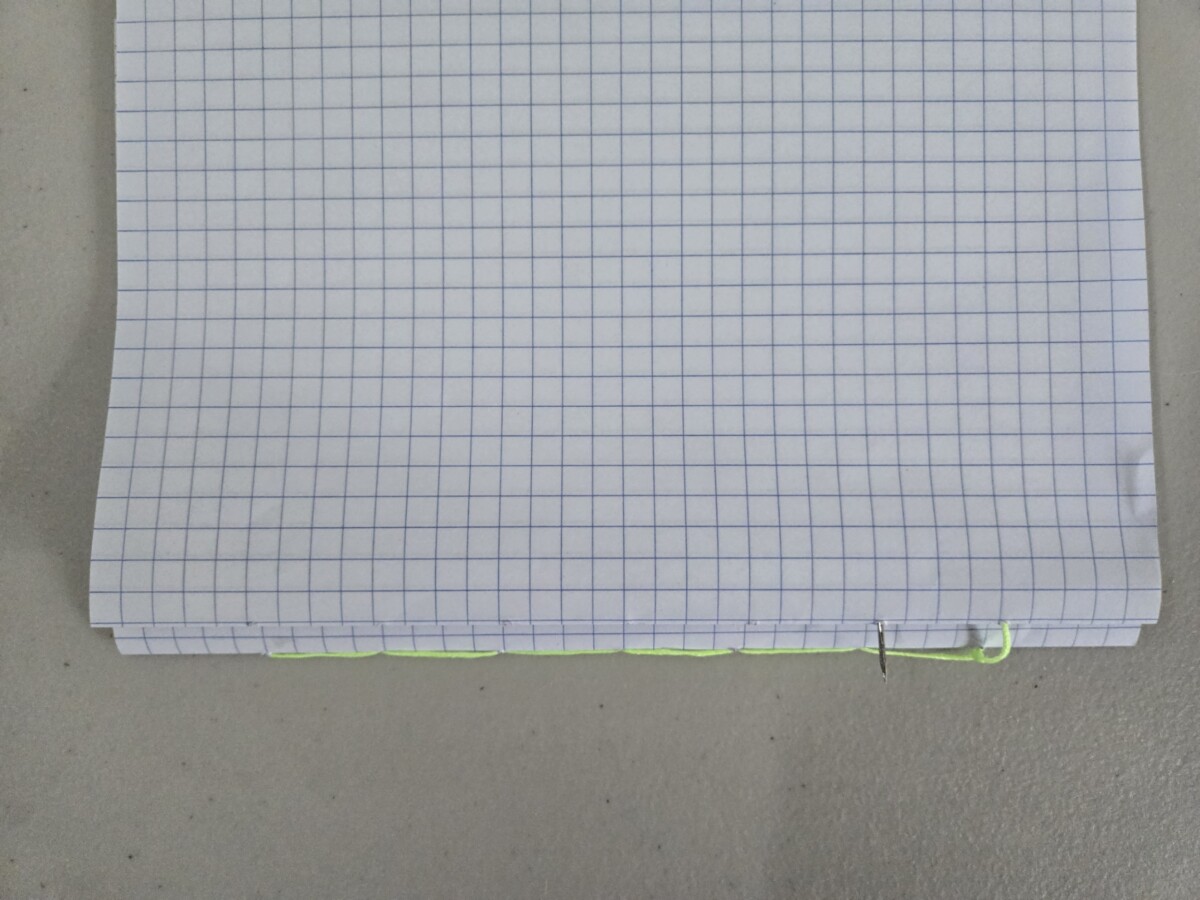
Thread your needle through the second hole on the second signature.
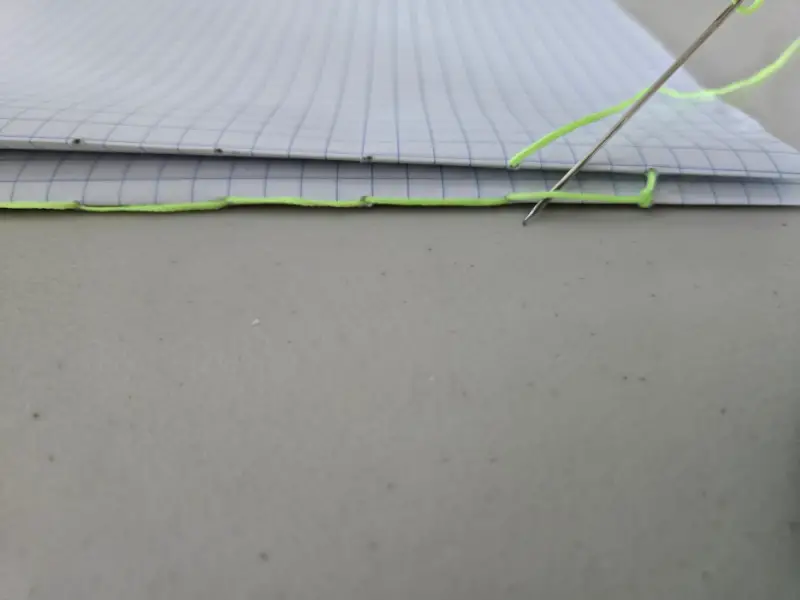
Loop the thread
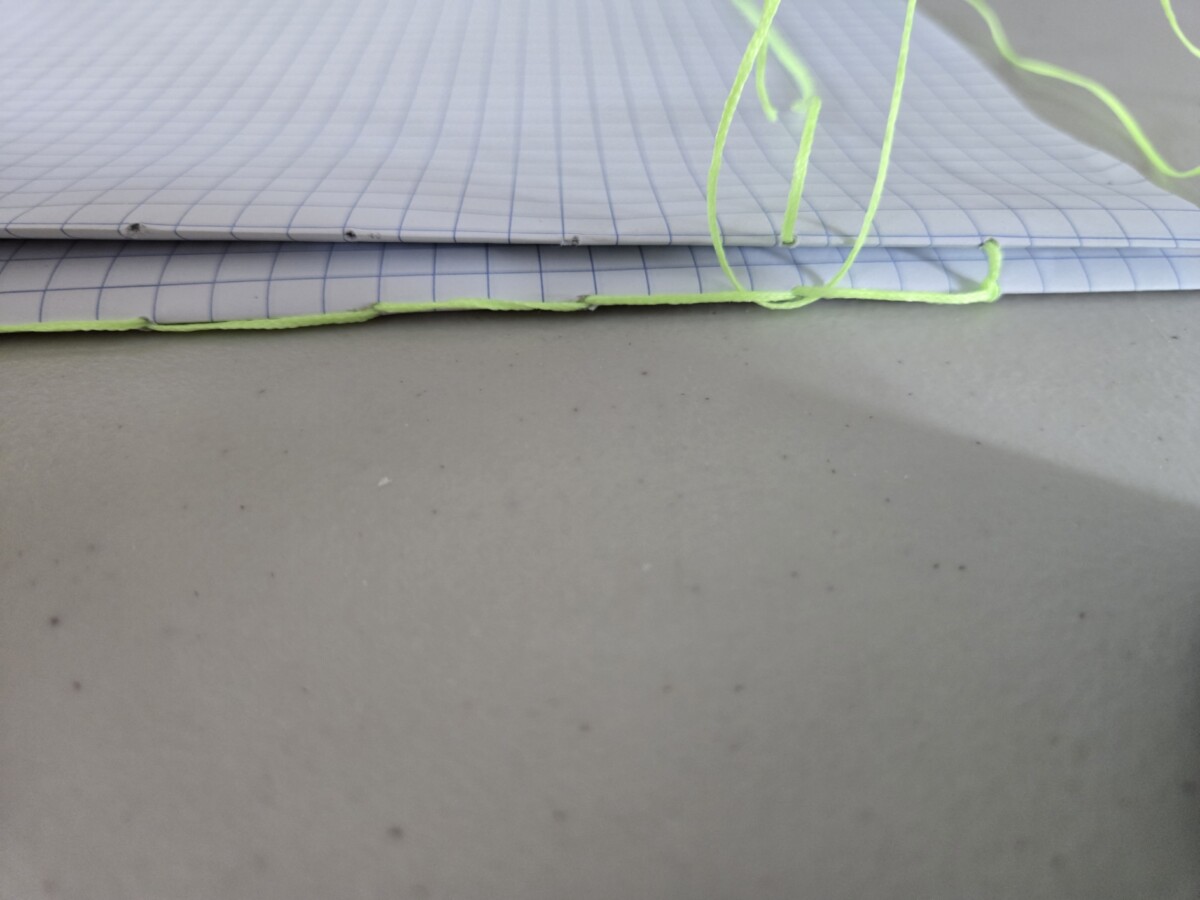
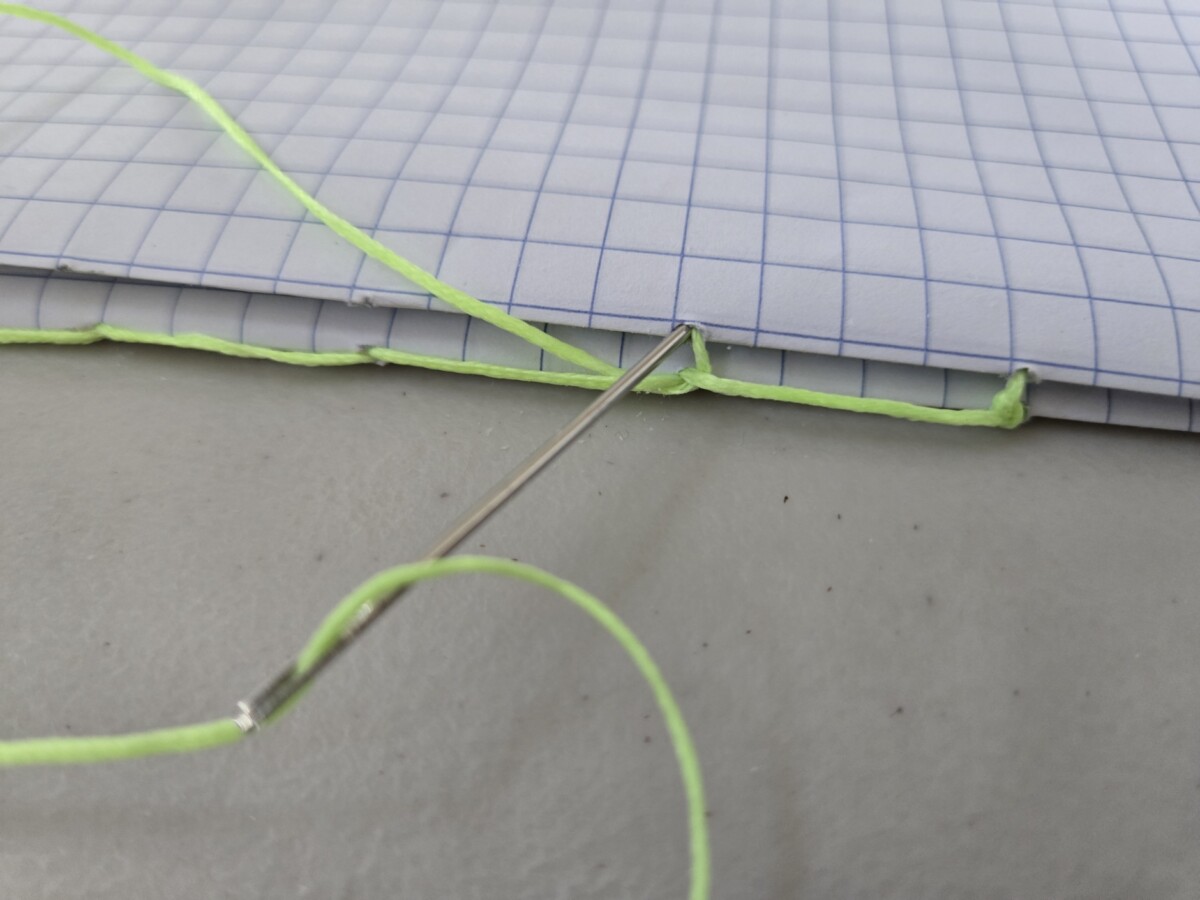
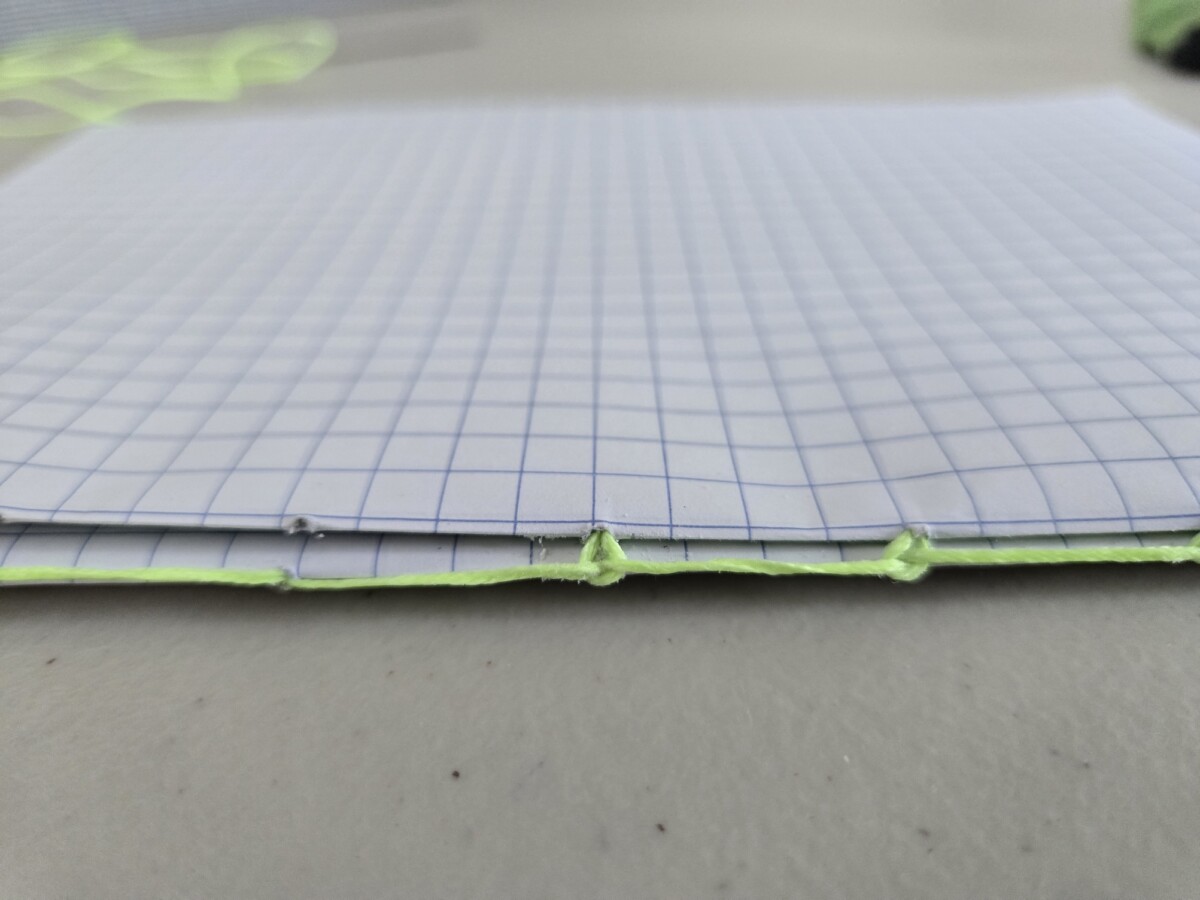
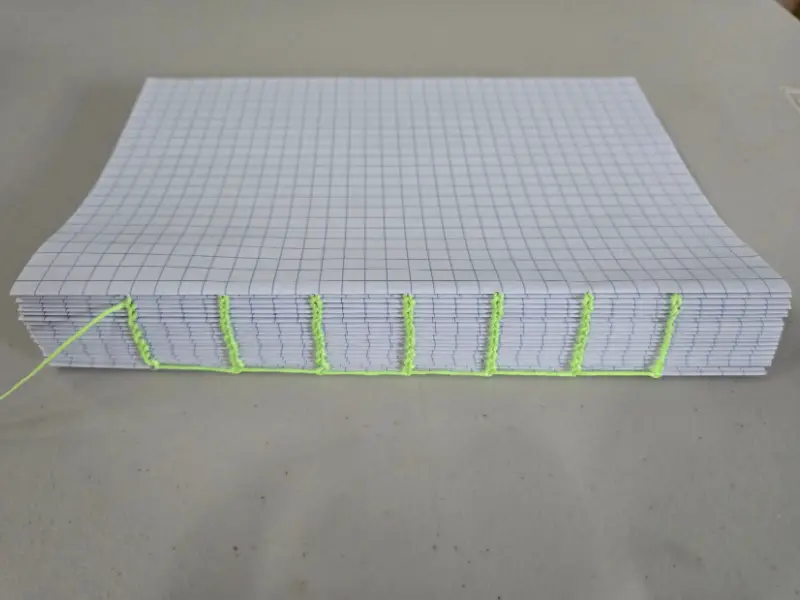
Continue adding signatures until you have added all the signatures in your text block.
The Last Signature

The last signature will be sewn like the previous ones.
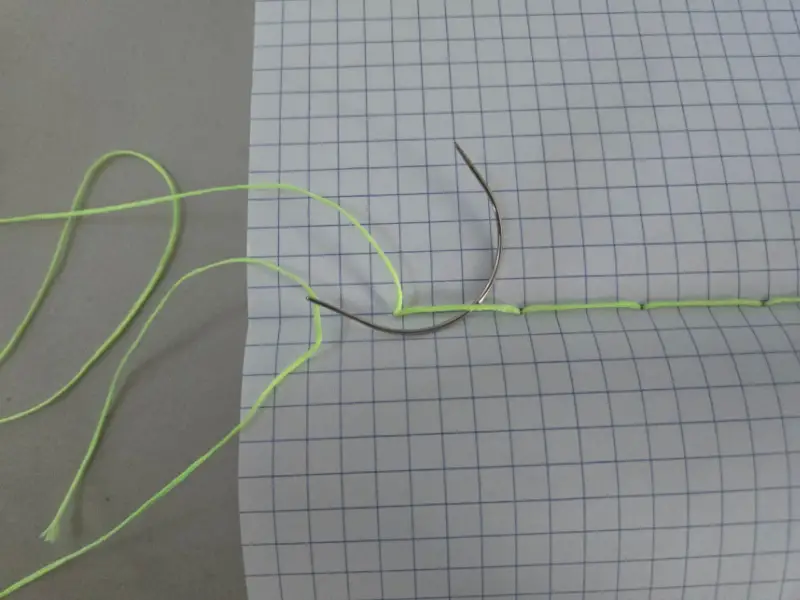
On the last hole, thread your needle back into the inside of the signature. Tie a knot on the inside of the previous signature around the thread on the inside.
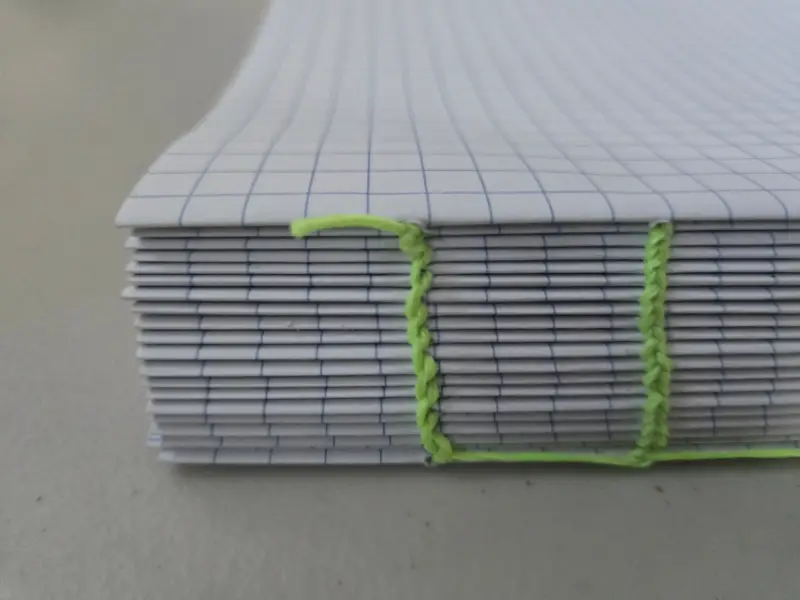
Pull the knot to the outside of the signature and cut the tread.
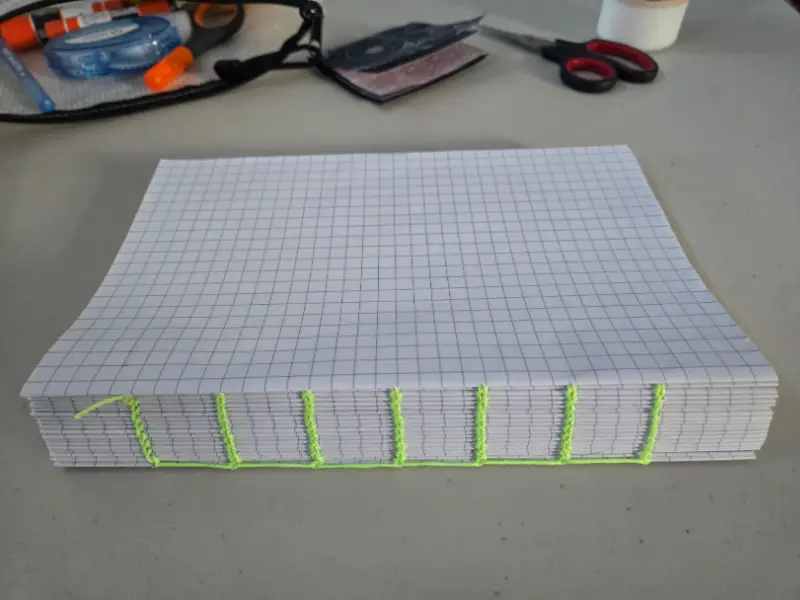

Glue Signatures Sheets
Book Press Method
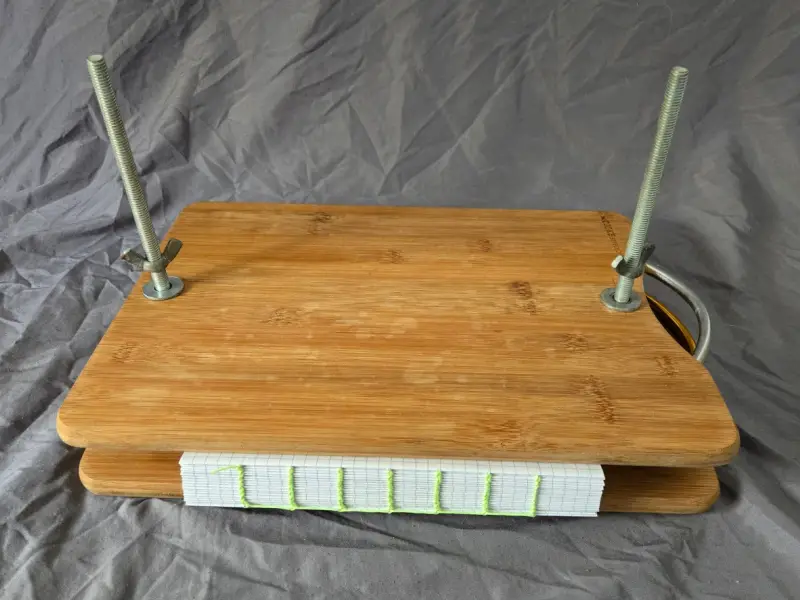
Place the text block in the book press. Align the signatures so they are all straight, one on top of the other.
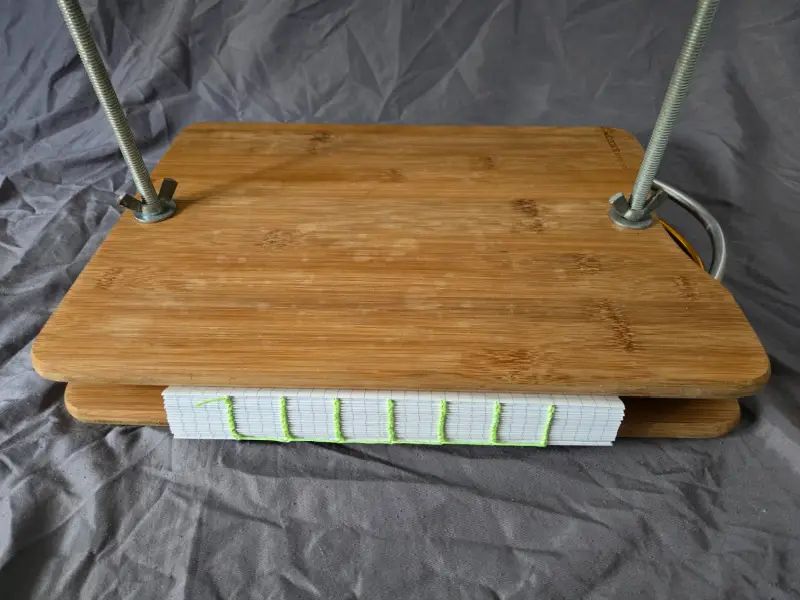
Secure the book press when you are satisfied with the text block alignment.
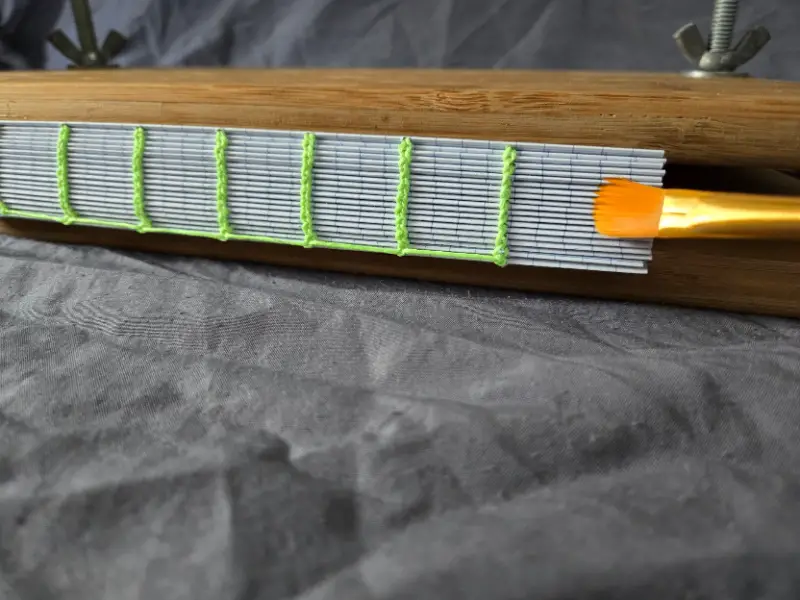
Brush a thin layer of glue on the end of the text block using the PVA glue and the glue brush. Let it fully dry before adding a second thin layer of glue to the text block.
Binder Clip Method

Align the signatures so they are all straight, one sitting on the other.
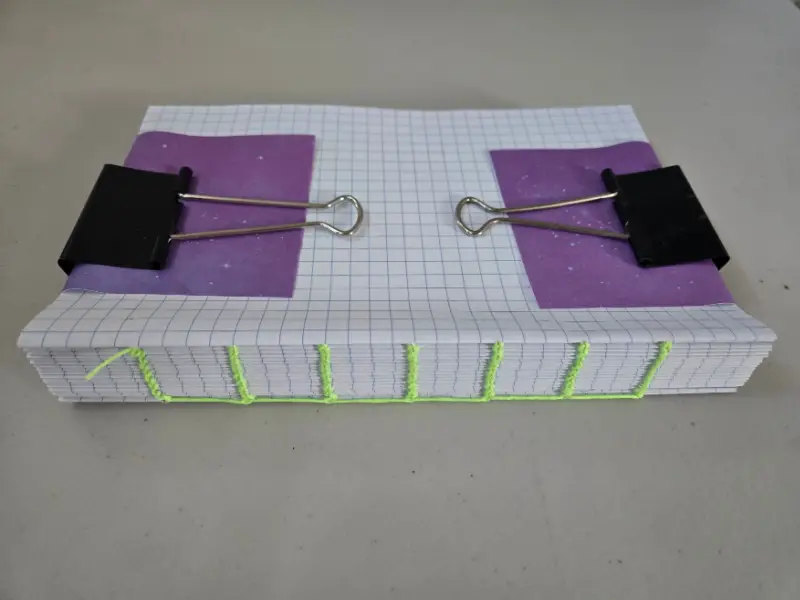
When you are satisfied with the text block’s alignment, secure it with the large binder clips. Wrap a scrap piece of paper around the binder clips to protect the text block from scoffs.
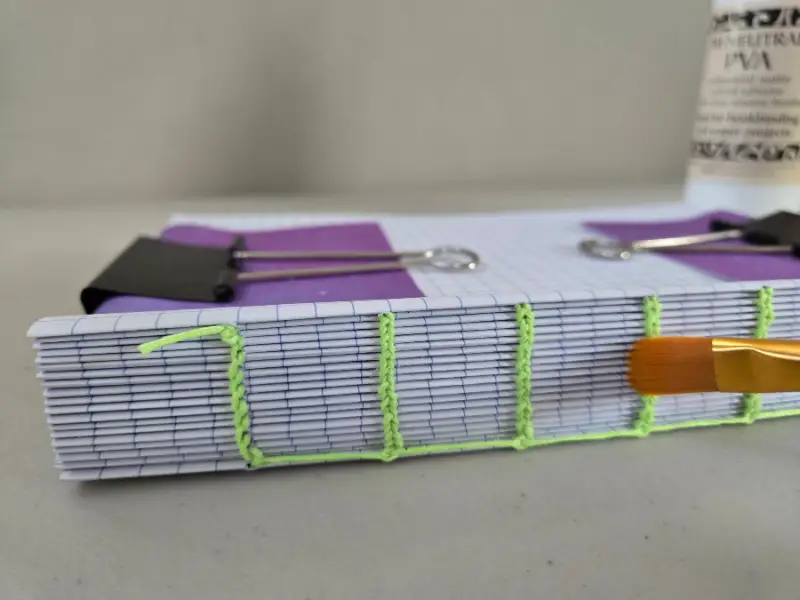
Using the PVA glue and the glue brush, brush a thin layer of glue on the end of the text block. Let it fully dry before adding a second thin layer of glue to the text block.
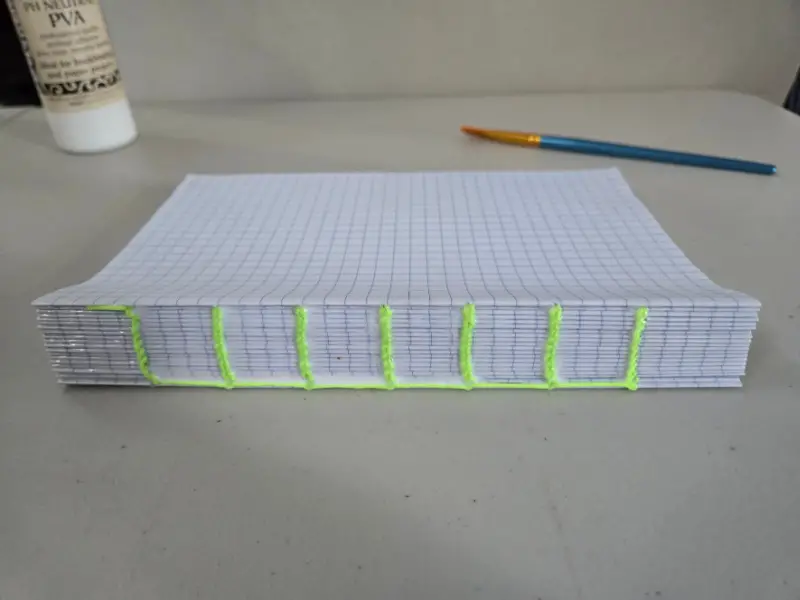
When you have finished gluing the spine, the text block will look like this.
If you wanted to add a ribbon as a bookmark, you would do so here. Glue a ribbon longer than the length of your text block to the spine, about 1/2″ of ribbon, and allow it to dry.

Glue End Sheets
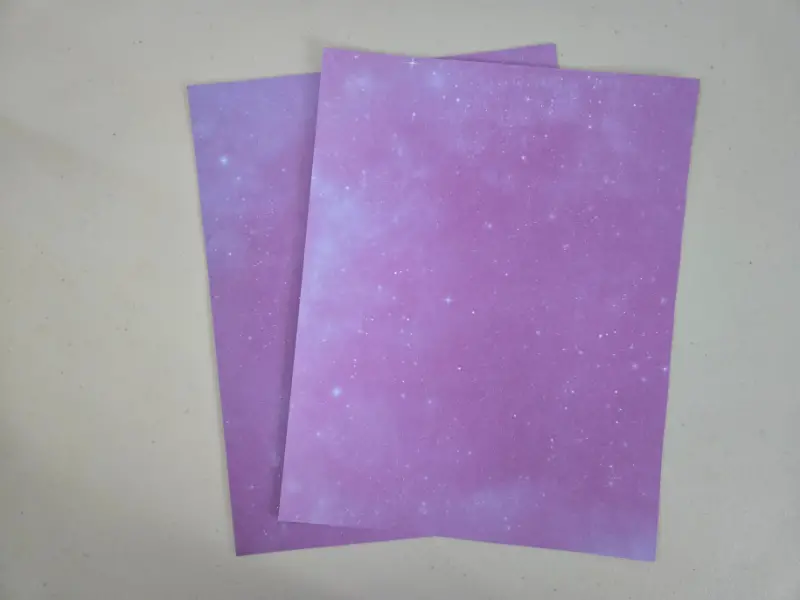
Prep the end sheets by cutting them to size. The end sheets should be cut to the same size as the original sheets of paper. For this example, I used 8-1/2 in x 11 in graph paper; my end sheets also need to be 8-1/2 in x 11 in.
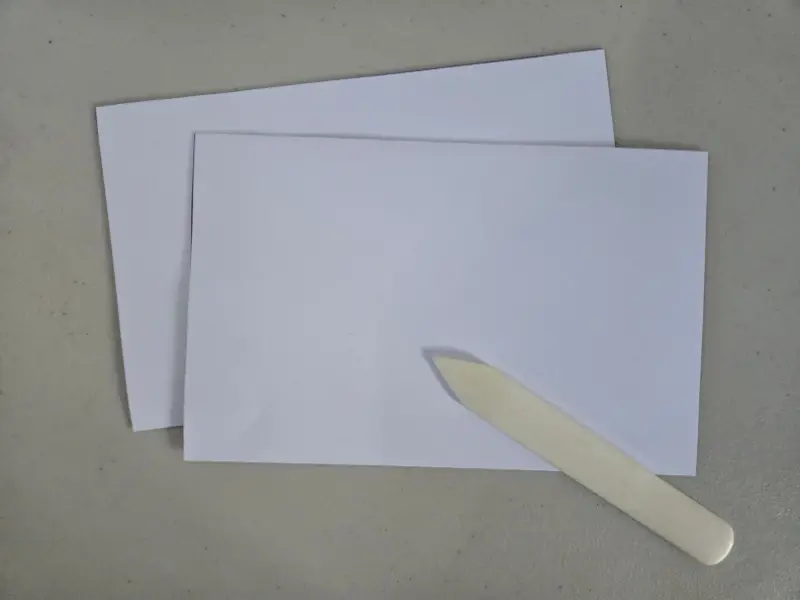
Fold the end sheets in half (picture side inward) and crease the fold using the bone folder.
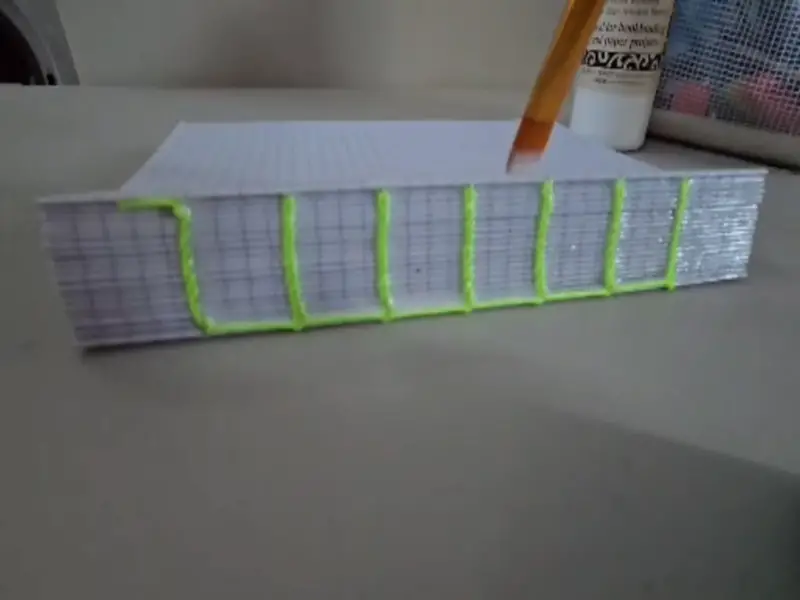
Apply glue along the edge of the spine about 1/4 of an inch wide. Then, add an end sheet to the text block.
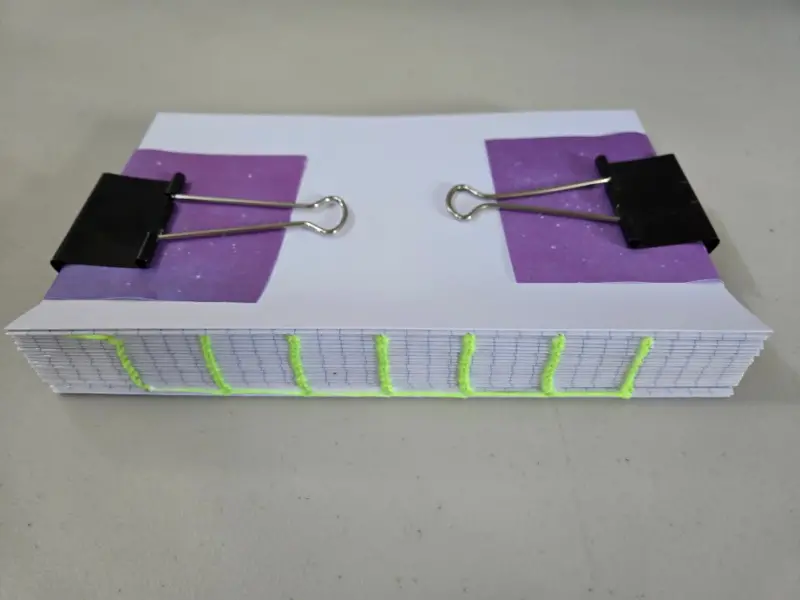
Repeat this step on the other side of the text block and return the text block to either the book press or the binder clips to dry.
Reinforce The Spine
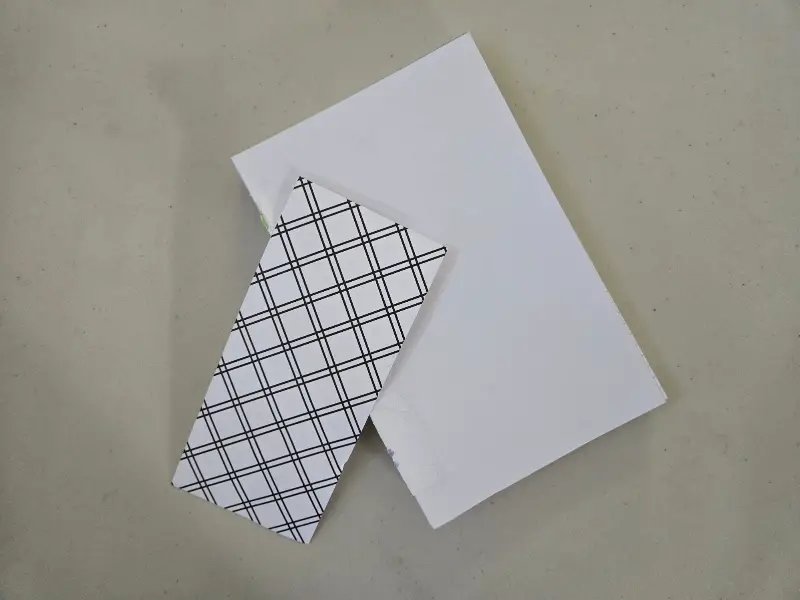
If using mull or book cloth, cut a piece to the length of the spine.
If using scrap paper, cut a piece just longer than the threads of the spine and wide enough to cover the width of the spine and at least an inch on each side of the text block. The idea is to reinforce the spine of the book.
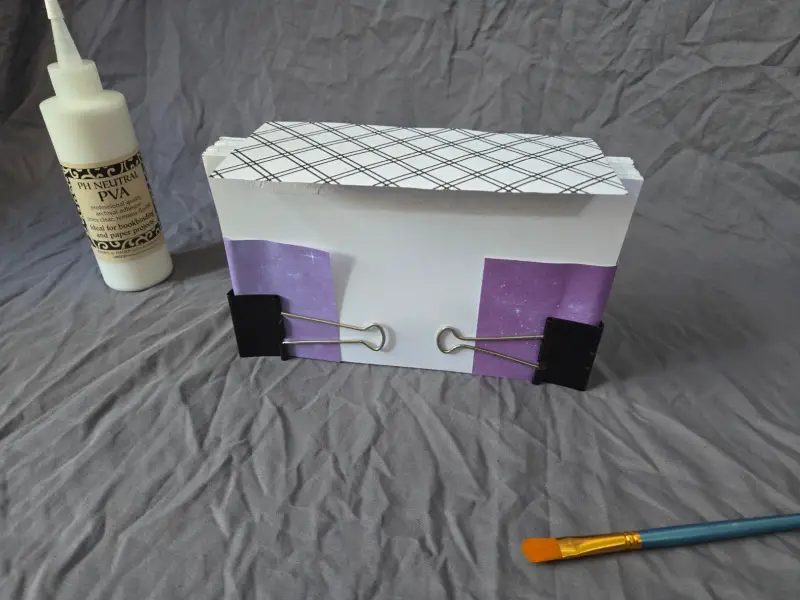
Create a stand using the binder clips to help hold the text block on its side.
Using the glue brush and the glue, glue the reinforcement to the spine of the text block.
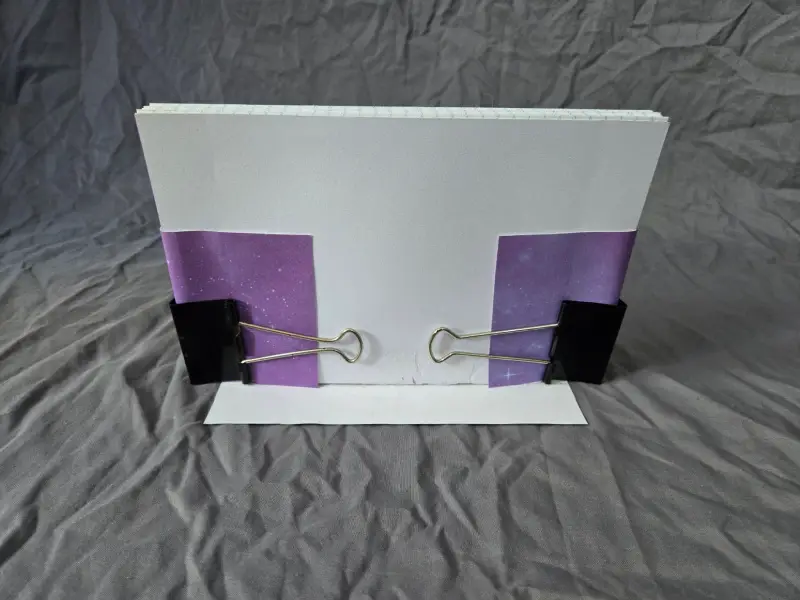
Move the binder clips to the opposite side and set the text block on its spine to dry.
Wait for the spine to dry completely before proceeding to the next step.
Remove binder clips.
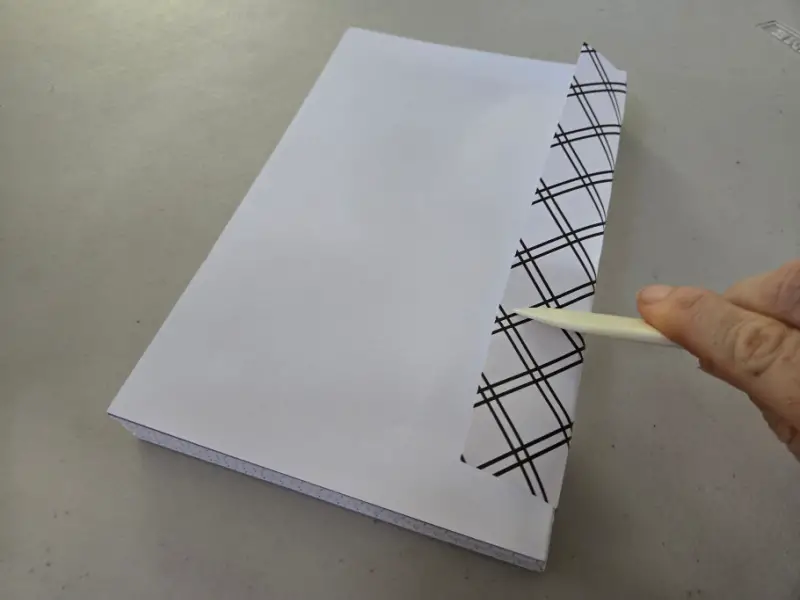
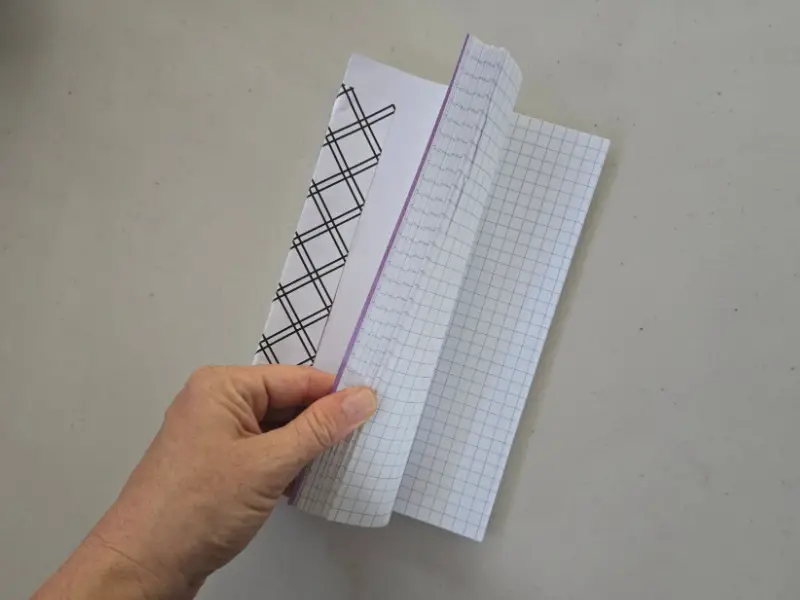
Using the bone folder, fold over the reinforcement to cover the front and back of the text block.
Glue both sides of the reinforcement to the text block. Allow to dry.
Creating the text block is fundamental in the case binding, laying the groundwork for a sturdy and professional-looking book. By carefully following the step-by-step instructions in this article, you’ll be well on your way to crafting a well-structured text block, ready to be paired with a custom case in the following stages of your bookbinding journey. Mastering this technique not only enhances the durability of your book but also prepares you for the creative and rewarding process of case binding. Stay tuned for the following article, where we’ll guide you through creating the perfect case for your text block!
If you are following along making a case bound check out our next post Case Binding – Creating The Case – Part 2.
I hope this post brought value to your day. Please consider sharing it with a friend or on your favorite social media if it did. Thanks For Reading The Dying Art Of Living!

