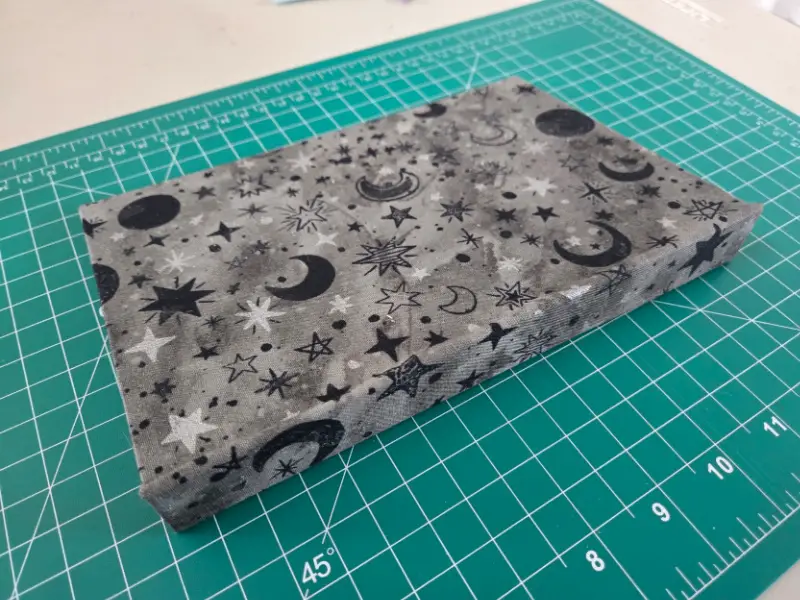

In the second part of our case binding series, Case Binding – Creating The Case – Part 2, we’ll walk you through the process of constructing the case, which forms the sturdy cover of your book. This article will provide detailed, step-by-step instructions for measuring, cutting, and assembling the materials needed to create a professional-quality case to protect and enhance your text block.
To create the case for a case binding book, cut two book boards and a spine piece to size. Cover with fabric or paper, leaving space between boards for flexibility. Fold the edges over and glue them down. Attach the text block inside the case, ensuring proper alignment and adhesion.
Whether you’re crafting a personal journal, a custom notebook, or a hardcover book, mastering the art of case making is essential. Let’s get started on building the perfect cover for your case-bound book!
- Case Binding – Creating The Text Block – Part 1
- Case Binding – Creating The Case – Part 2 (You are here)
- Case Binding – Case The Text Block – Part 3

What Is The Case In Case Binding
The case in a case binding is the cover of the book, made from rigid boards covered with fabric, paper, or leather. It protects the text block and is attached during binding, giving the book its durable, hardcover finish.

Steps To Create The Case For Case Binding
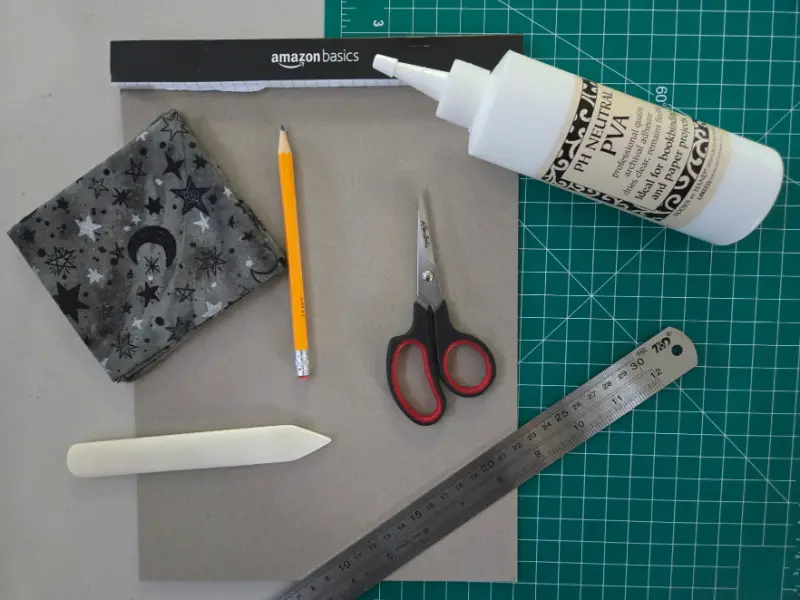
What You Need:
- Two Pieces of Book Board or
- The Back of The Pad Of Paper
- Card Stock (apx 110 lbs)
- *Book Cover
- Heavy Books or Weights
- Cutting Mat
- Utility Knife
- Bone Folder
- PVA Glue
- Glue Brush
- Wax Paper (optional but encouraged)
- Scissors
- Ruler
- Pencil
*For this example, I am using a piece of cloth, but you could use a piece of decorative paper.
Measure And Cut Book Board
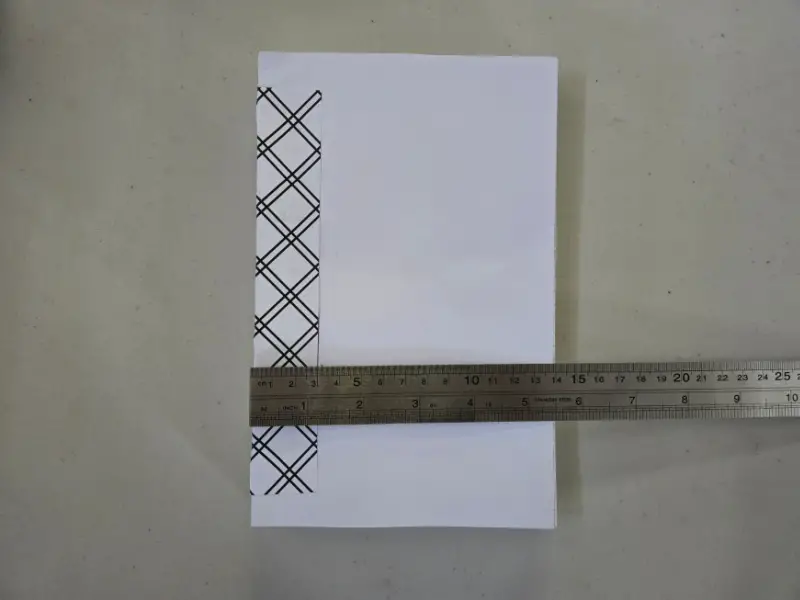
Measure the width of the text block, subtract 1/8″ = cover width.
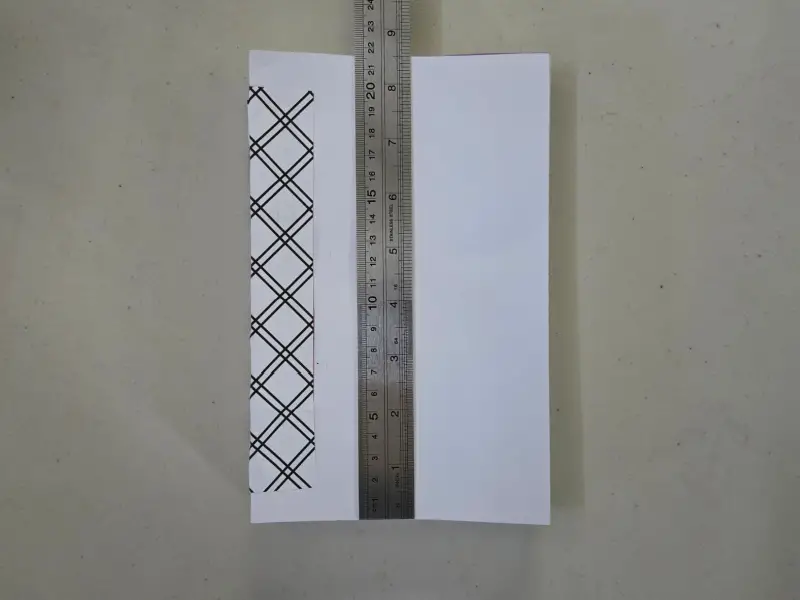
Measure the height of the text block, and add 1/4″ = cover height.
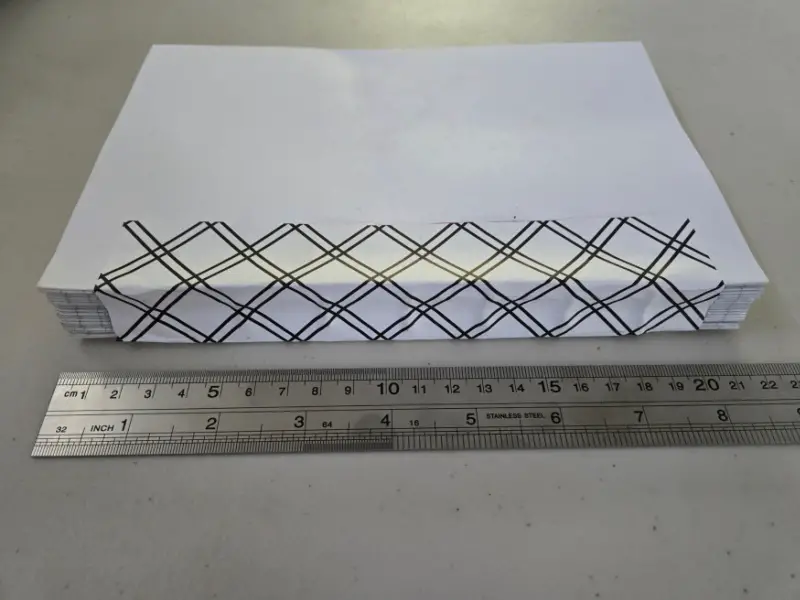
Measure the width and height of the spine of the text block.
If using the back of the pad of paper, do not add the 1/4″ for the cover height. Remove the extra paper from the top of the board.
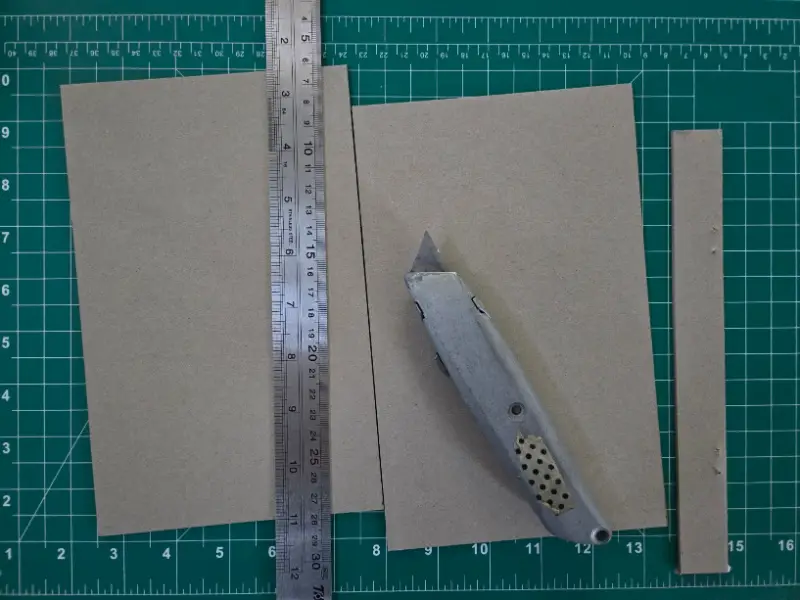
Using the ruler and pencil, measure and mark your book boards. Using the cutting mat and utility knife, cut out all of your book boards.
Glue Book Board To Cover
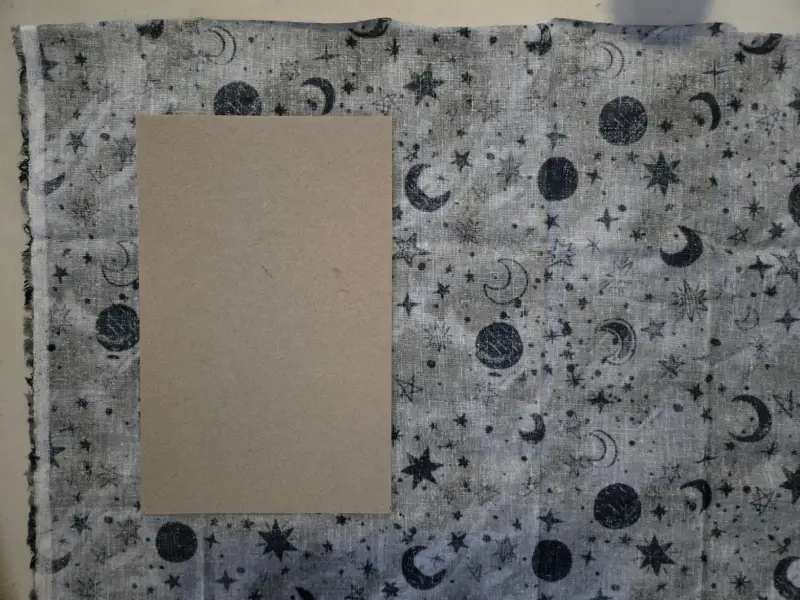
Lay your cover flat (decorative side down) on wax paper, and using the PVA glue and glue brush, glue your first book board, leaving about 2″ for the edge.
Use the bone folder to smooth out the cover on the book board.
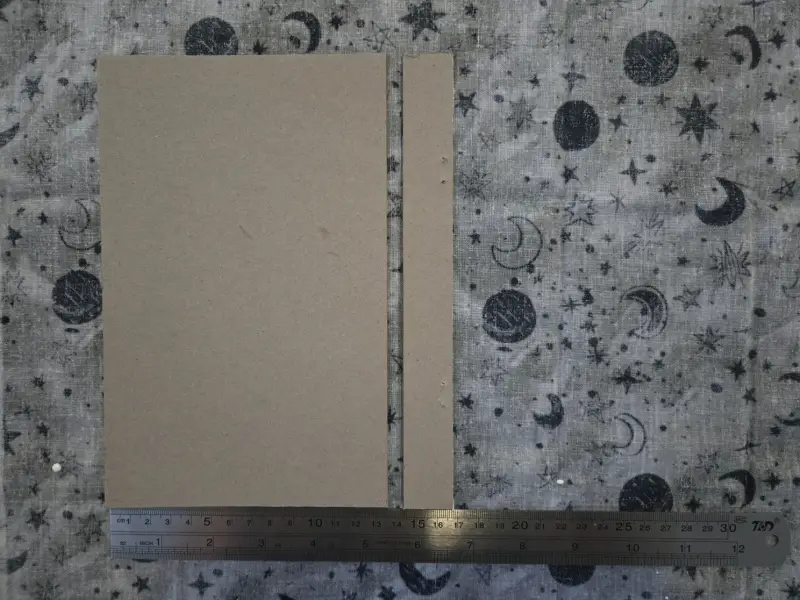
Measure 1/4″ from the first book board and glue the spine book board piece to the cover.
Again, use the bone folder to smooth out the cover on the book board.
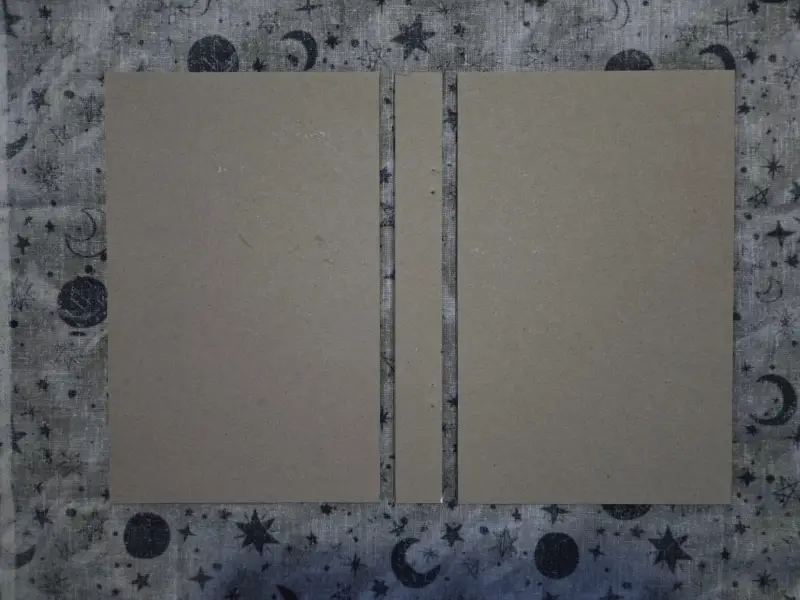
Measure another 1/4″ from the spine book board so you know where to place the second book board.
Use the bone folder to smooth out the cover on the book board.
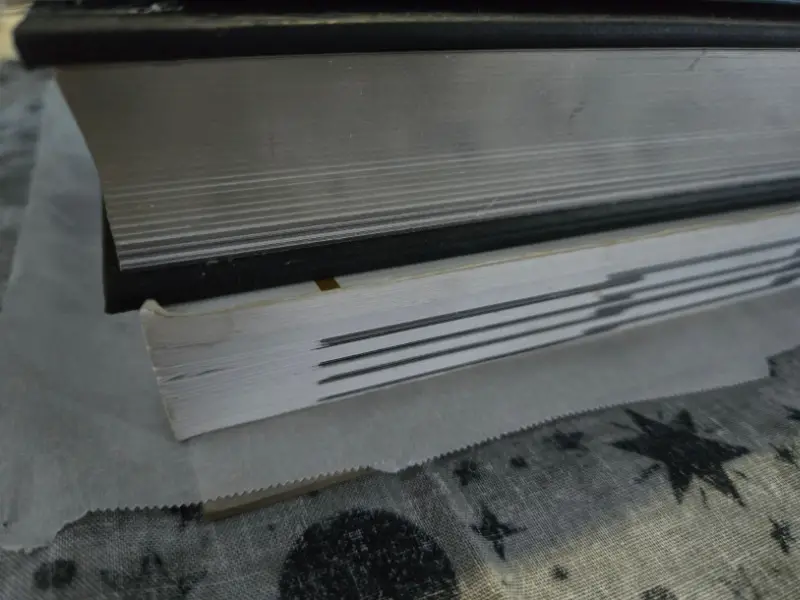
Place some heavy books or weights on the book case to dry.
Cut Excess Cover
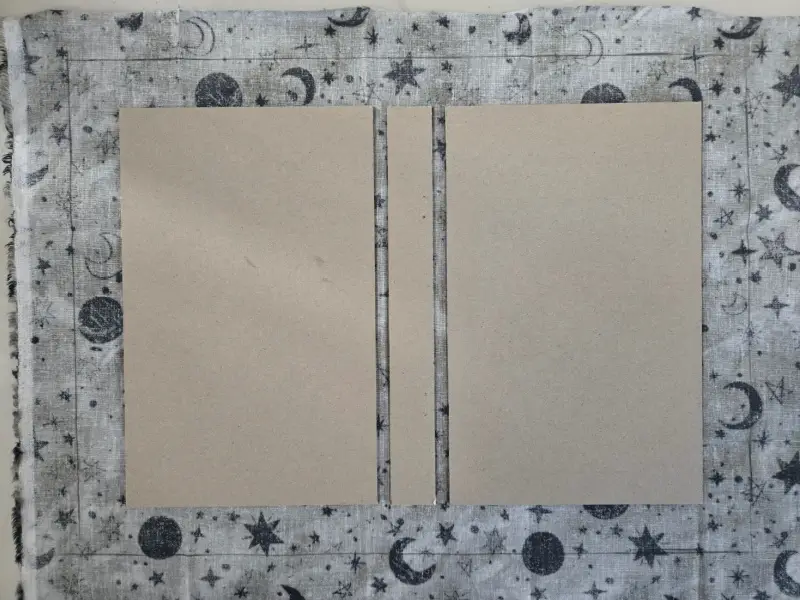
Using the pencil and ruler, measure and mark 1″ on all sides of the book cover.
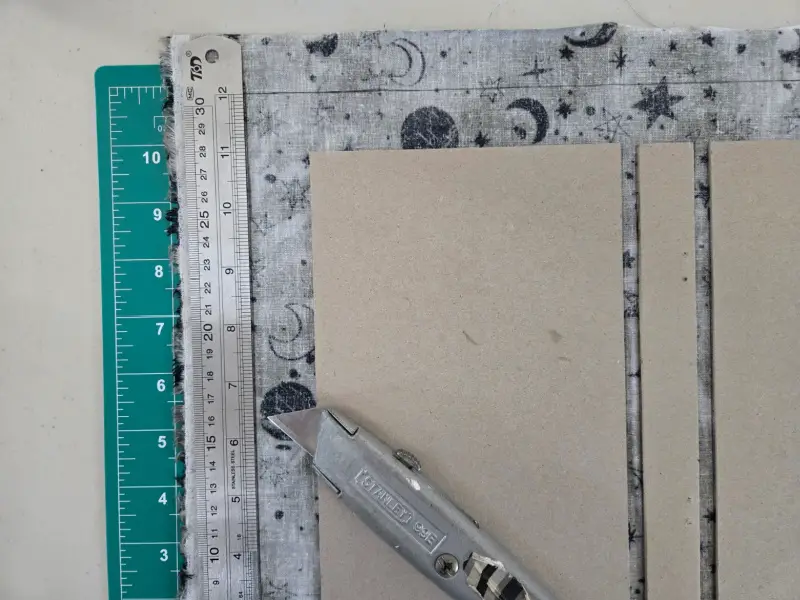
Cut the excess material off each side using the utility knife (or scissors), cutting mat, and ruler.
I like this ruler from Amazon because it is 1″ thick, so I can just line it up with my book board and cut.
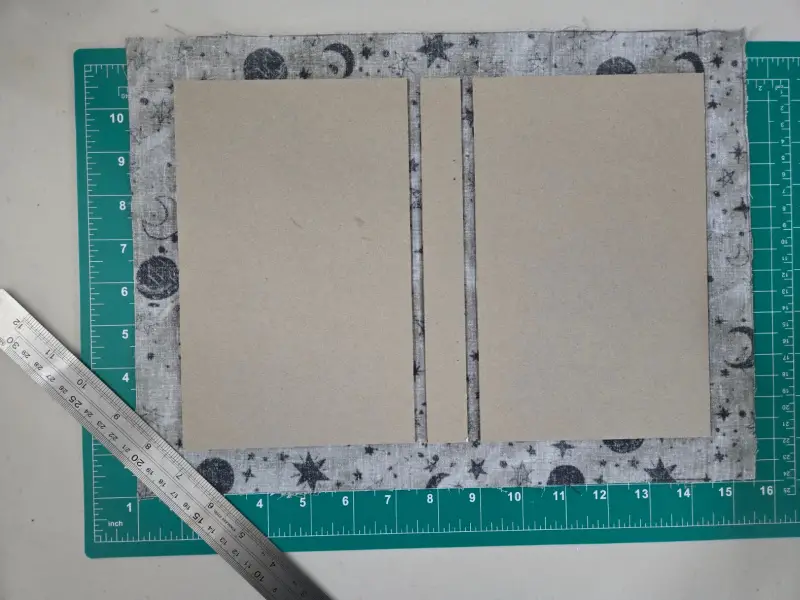
Cut the corners at a 45-degree angle. I like this cutting mat from Amazon because you can line your book cover up with the edge of the lines and get a perfect 45-degree angle.
Or measure 3″ from each corner, place your ruler, and cut.
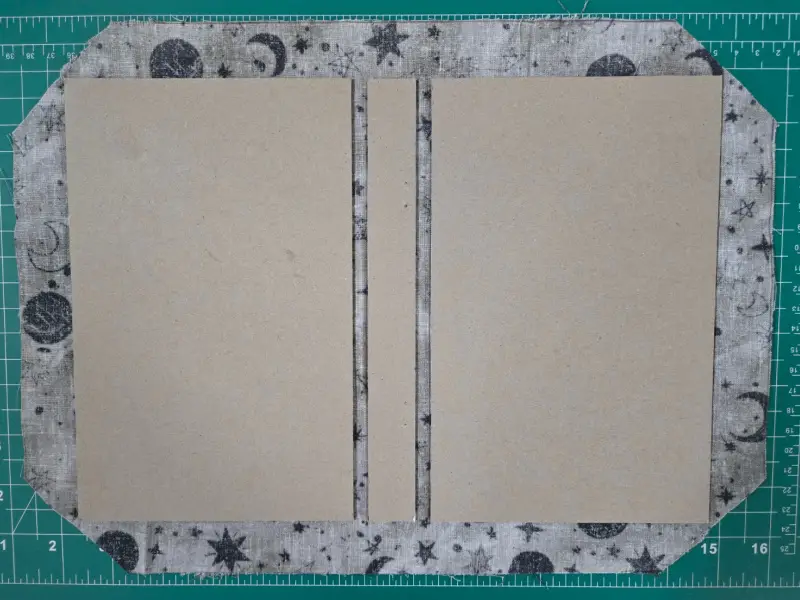
When you finish all four corners, your bookcase should look like this.
Glue And Fold
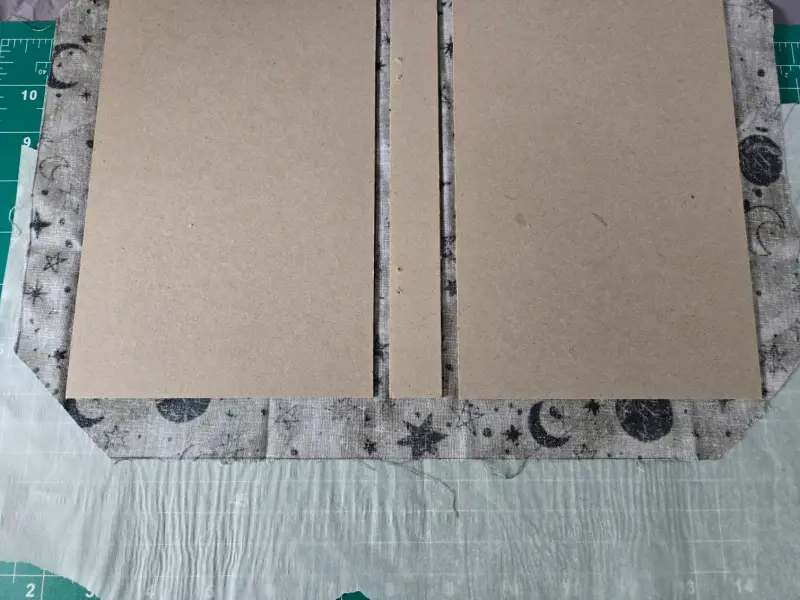
Use scrap paper (or wax paper) to protect your book and the area around it from excess glue.
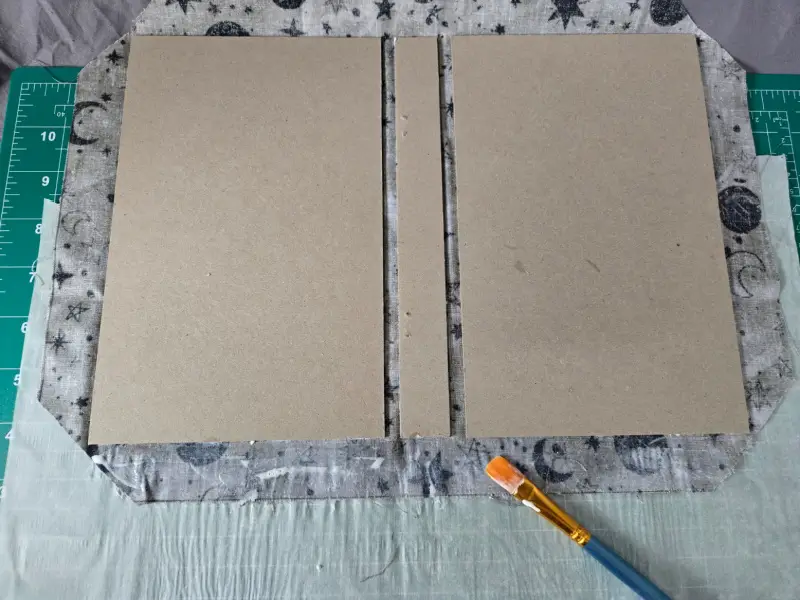
Using the glue brush, brush glue one of the long flaps first.
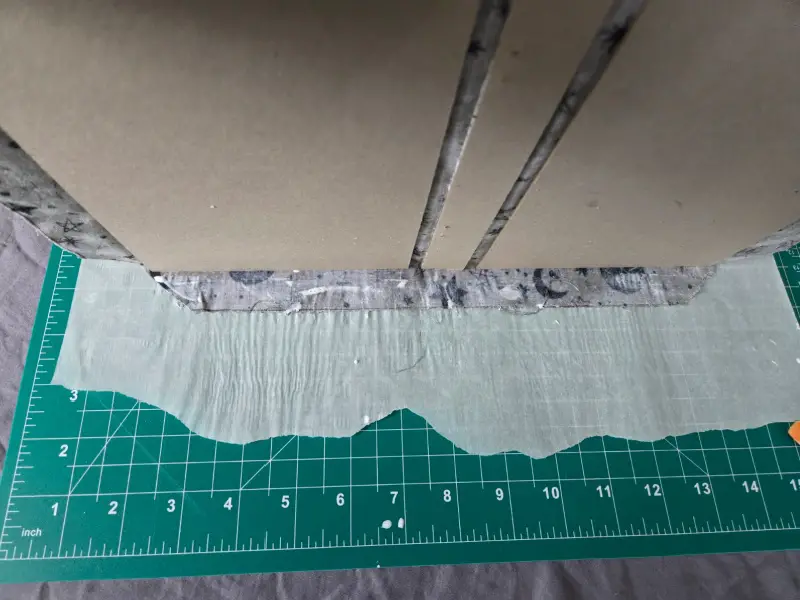
Lift the case up to help create a smooth edge.
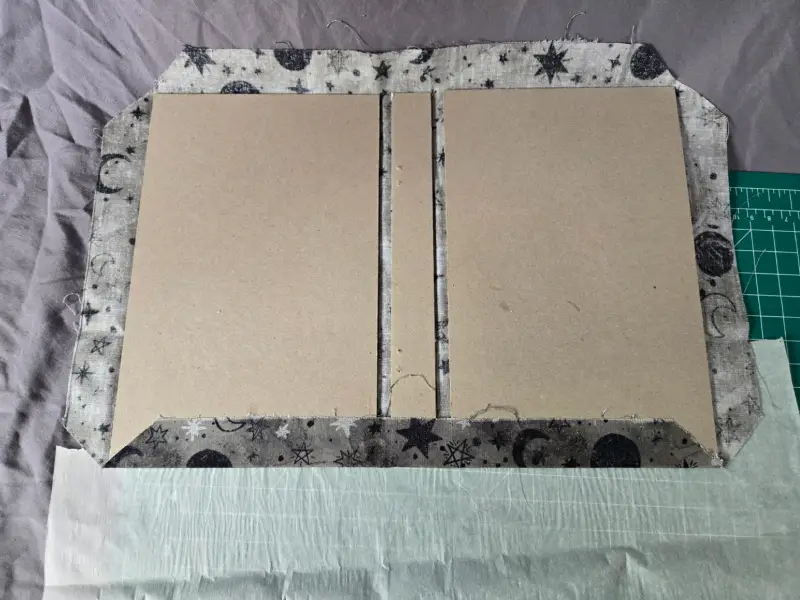
Then, lay the case down again and fold the glued flap over the bookboard.
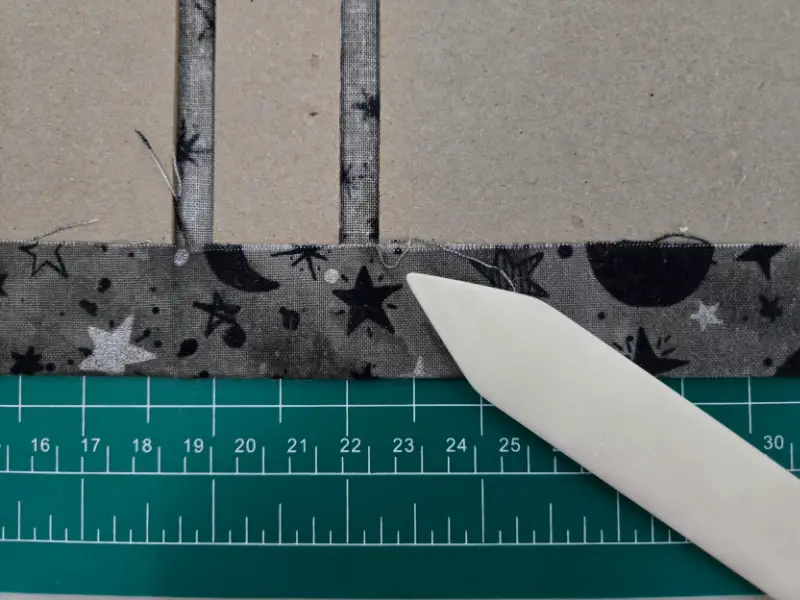
Use the bone folder to help smooth down the edges. You may need wax paper to cover the flap and the bone folder to smooth it out. This will help if you have excess glue spilling out. Which I usually do.
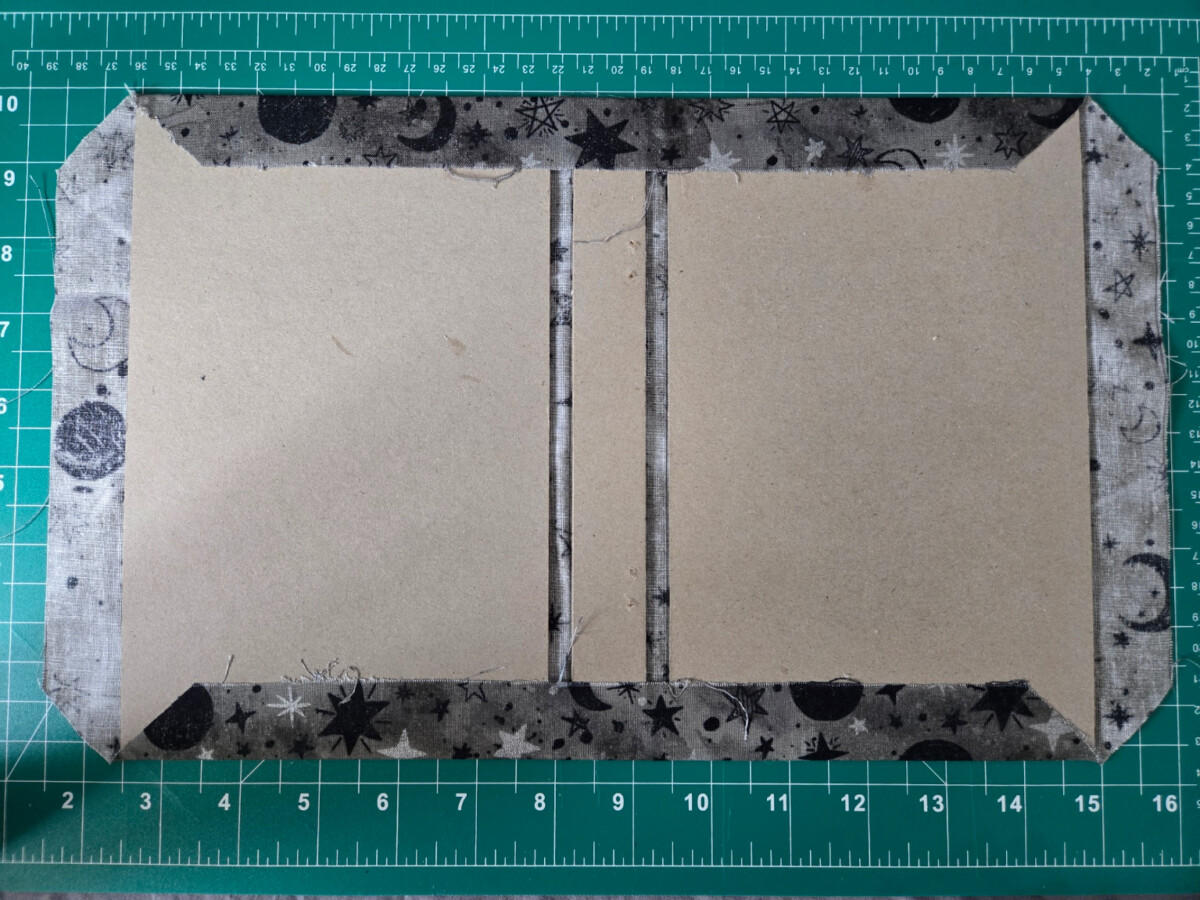
Repeat on the other long side before moving onto the shorter sides.
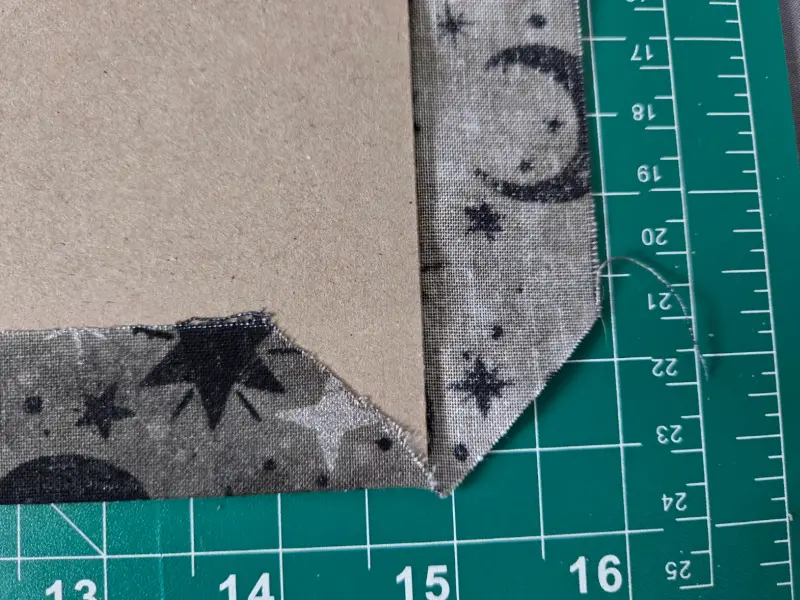
The corner will look like this before you move on to the shorter sides.
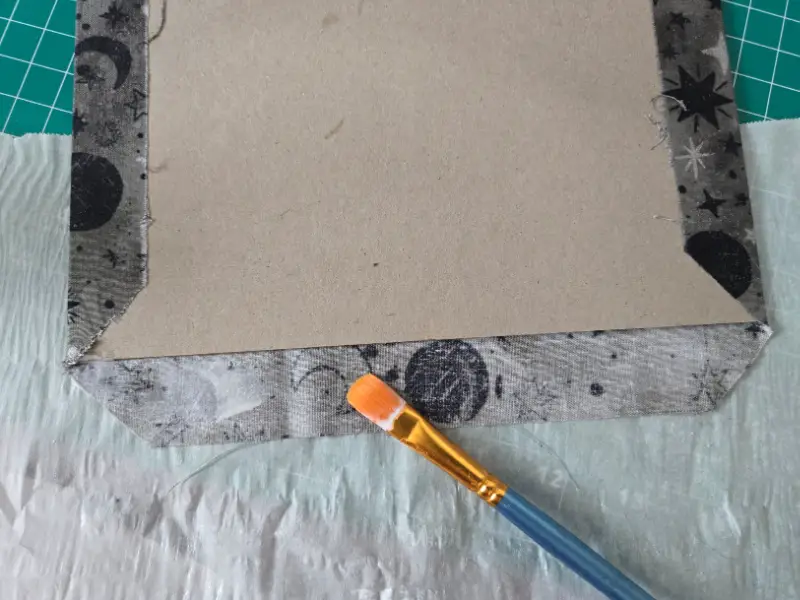
Glue the shorter side.
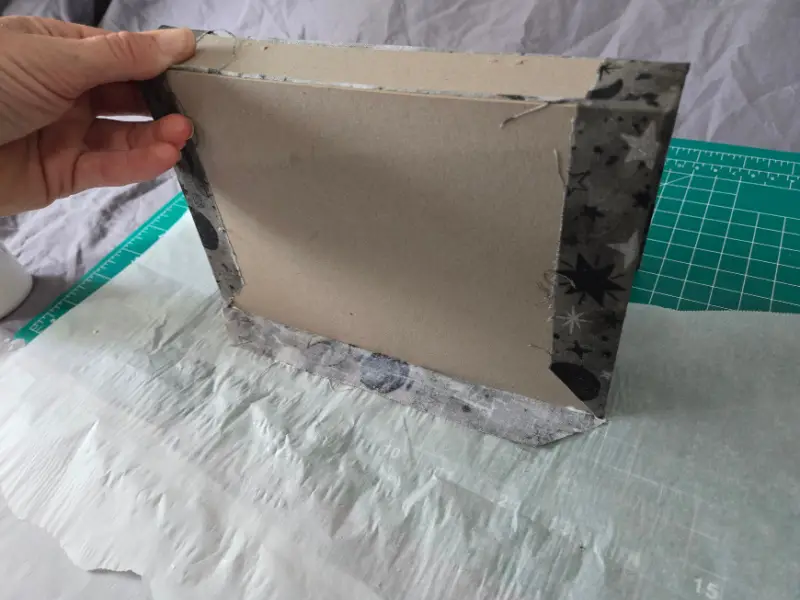
Lift the case up to help create a smooth edge.
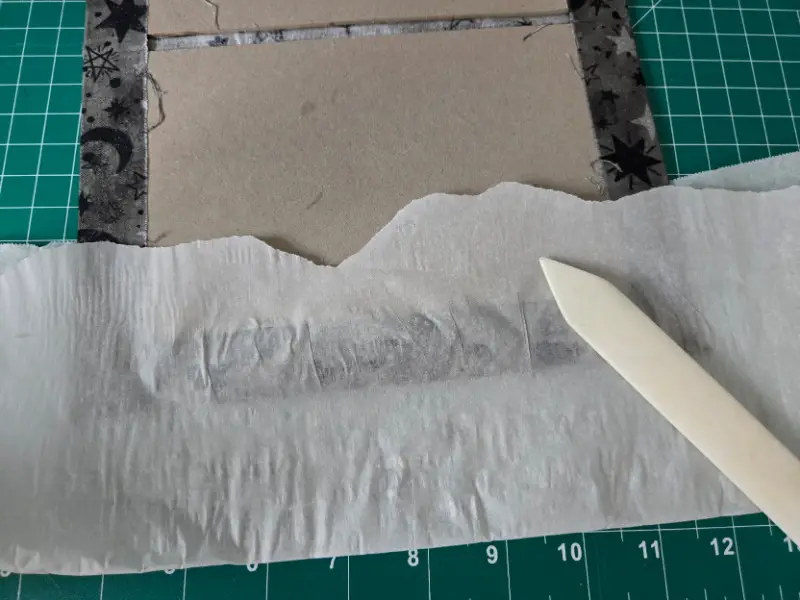
Smooth down with the bone folder. And repeat for the final side.
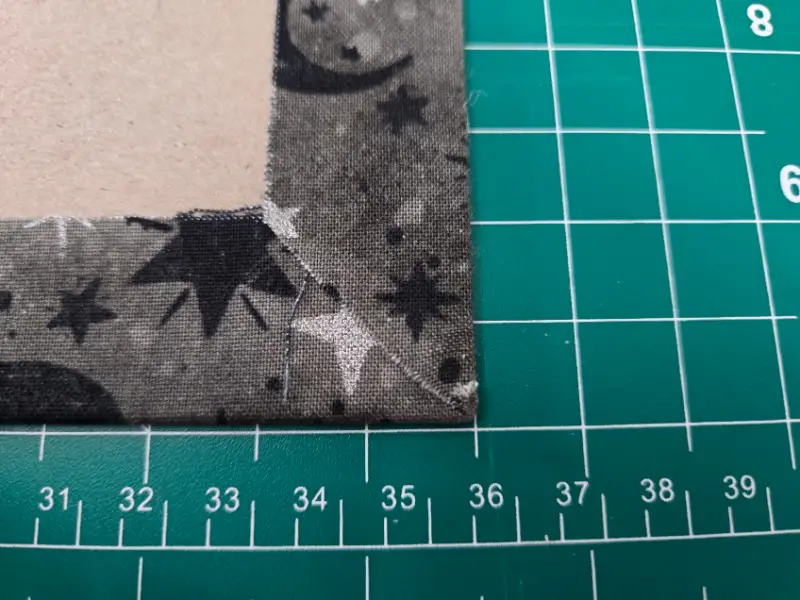
If your corners have a little extra fabric, fold over the tip of the corner inward to create a seamless corner.
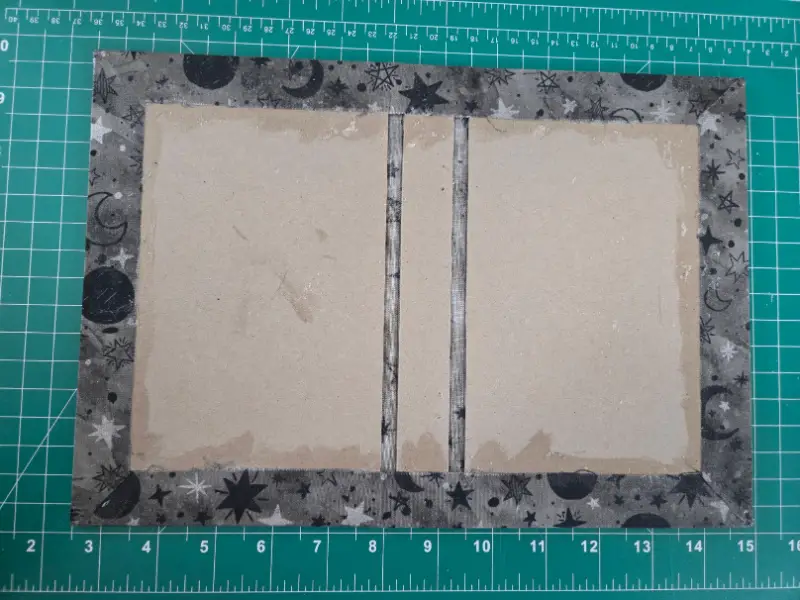
Creating the case is a vital step in the case binding process, providing both protection and aesthetic appeal to your book. By following the step-by-step instructions outlined in this article, you’ll craft a sturdy and visually pleasing cover that complements the text block you prepared earlier.
For a complete understanding of case binding, make sure to revisit Case Binding – Creating The Text Block – Part 1, where we covered assembling the pages, and stay tuned for Case Binding – Case The Text Block – Part 3, where we’ll guide you through the final steps of bringing the text block and case together. With these skills, you’ll be ready to create beautifully bound books confidently.
I hope this post brought value to your day. Please consider sharing it with a friend or on your favorite social media if it did. Thanks For Reading The Dying Art Of Living!

