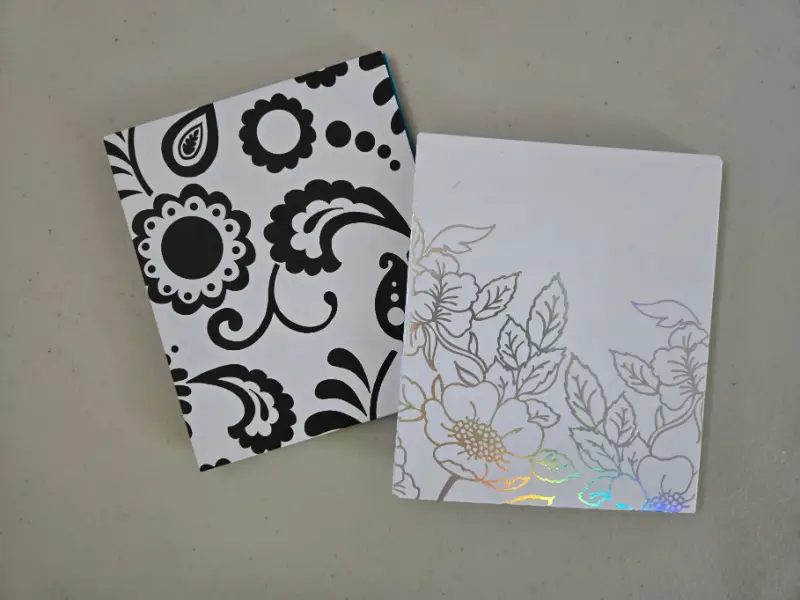

Accordion style bookbinding, also known as concertina bookbinding, is a versatile and creative method that offers a unique way to craft books.
To make an accordion style bookbinding, fold a long strip of paper into equal sections, alternating directions to create a zigzag pattern. Attach covers to the first and last pages for stability. This structure is ideal for displays, storytelling, or projects that require continuous flow. The accordion style bookbinding can also be achieved by gluing multiple smaller strips of paper together to make one long strip.
Whether you want to make an interactive display, a keepsake album, or an art book with continuous pages, the accordion style bookbinding method combines simplicity with a striking visual appeal. Join us as we delve into the world of accordion bookbinding and discover its potential for your next project.

What Is Accordion Style Bookbinding
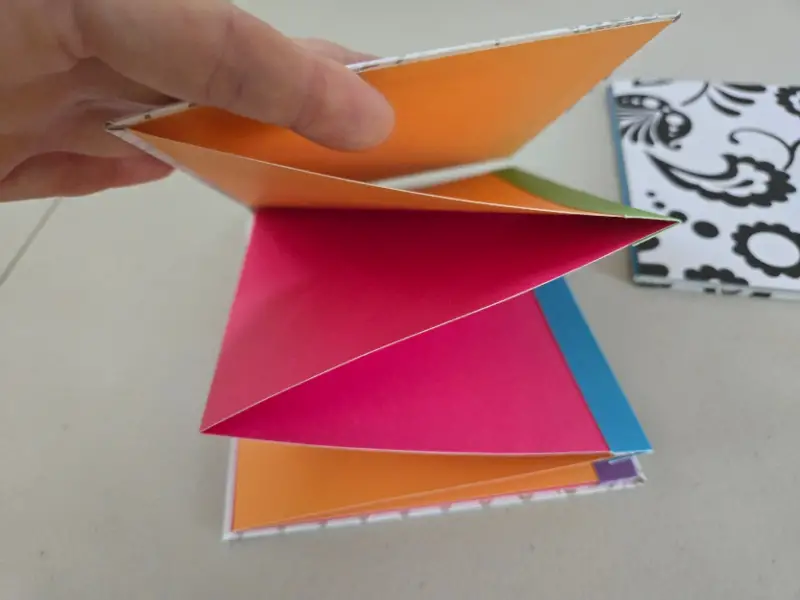
The Accordion Style Bookbinging method, also known as a concertina book, is a book format in which a long strip of paper is folded into a series of pleats, creating pages that can be expanded like an accordion. This binding style is ideal for panoramic displays, storytelling, and art projects.

Pros Vs. Cons Of Accordion Style Bookbinding
Pros of Accordion Style Bookbinding:
- Versatile Display: Can be expanded fully for panoramic views.
- Easy to Make: Simple folding technique, no sewing required.
- Creative Flexibility: Ideal for storytelling, art books, and interactive designs.
- Unique Presentation: Offers a visually striking, continuous flow of content.
- Compact Storage: Folds down neatly for easy storage and transport.
Cons of Accordion Style Bookbinding:
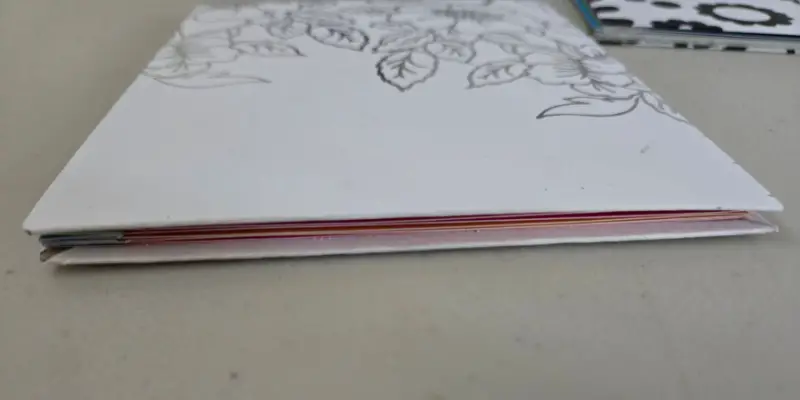
- Limited Structure: Less sturdy compared to traditional bindings.
- Space-Consuming: Requires more space when fully opened.
- Limited Page Count: Difficult to add additional pages later.
- Vulnerability: Open edges may be prone to wear and tear.
- Alignment Issues: Precise folding is needed to avoid uneven pages.

Types Of Accordion Style Bookbinding
Single Sheet Fold
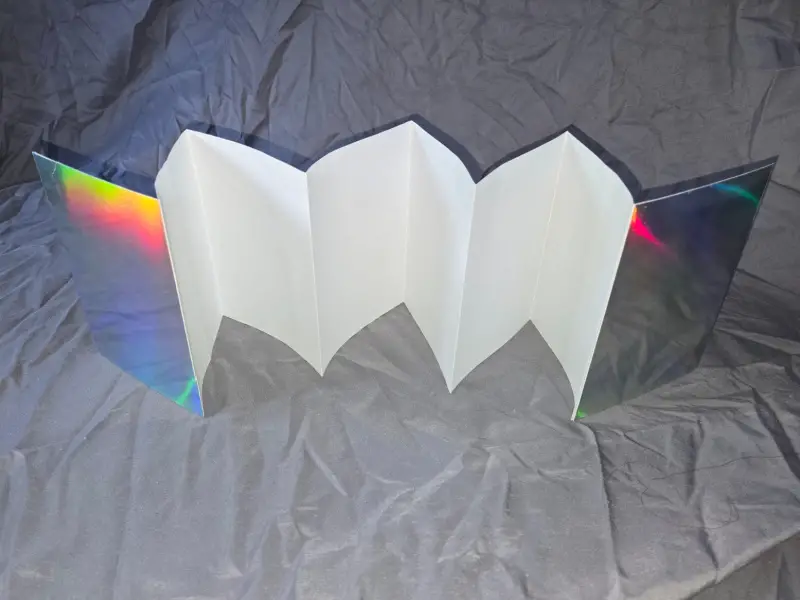
The single-sheet fold involves using one long sheet of paper that is folded repeatedly to create the book’s pages. This method is straightforward and results in a seamless, continuous accordion with no joins between the pages. It’s ideal for projects that require an uninterrupted flow of content, such as panoramic displays or continuous narratives. However, not everyone has access to larger sheets of paper.
Multi Sheet Fold
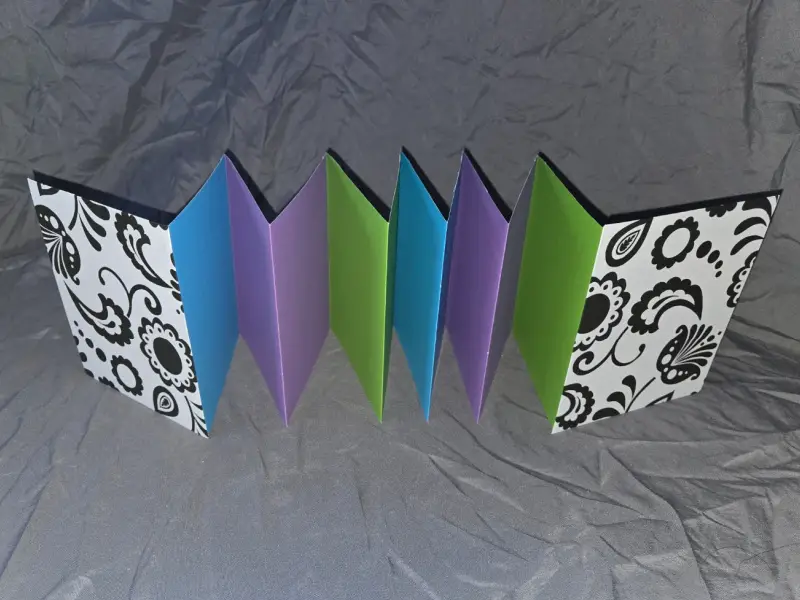
The multiple-sheet fold uses several sheets of paper glued or attached together end-to-end, then folded to create the accordion style. This method allows for more page count and paper type flexibility, making it suitable for larger projects. While it may have visible joins between sheets, it offers the advantage of customizing the length and combining different materials.
Ribbon Closure

Using a ribbon as a closure for an accordion style bookbinding is a simple and elegant way to keep the book neatly closed. Attach the ribbon to the back cover or spine, wrap it around the book and tie it in a bow or knot. This not only secures the book when not in use but also adds a decorative touch, enhancing the overall presentation of the accordion book.

Steps To Create Accordion Style Bookbinding
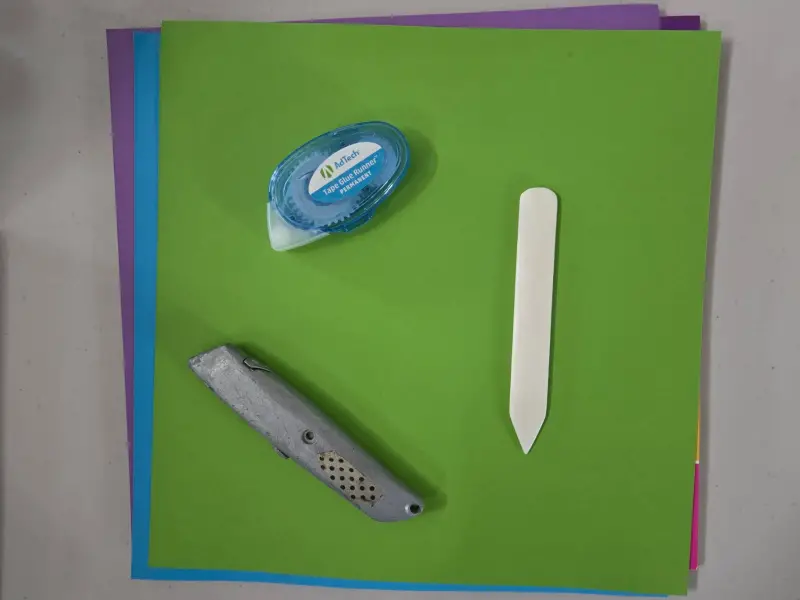
What You Need:
- *Paper for text block
- Book Board (or cardboard)
- Paper or Cloth for the cover
- Double Sided Permanent Tape (if using multi sheets)
- Bone Folder
- Utility Knife or Scissors
- Cutting Mat
- Ribbon (optional)
- Glue
*This can be scrapbook paper, construction paper, or your artwork.
Cut The Text Block
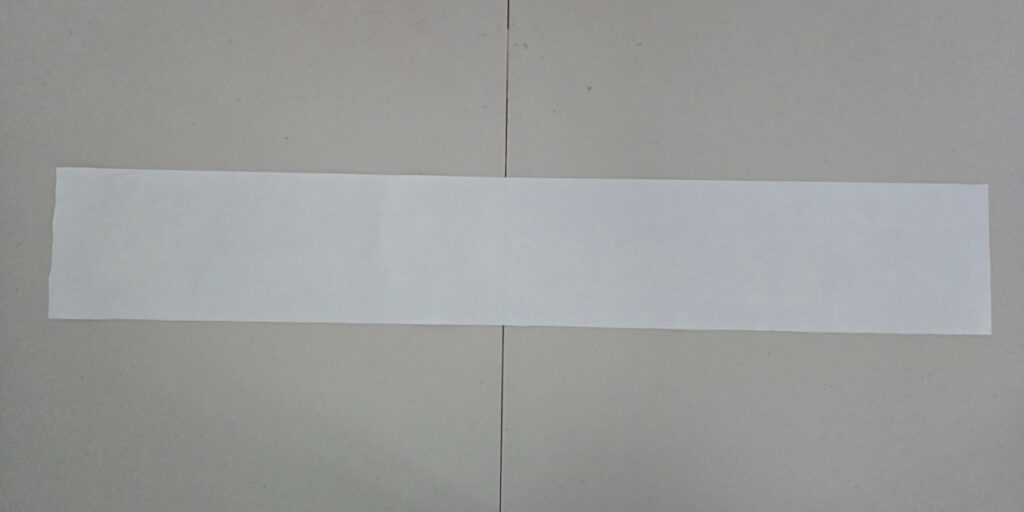
Cut the text block(s) down to size.
If you are using the single sheet fold, you may need to cut the paper to have a long, skinny piece, for example, 36×6.
If you are using the multi sheet fold, you must decide which type of fold methods you want to use.
For this example, I am using 12 in x 12 in sheets of paper.
Tab Fold Method
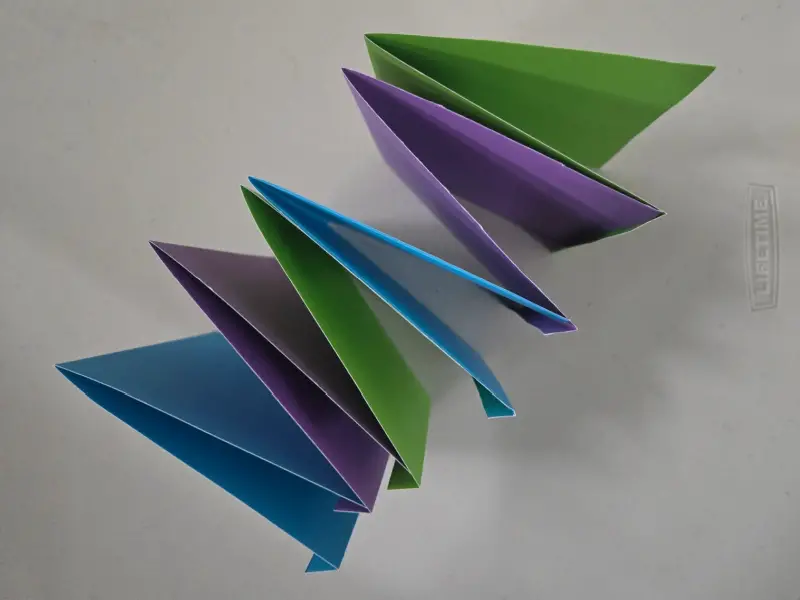
The tab fold method involved folding a part of each page to connect to the next page. The front page doesn’t need the tab.
For the tab fold method, you should cut your paper twice the size of your finished page, plus half an inch.
For example, I want my finished paper size to be 5 in x 6 in, so I will cut my paper to 10-1/2 in x 6 in.
Paper Hinge Method
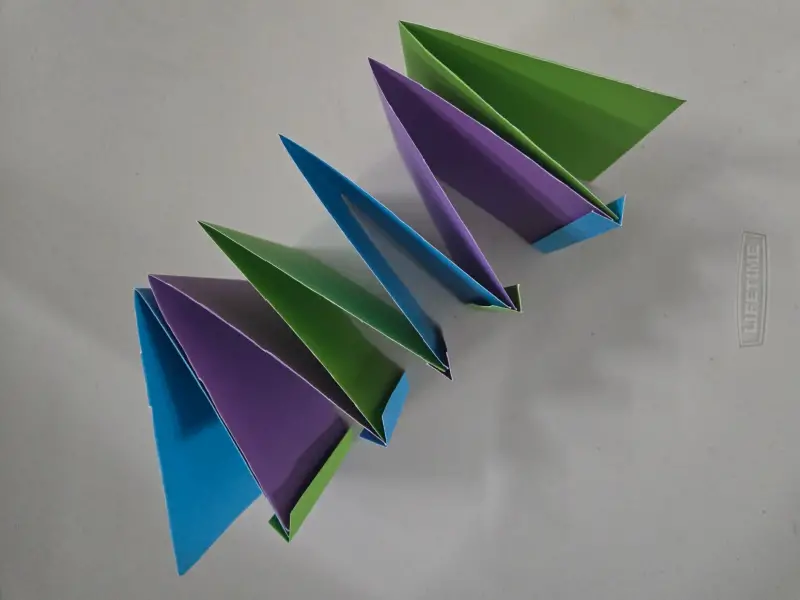
The paper hinge method involves using a separate piece of paper as the hinge, which is then glued or taped to each piece of paper. This method can be especially fun because you can use different colors for the hinge than the paper.
For the paper hinge method, you should cut your paper twice the size of your finished page. You will also need one inch strips of paper for your hinge.
For example, I want my finished paper size to be 5 in x 6 in, so I will cut my paper to 10 in x 6 in.
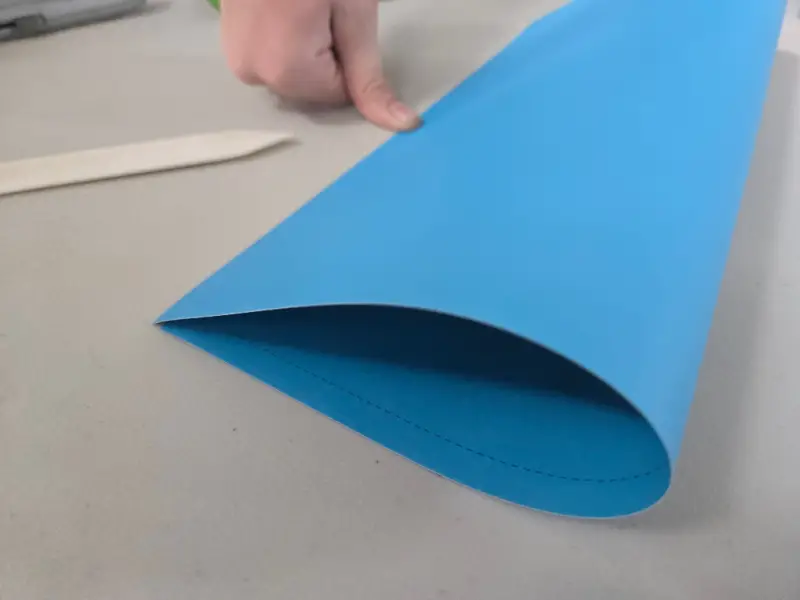
Fold the paper in half.
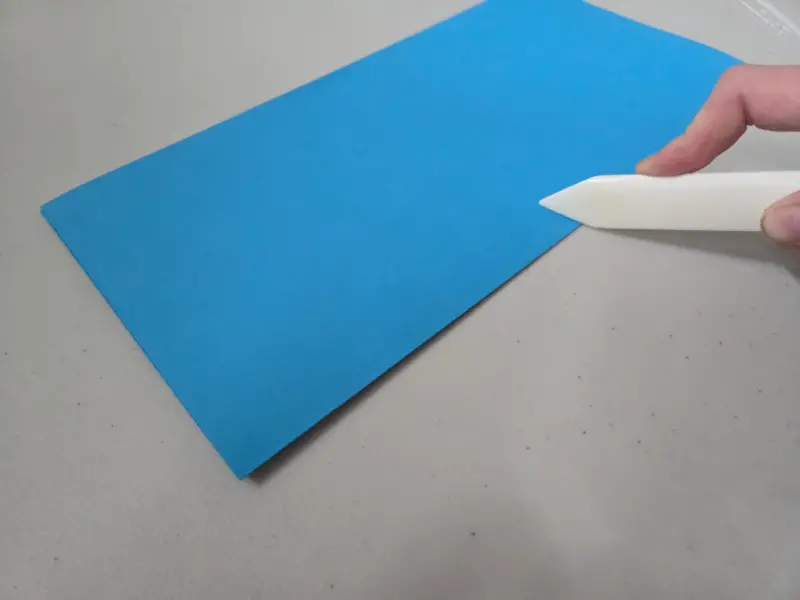
Using the bone folder to crease the fold.
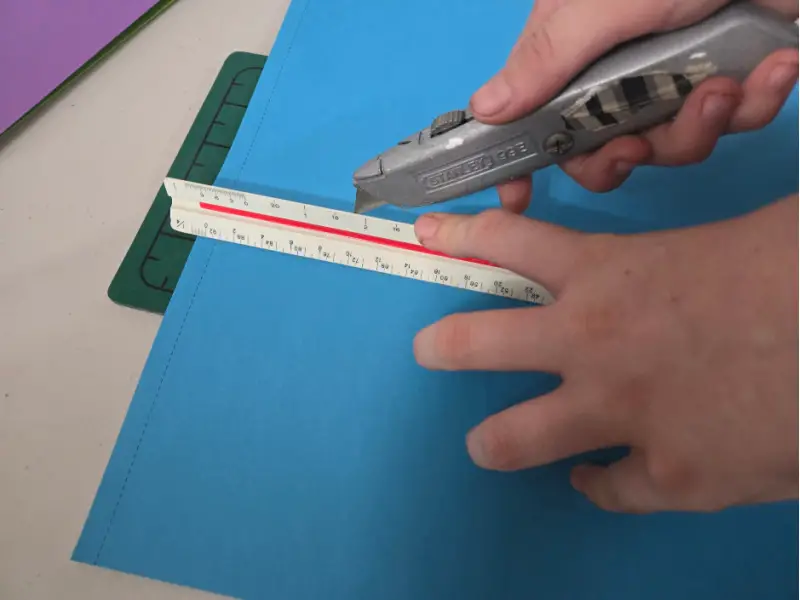
Cut the paper in half using the utility knife and the cutting mat (or the scissors).
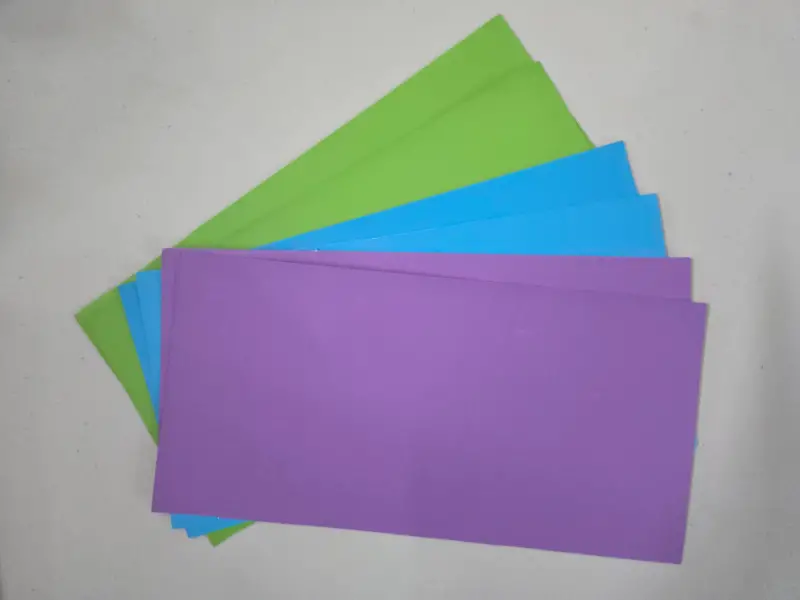
Repeat this until all of your sheets of paper have been cut down to size.
Fold The Text Block
Tab Fold Method
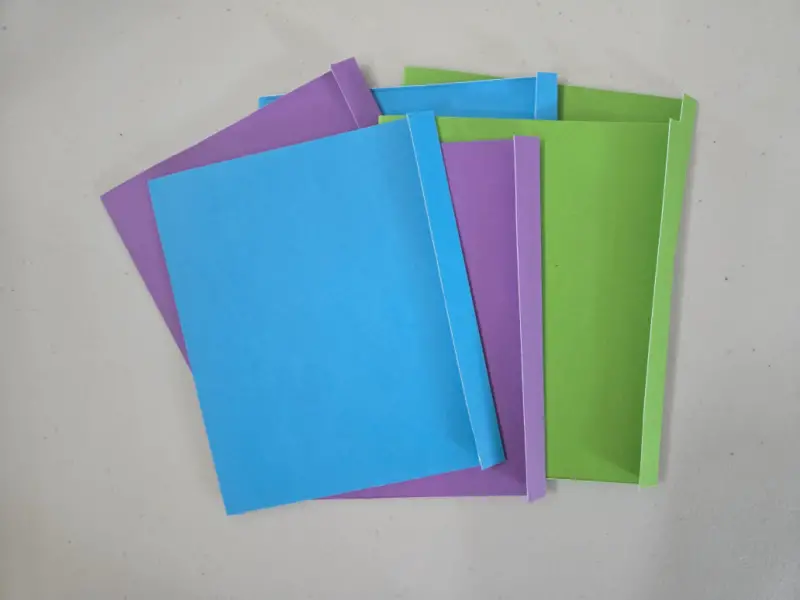
Score a half-inch tab on each piece of paper using the bone folder. Then, fold the tab before folding the paper in half, creasing both folds using the bone folder.
Paper Hinge Method
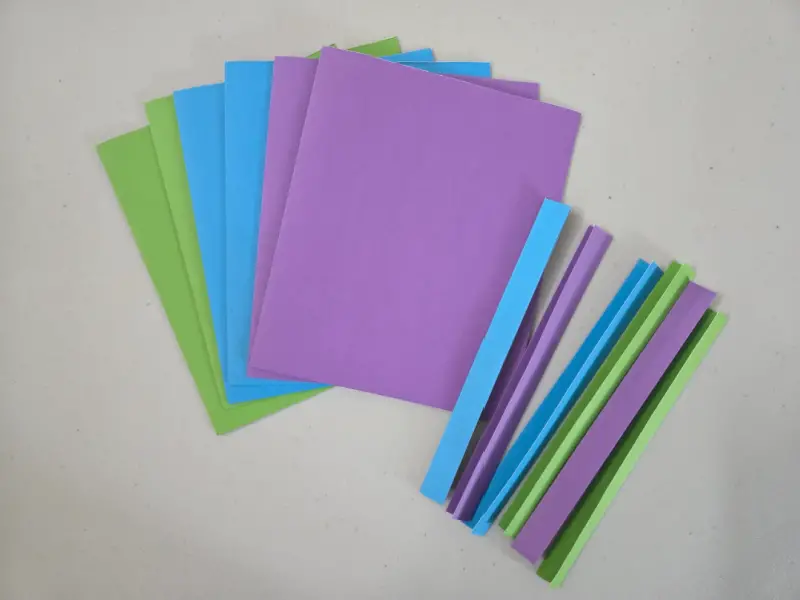
Fold each piece of paper in half and crease with the bone folder.
Fold each of the one inch strips in half.
Glue The Text Blocks
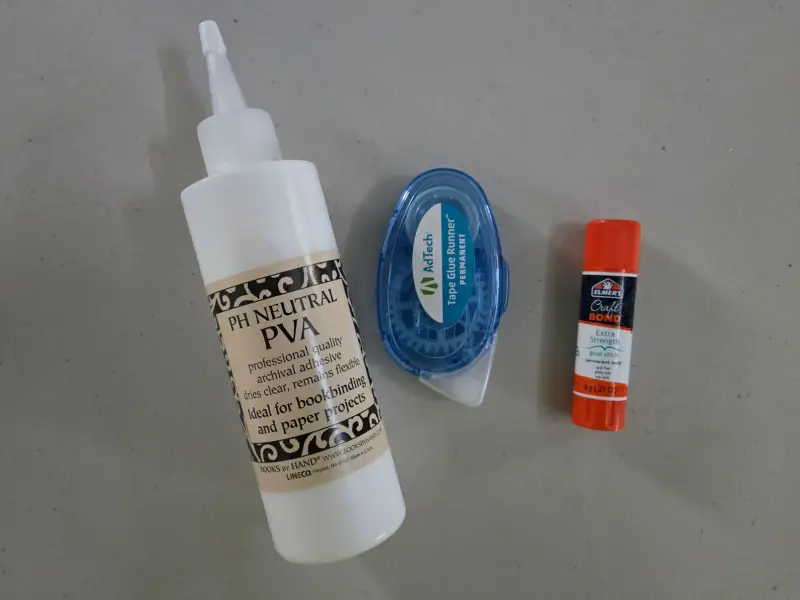
Glue, tape, or otherwise adhere the text blocks to each other.
I have used this permanent tape glue runner. You could also use double-sided sticky tape, but I like this. The Tape Glue Runner is available on Amazon.
Tab Fold Method
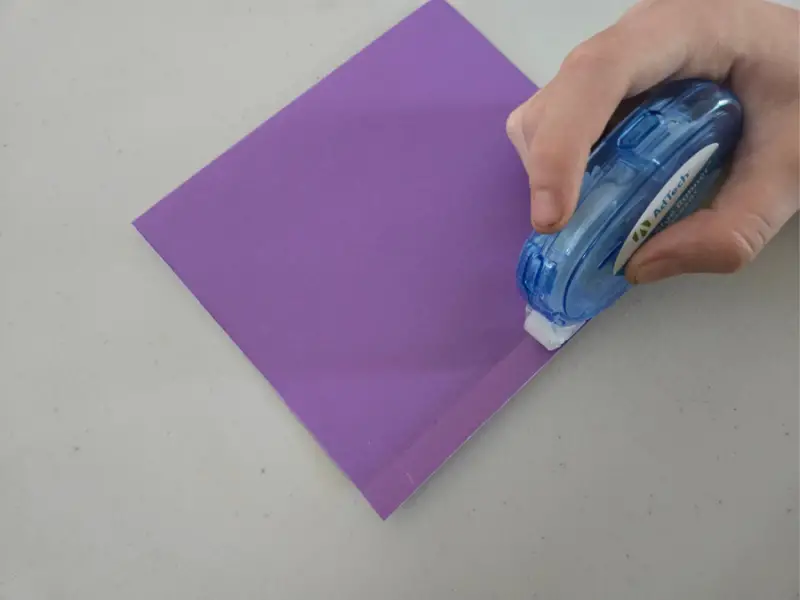
Run a strip of glue on the inside tab of the second text block. Remember, the first text block won’t have a tab.
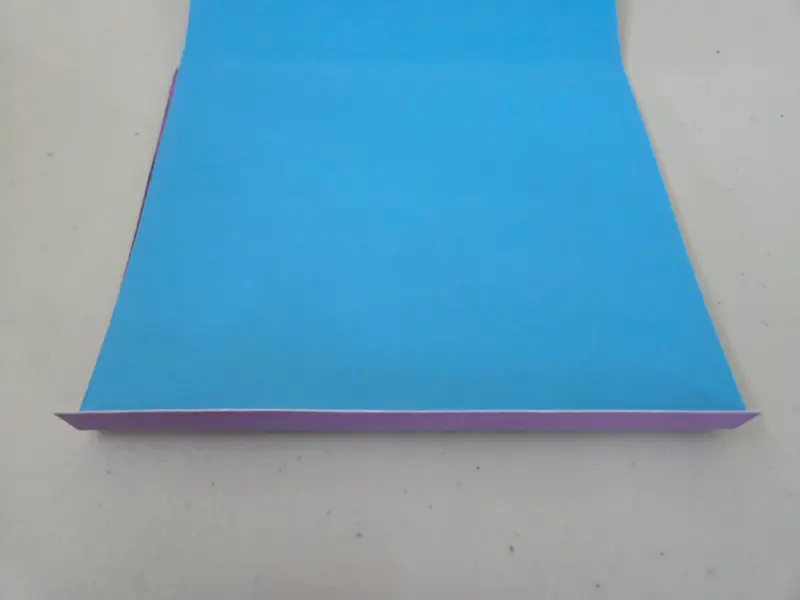
Place the first text block on top of the second text block, aligning the two sides. Fold over the tab to attach the first and second text blocks.
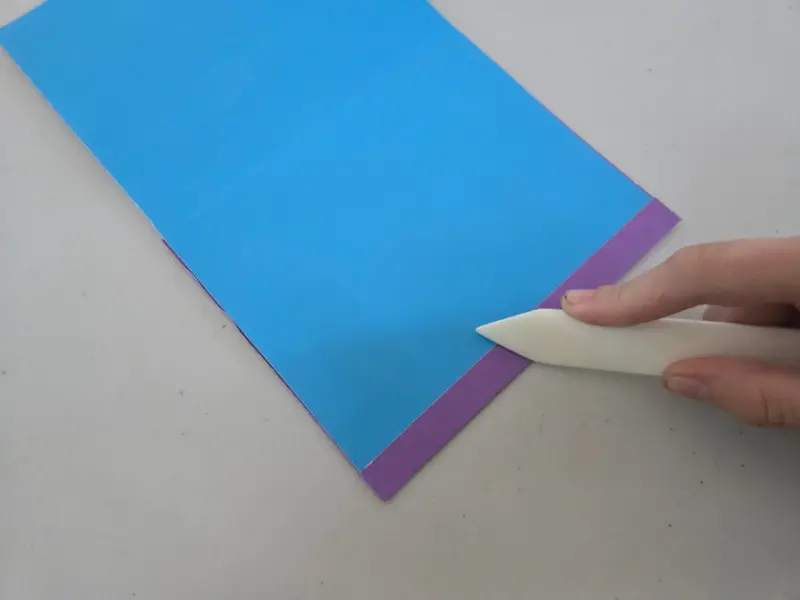
Use your bone folder to secure the two text blocks.
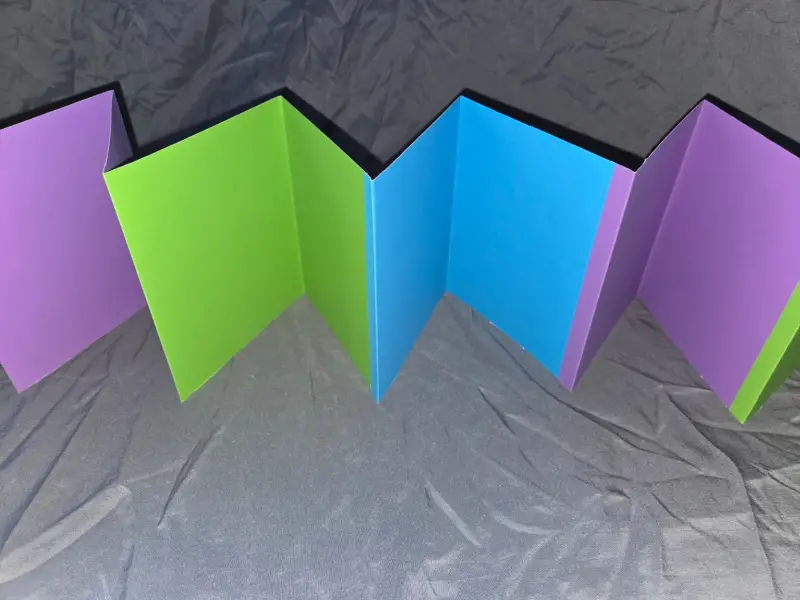
Repeat this process until all of the text blocks have been added. Place the completed text block under a heavy book to help flatten out the text block while we work on the cover.
If you would like a cleaner cut on the edges, you could trim the edges at this time.
Paper Hinge Method
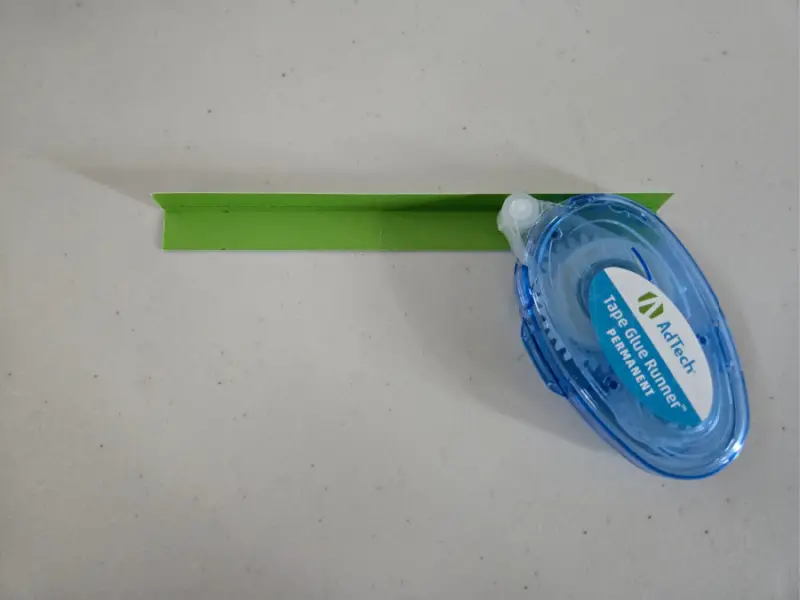
Run a strip of glue on both of the inside strips of the first paper hinge.
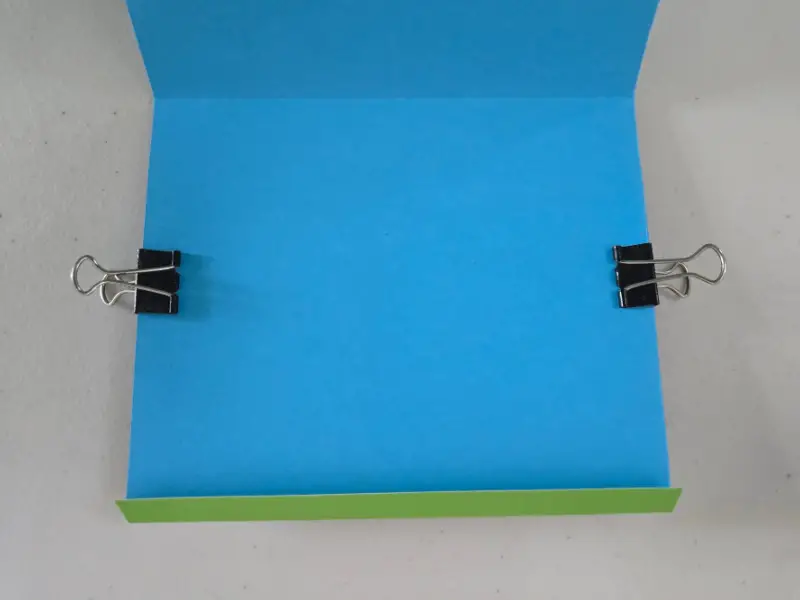
Align the first and second text blocks using binder clips to hold them in place. Then, fold the paper hinge over them.
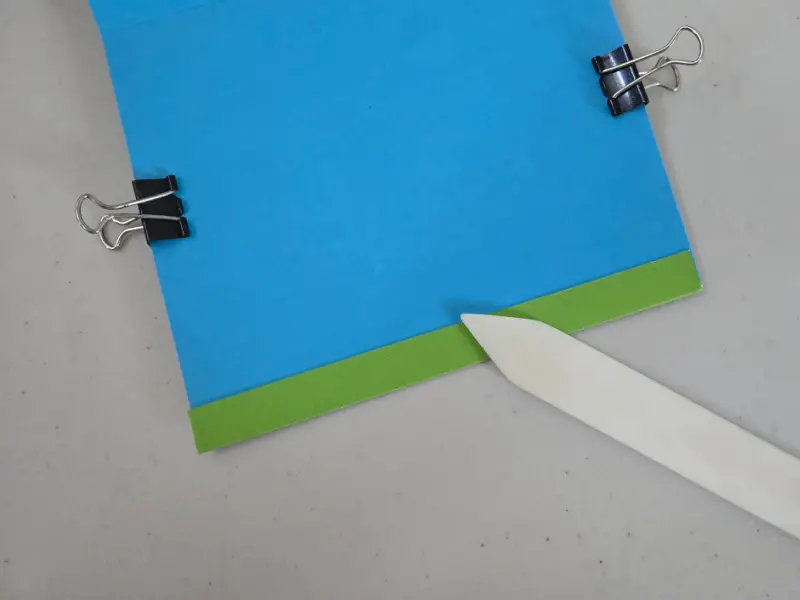
Use your bone folder to secure the two text blocks.
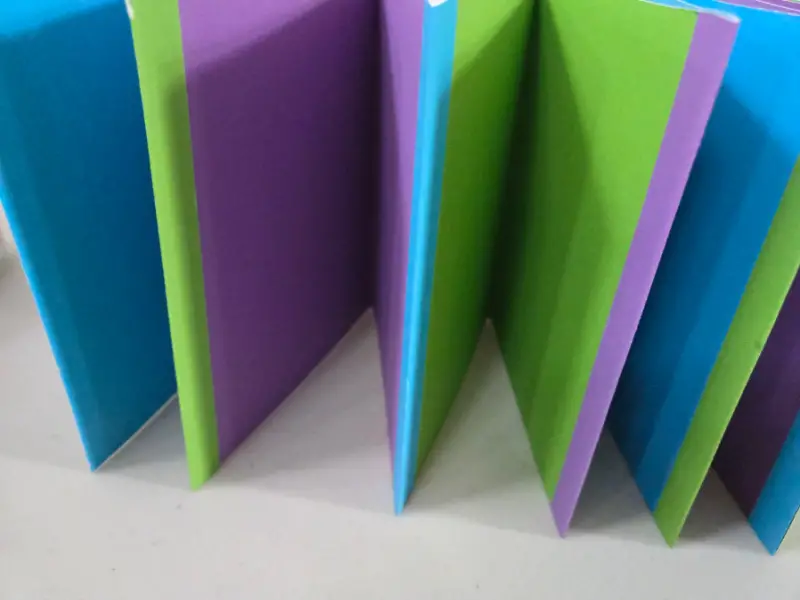
Repeat this process until all of the text blocks have been added. Place the completed text block under a heavy book to help flatten out the text block while we work on the cover.
Create The Cover
For this example, I’m going to use an empty cracker box.
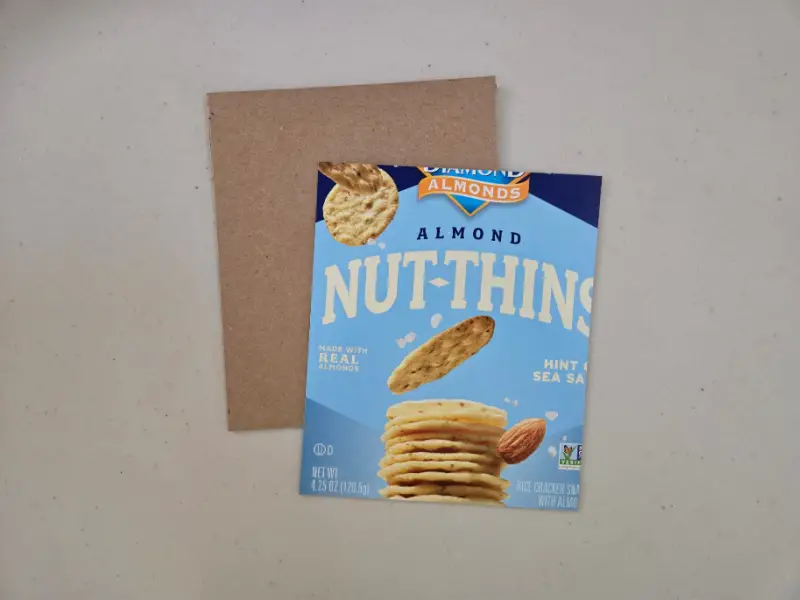
Measure and cut the book board (or cardboard) to the size of your book. Then repeat this process until you have two, one for the front cover and one for the back cover.
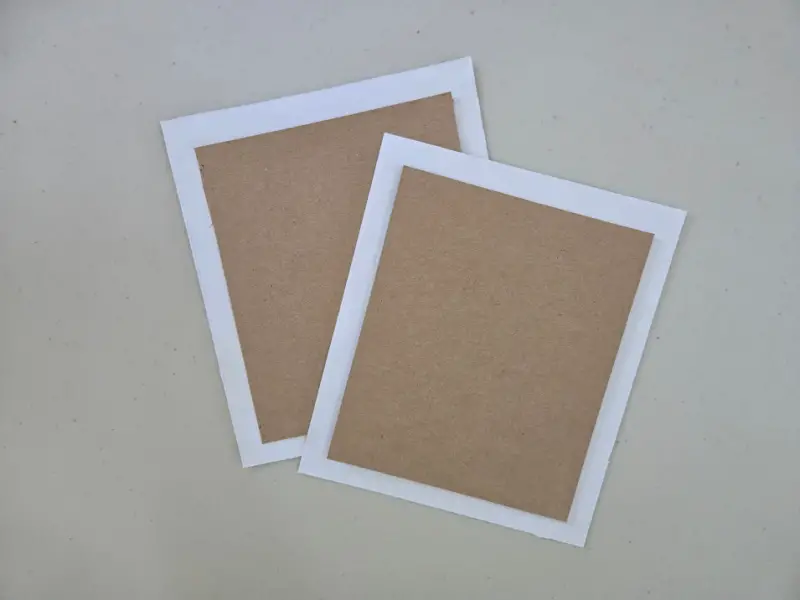
Measure and cut the cover sheet one inch bigger than the book board (or cardboard) covers. This will account for a 1/2 inch overhang on each side. Again, this will be necessary for the front and back covers.
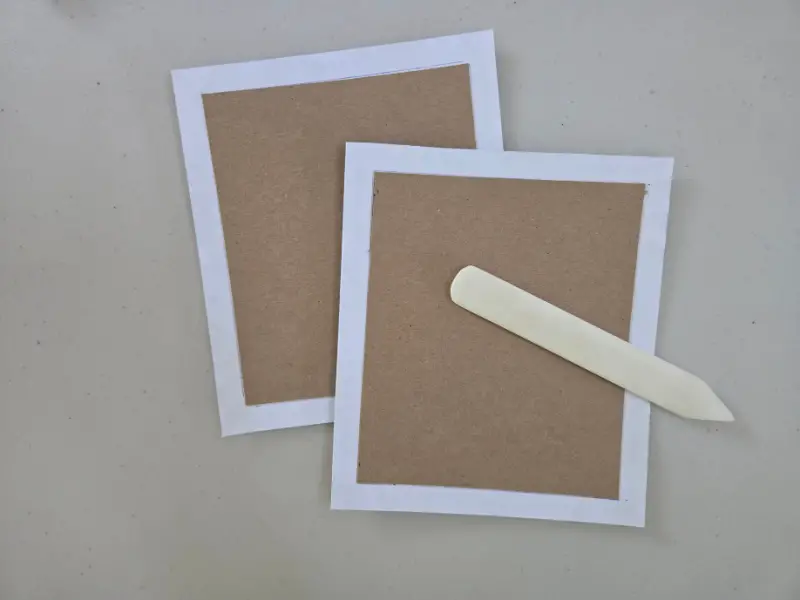
Align the cover sheets 1/2 inch in from each side and glue them onto each cover. Use the bone folder to flatten the cover sheet to the book boards.
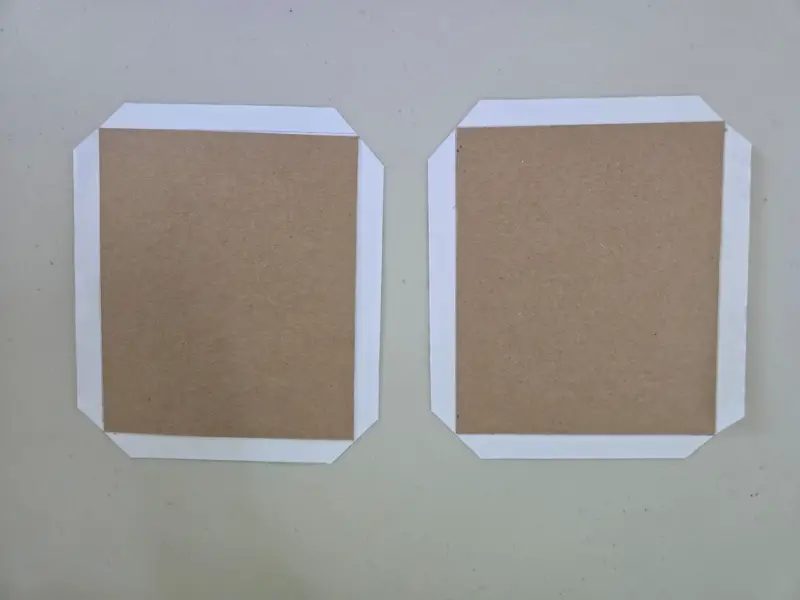
Cut off a triangle at each corner of your cover sheet. This will make folding the cover sheet around the book boards easier.
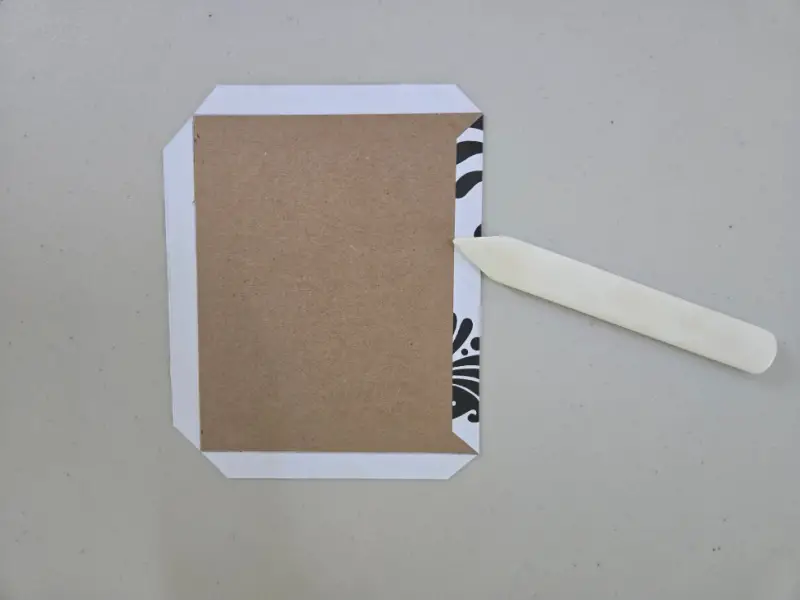
Using your bone folder, fold over and glue the cover sheet over the book board.
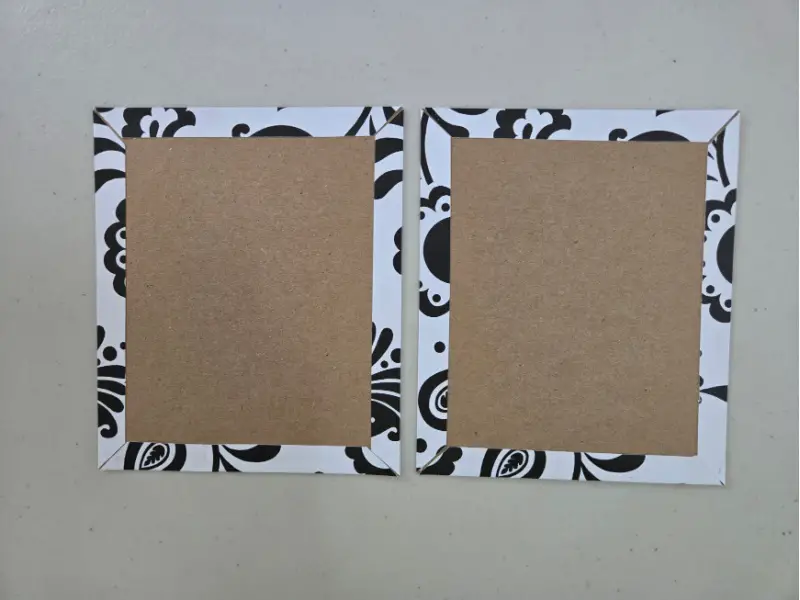
Repeat until all sides on both covers have been folded and glued down.
Attach The Cover
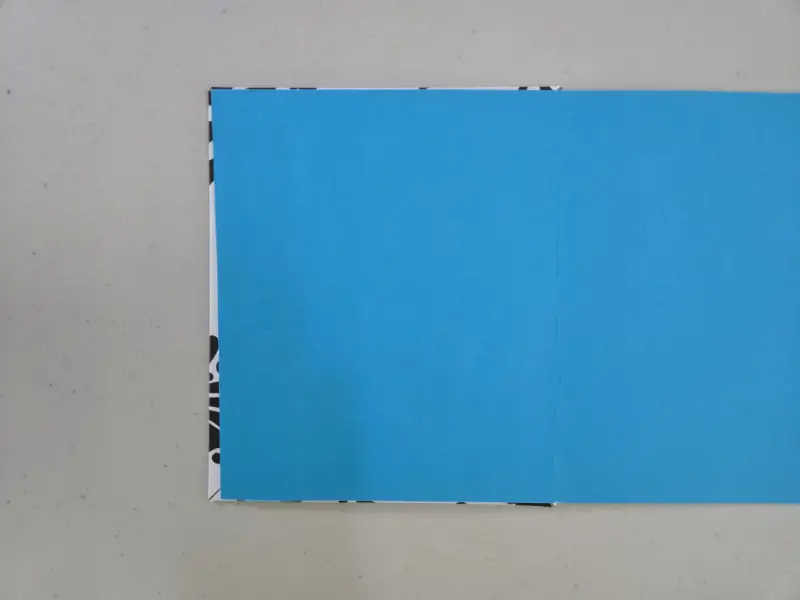
Dry fit the end piece of paper on your accordion text block to one of the covers. This will help determine if you need to trim any excess paper. If needed, trim the excess paper.

Glue the text block and press firmly to the cover.
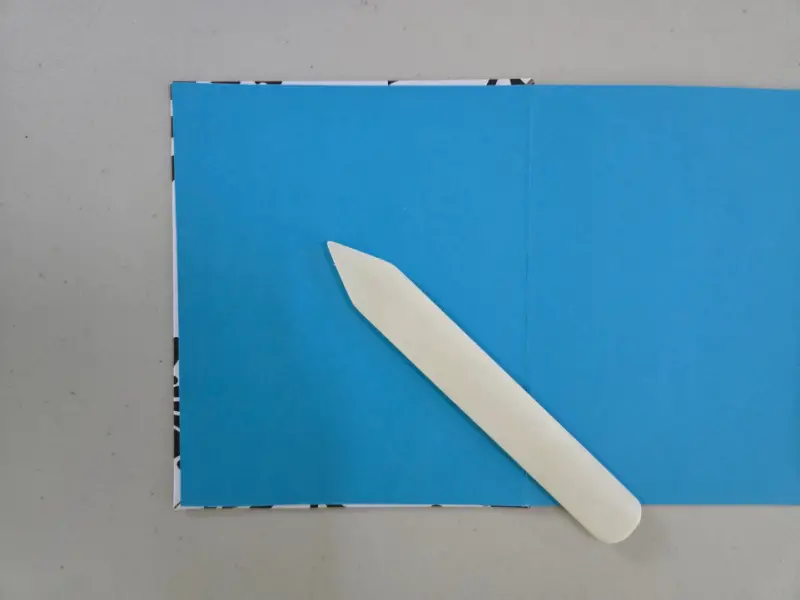
Use the bone folder to smooth out any wrinkles.
Repeat
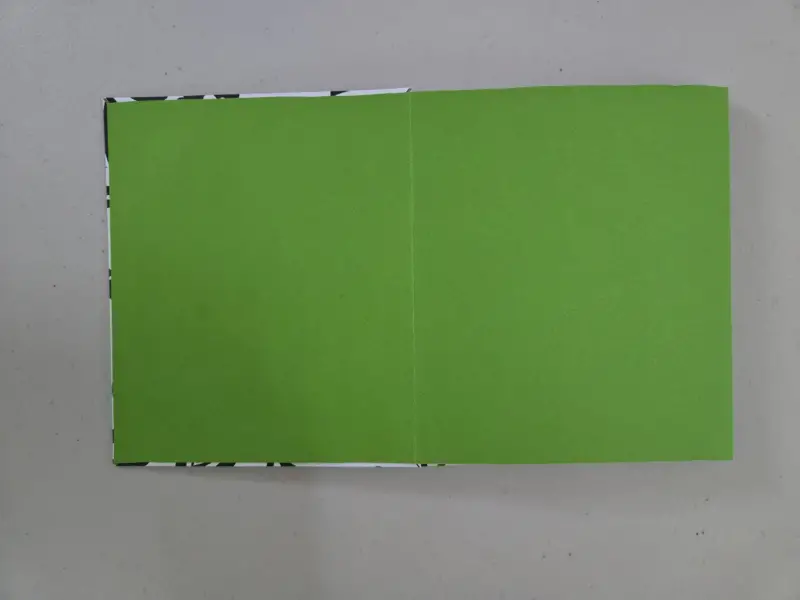
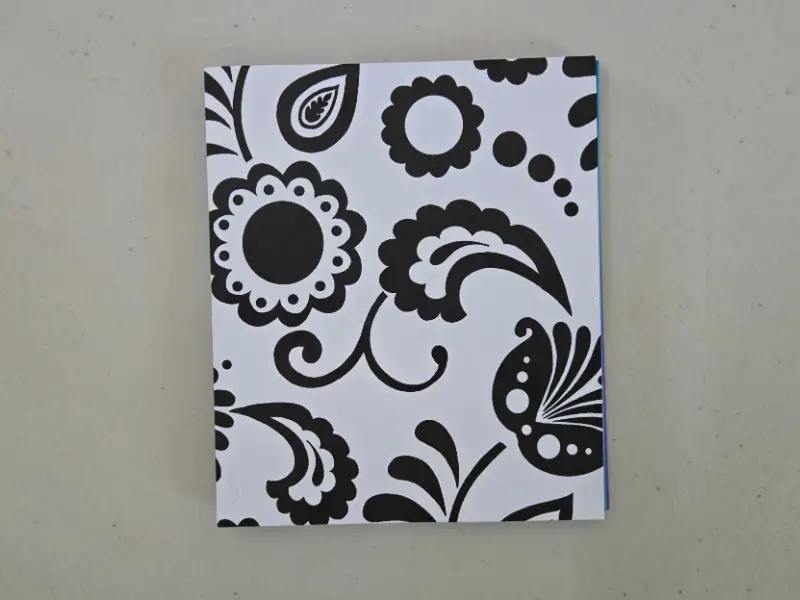
Repeat for the other cover.

Accordion style bookbinding is a versatile and visually striking method that offers endless possibilities for creativity. Whether you choose the simplicity of a single-sheet fold or the flexibility of a multiple-sheet fold, this binding technique allows you to create unique, interactive books that stand out. With the added touch of a ribbon closure, your accordion book becomes functional and decorative.
Some other articles you might be interested in are Chain Stitch Bookbinding – How To and 5 And 6 Hole Pamphlet Binding.
Whether you’re crafting a personalized album, a dynamic art book, or a storytelling piece, the accordion style provides a perfect blend of form and function. Embrace the creative potential of accordion bookbinding and enjoy the process of bringing your ideas to life!
I hope this post brought value to your day. Please consider sharing it with a friend or on your favorite social media if it did. Thanks For Reading The Dying Art Of Living!

